

Step-by-step guide
How to replace and install a computer monitor on a forklift (with a fused power cable)
Short answer: to replace or install a computer monitor on a forklift, slide the seat forward and lift the hood, mount the monitor bracket and connect its cable, run the power cable to the forklift battery with an inline fuse, and seal every crimped connector with heat shrink. To swap an old screen, unplug the cables on the back, loosen the mount arm knob, remove the two screws holding it, and put the new forklift monitor on the same arm.
In this video I was on a job upgrading the old computers on a whole fleet of warehouse forklifts, Toyota and Mitsubishi, and replacing them with new ones. We also added fuses to the power cables so there are no problems in the future. The steps below follow the job in order: getting to the battery, wiring and fusing the power cable, and then replacing the monitor itself. After the steps you will find a Toyota vs Mitsubishi comparison, a troubleshooting table, a checklist for doing a whole fleet and an FAQ.
In this article
- Know which forklifts you are working on
- Slide the seat forward
- Lift the hood
- Prop the hood if the hold-open does not work
- Mount the monitor and connect its cable
- Run the power cable to the battery
- Check for a fuse and replace old connectors
- Add an inline fuse to the power cable
- Strip and crimp the connectors
- Seal the connectors with a heat gun
- Unplug the cables from the old monitor
- Loosen the mount arm knob and take the monitor down
- Remove the two screws and the locking connector
- Get the new monitor ready
- Attach the new monitor and reconnect
- Power on and log in to test
- Why add a fuse to the forklift monitor power cable
- Toyota vs Mitsubishi forklifts: what changes
- Troubleshooting a forklift monitor that won't power on
- Checklist for upgrading a whole forklift fleet
- Safety tips when working on a forklift
- Frequently asked questions
- Watch the video
Step 1Know which forklifts you are working on
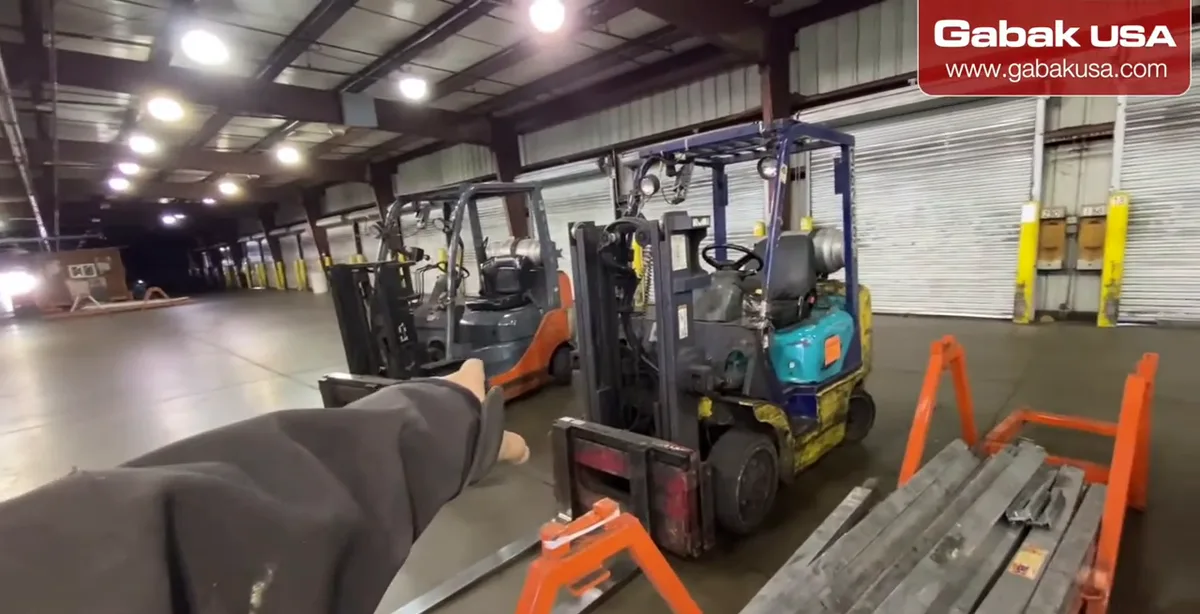
- On this job we had a lot of forklifts, and three of us were working on them. The orange ones are Toyota and the green or blue ones are Mitsubishi.
- The basic process is the same on both: get the seat out of the way, lift the hood, find the battery, then run and connect the cable.
- The details change between brands (hood latch, which side the battery is on), so check one forklift of each type first and then repeat the same routine on the rest.
Step 2Slide the seat forward
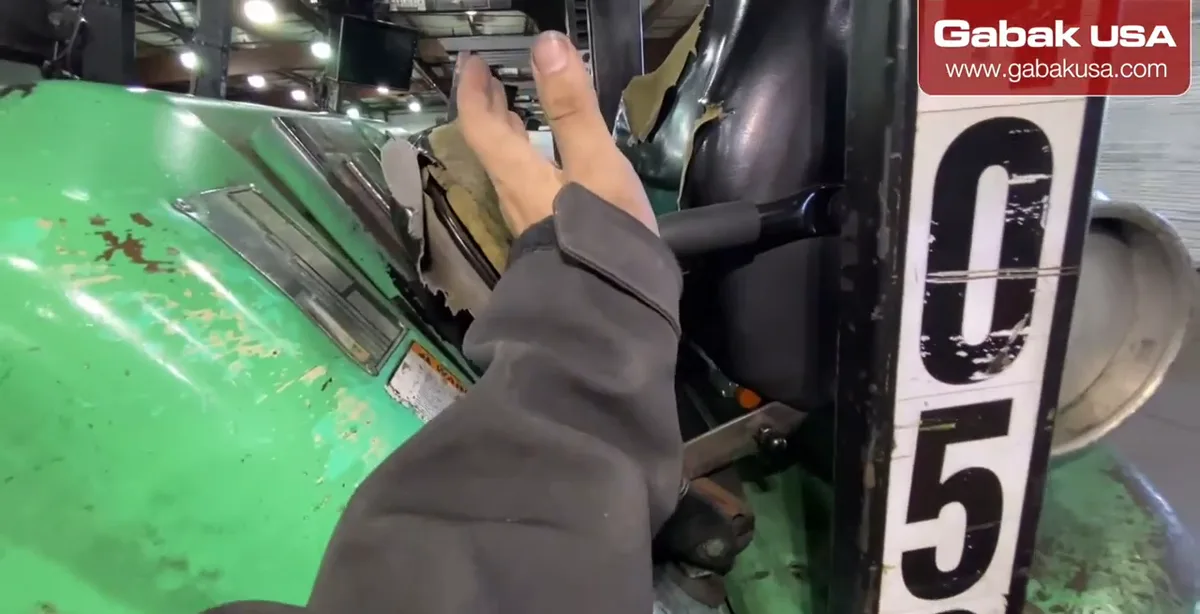
- On these forklifts the seat sits on the hood, so it is in the way.
- Pull the seat lever and the seat goes forward.
- Common mistake: trying to lift the hood with the seat still back. Move the seat first.
Caution: Park the forklift, lower the forks, set the parking brake and turn the key off before you start working on it.
Step 3Lift the hood
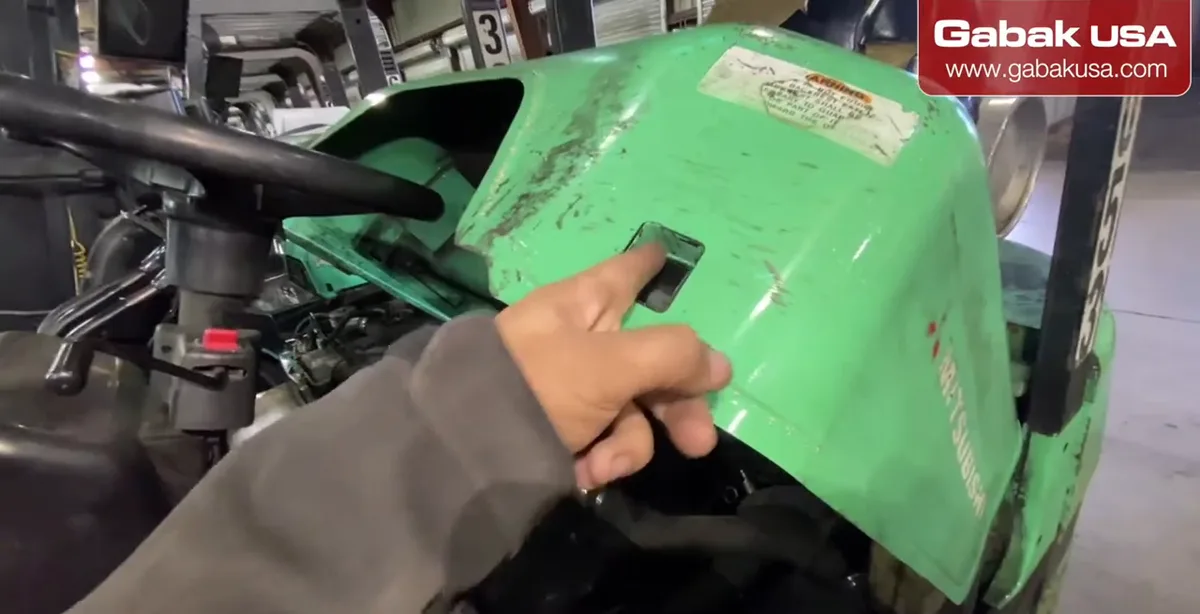
- Once the seat is forward, lift up the hood. Sometimes you pull it from the edge; there is also a knob or latch you can push up.
- The Toyotas have the same kind of thing: you lift it up and hook it.
- On the Mitsubishi in the video the locking mechanism that keeps the hood up was working properly.
Step 4Prop the hood if the hold-open does not work
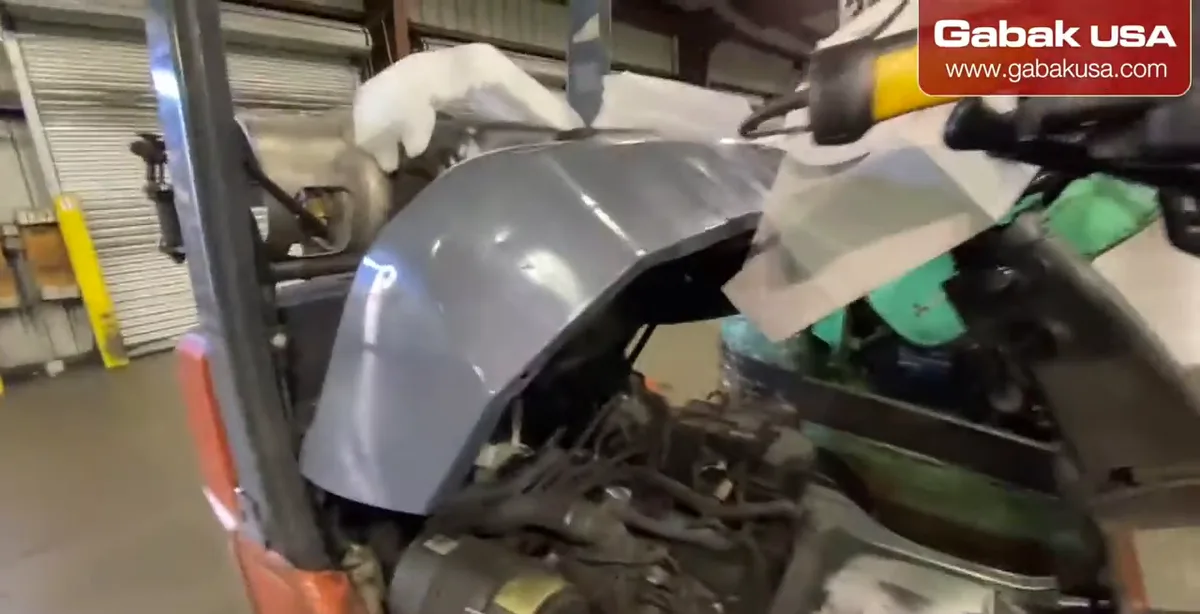
- On one of the Toyotas the hood lock was not working, so I put a box in between to keep it up.
- You can also use a stick or something similar.
- Do not work under a hood that is only resting open. If it falls, it can hit your hands or head.
Step 5Mount the monitor and connect its cable
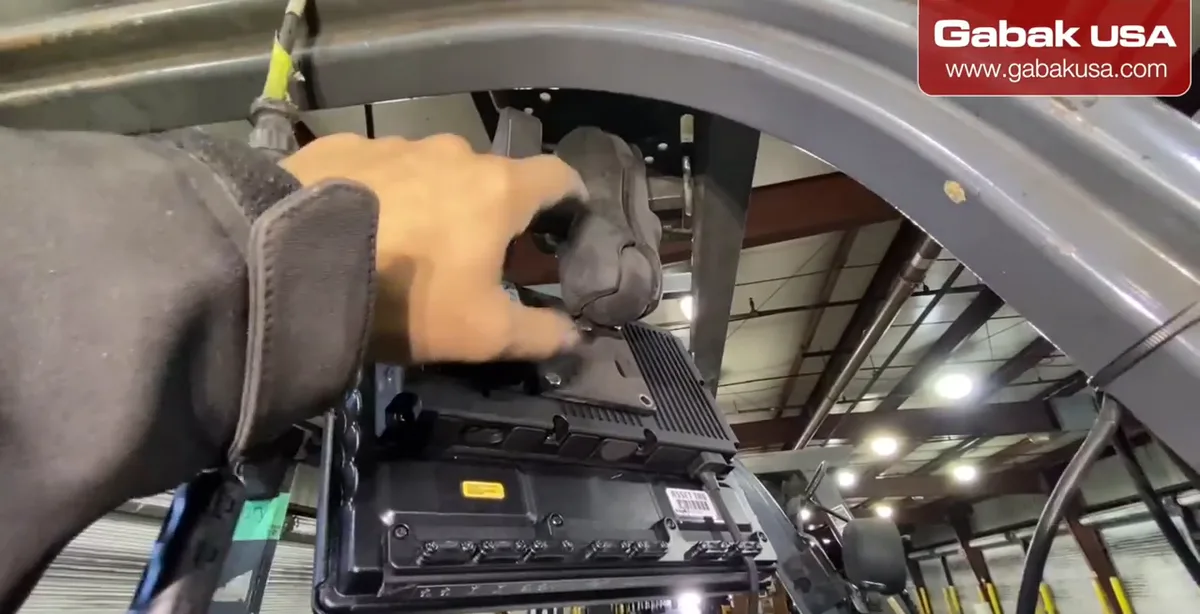
- Hook up the mount where the monitor goes, then connect the cable.
- The connector on these screws in: you unscrew it to remove it and screw it in to install it.
- Tighten the connector screws by hand so vibration does not loosen it.
Step 6Run the power cable to the battery
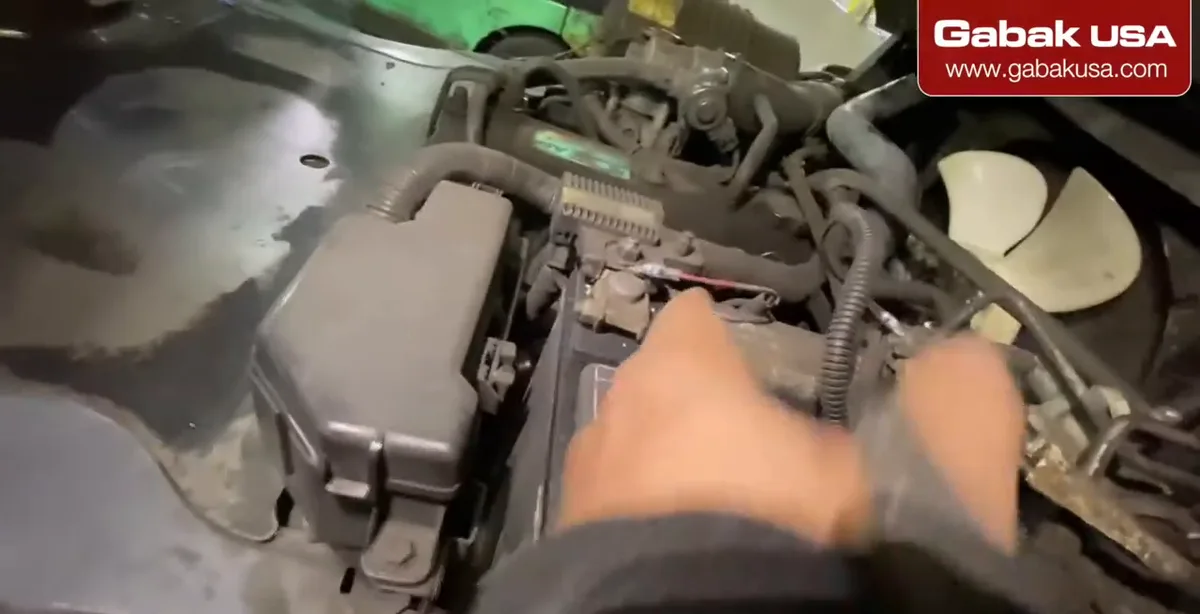
- Run the cable all the way inside, from the monitor down until you get to the battery.
- The battery is not in the same place on every brand: on the orange Toyotas and on the Mitsubishis it was on different sides, so look before you route.
- Keep the cable away from hot or moving parts and tie it down so it does not hang.
Caution: Keep the power cable away from the exhaust, belts and anything that moves. Use zip ties along the route.
Step 7Check for a fuse and replace old connectors
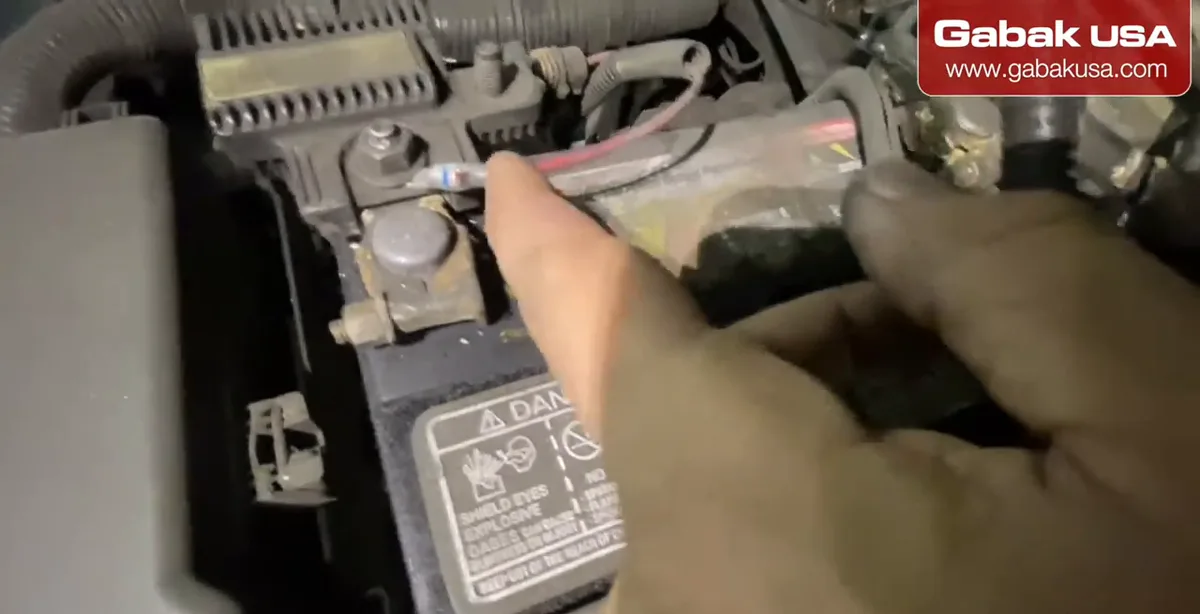
- In some forklifts the power cable already has a fuse built in, like the one in this picture.
- We replaced the old connectors with new ones on every forklift.
- If the cable does not have a fuse, add one (next step).
Step 8Add an inline fuse to the power cable
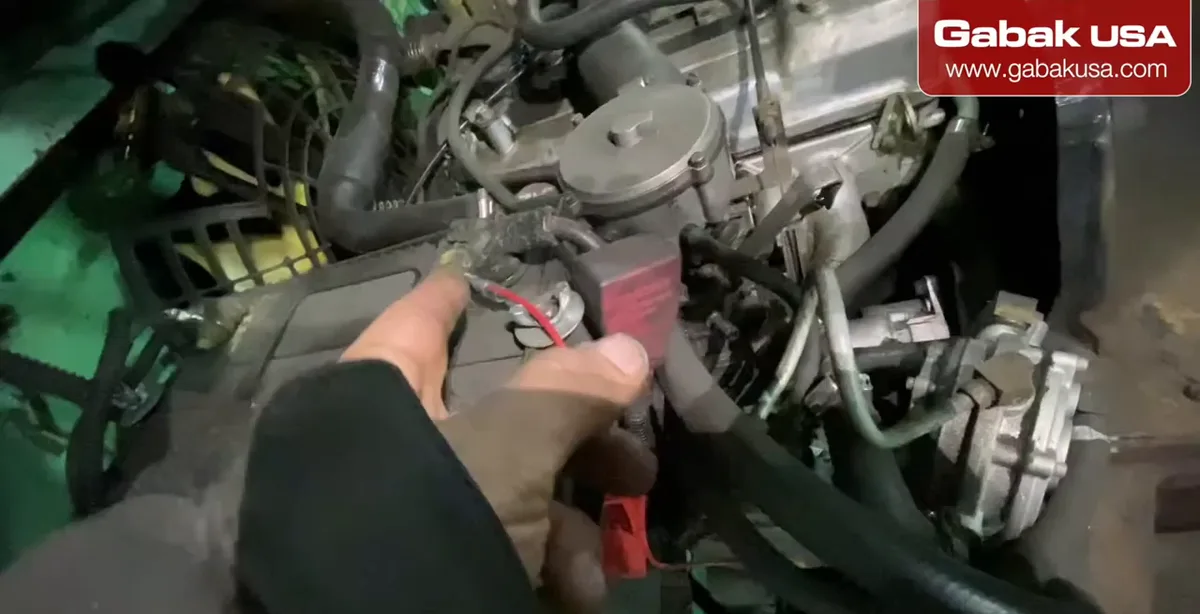
- Buy an inline fuse holder, cut it in half, and crimp one side to each end of the cut power wire with a connector.
- This way the monitor cable is protected and a short will blow the fuse instead of damaging the wiring.
- Put the fuse close to the battery end of the wire, so it protects as much of the cable as possible.
Caution: Use the fuse rating the monitor maker specifies and never a bigger one. A fuse that is too big will not protect the wire.
Step 9Strip and crimp the connectors
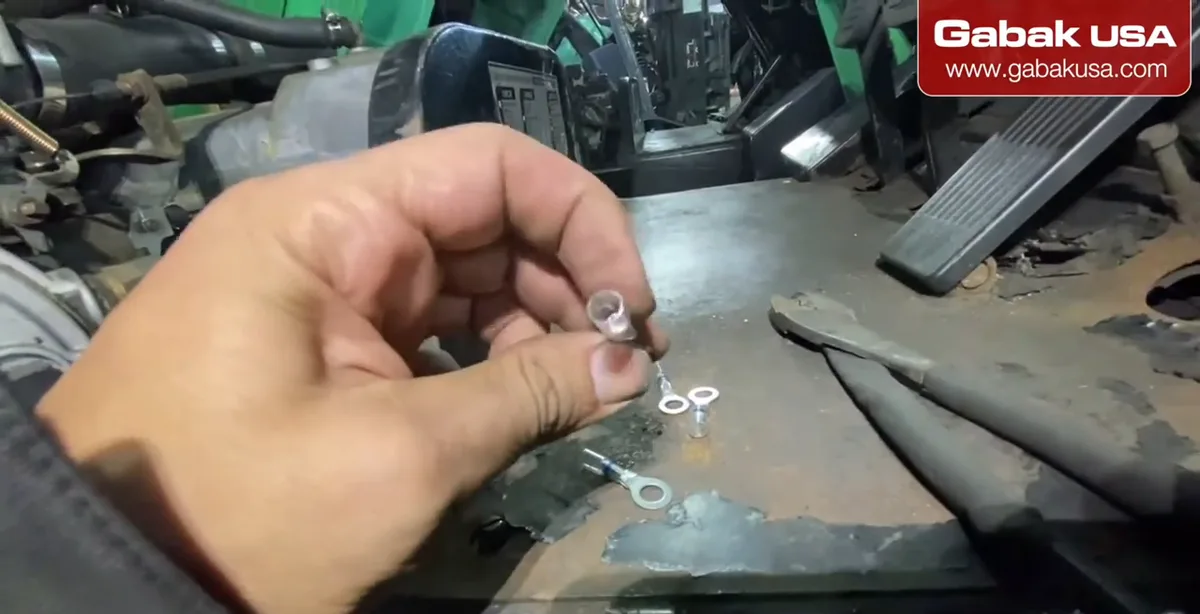
- Strip the cable, put the bare wire inside the connector, then grab the crimper (gripper), place it over the connector and squeeze.
- For the tube-type (butt) connectors you squeeze both ends, one for each wire.
- Give each wire a pull after crimping. If it moves, cut it and crimp again.
Step 10Seal the connectors with a heat gun
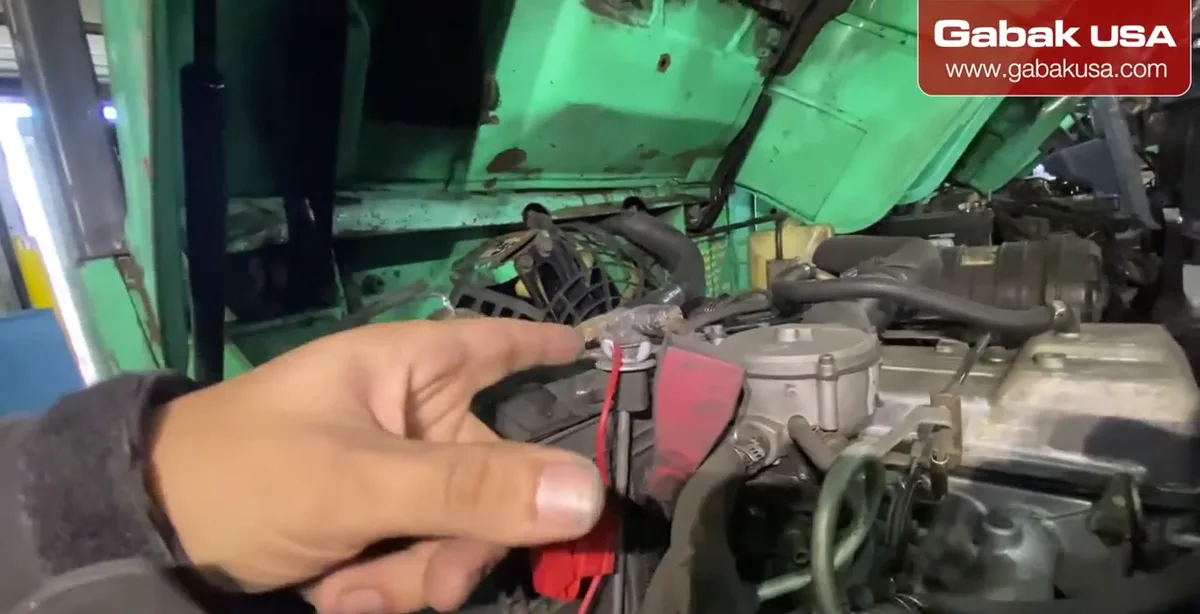
- After crimping, use the heat gun on the connector so it shrinks and seals the whole connection.
- Sealed connections hold up better to the dirt and vibration of a working forklift.
- Do the same on every connector, then everything should work just fine.
Caution: Keep the heat gun moving and away from plastic parts, other wiring and anything flammable in the engine bay.
Step 11Unplug the cables from the old monitor
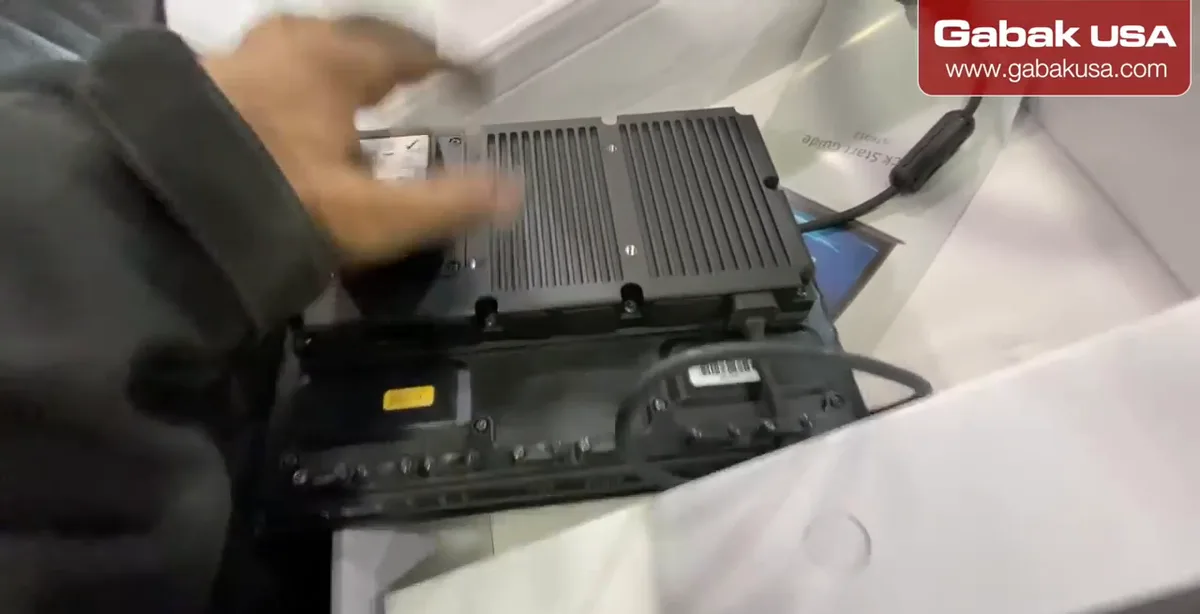
- Now the replacement. The new monitor comes in a box: take out the foam and get it ready. That is the easiest part.
- On the back of the old monitor you have the plugs and the holes for the mount screws.
- Remove the plugs first; the screw-type one just unscrews.
Step 12Loosen the mount arm knob and take the monitor down
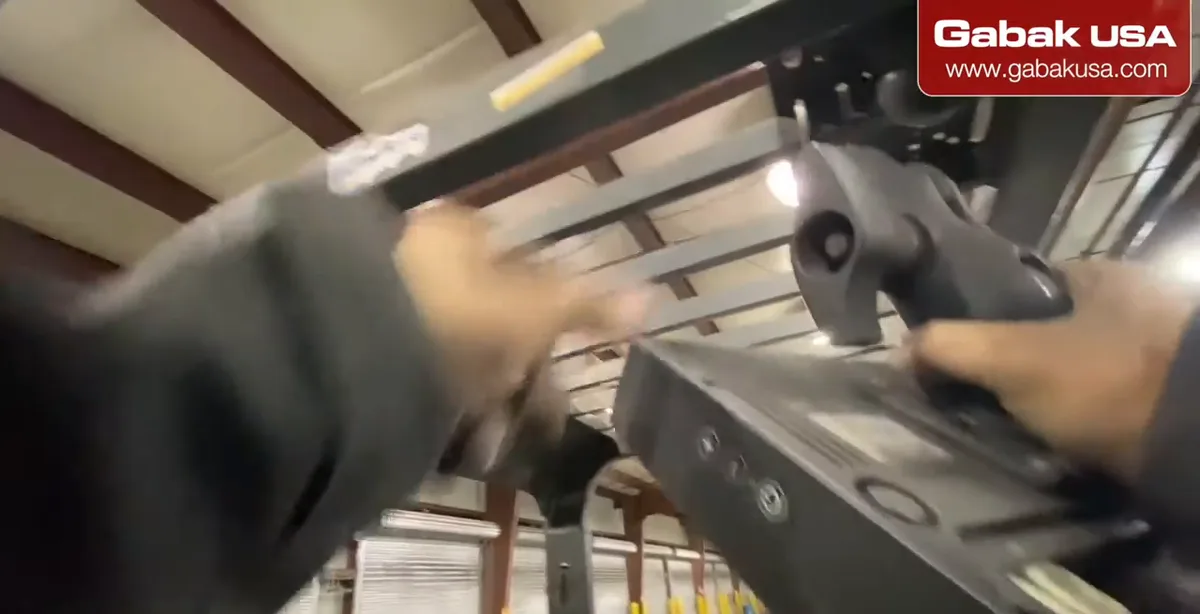
- The easiest way is to turn the knob on the mount arm to release the monitor, so you can work on a flat surface.
- To make your life easier, unscrew it almost all the way so you can take it down.
- Always hold the monitor while you loosen it, otherwise it will fall.
Caution: Hold the screen with one hand the whole time the knob is loose. A dropped terminal can be damaged or hurt someone.
Step 13Remove the two screws and the locking connector
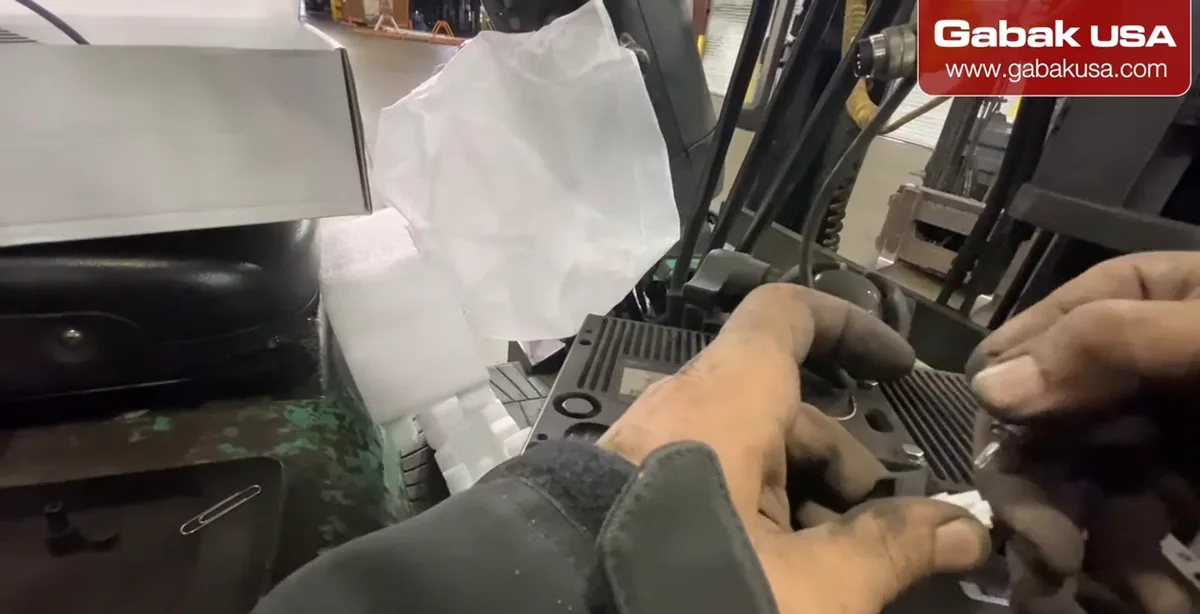
- With the monitor loose, remove the two screws that hold it to the mount plate.
- One connector has a small locking mechanism: push it and you can unplug it.
- Untie any zip tie holding the cable and let it dangle. Then put the old monitor to one side.
Step 14Get the new monitor ready
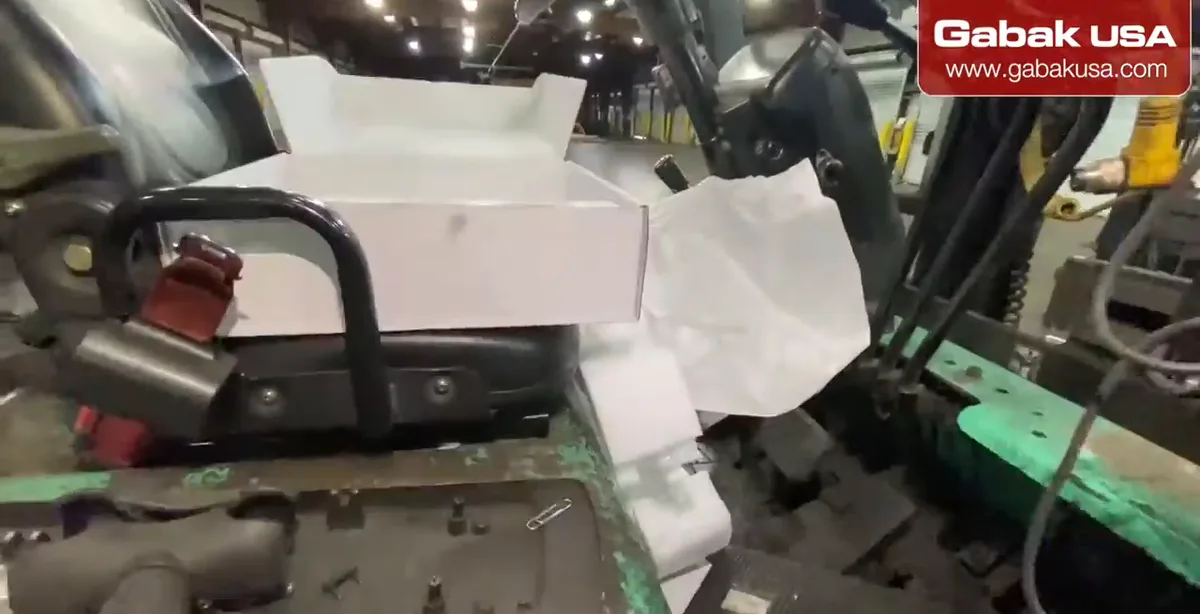
- Grab the new monitor. In the video, the little mount part goes on top.
- You can also remove that part completely if your setup needs it.
- Compare the new monitor's mounting holes and connectors with the old one before you start.
Step 15Attach the new monitor and reconnect
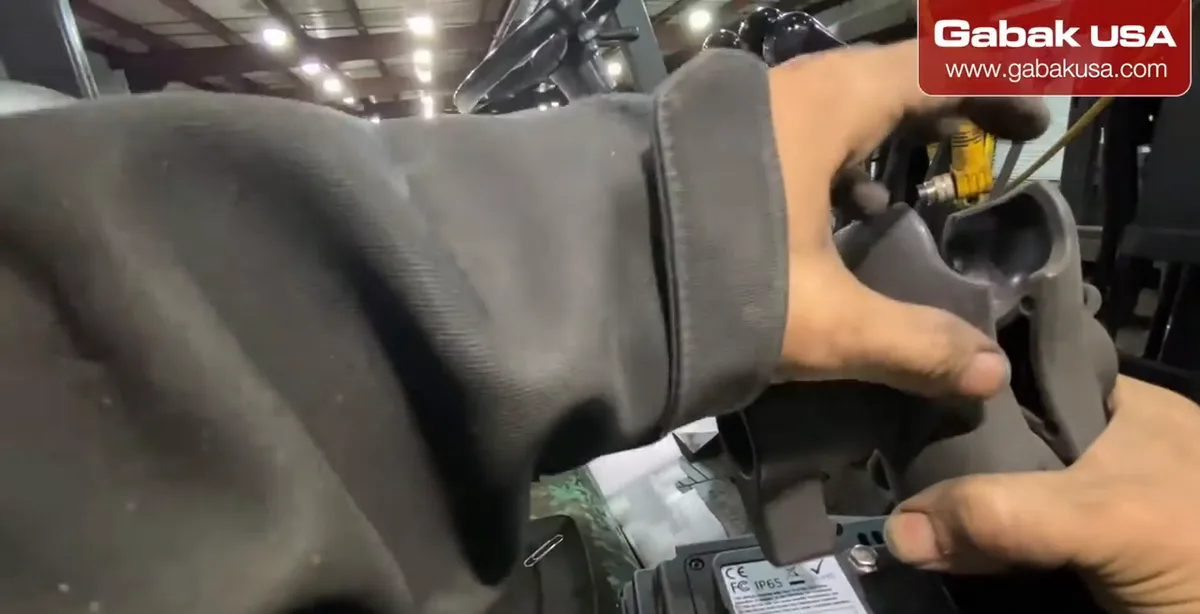
- Put the new monitor on the arm, tighten it, and plug the cables back in, including the screw-in connector.
- Position it so the driver can see and reach it without blocking the view forward.
- Tie the cables so they do not hang where the driver gets in and out.
Step 16Power on and log in to test
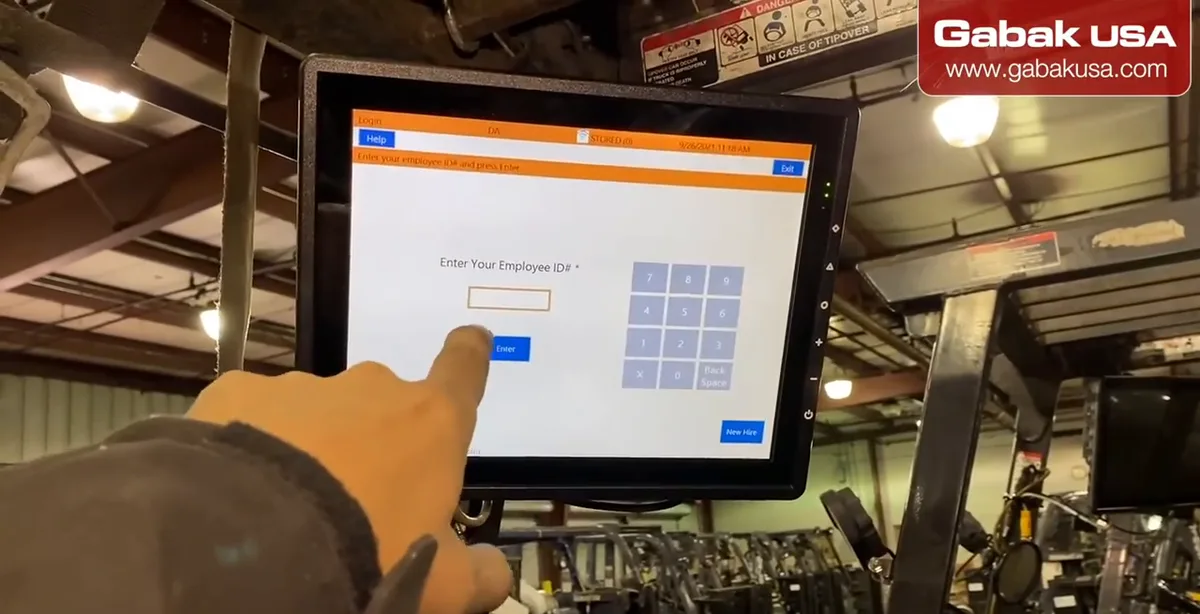
- Turn it on. The new monitor boots to the login screen: you put the employee number and you are ready to work.
- If it shows the login screen, the power wiring, fuse and connectors are good.
- Then do the same thing with every other forklift in the fleet.
Why add a fuse to the forklift monitor power cable
A forklift computer monitor is wired straight to the battery, and a battery can deliver a lot of current into a short circuit. If the cable rubs through on a sharp edge or gets pinched by the hood, an unfused wire can overheat. That is why in this job we added fuses to the power cables of every forklift that did not already have one.
Two rules make the fuse do its job:
- Place it close to the battery. A fuse only protects the wire after it. Circuit-protection makers like Blue Sea Systems recommend putting fuses as close as possible to the battery so most of the wire is protected.
- Size it for the wire and the device. Use the value the monitor maker recommends and never one bigger than the wire can handle.
If you run other low-voltage gear on vehicles, the same idea applies; see how I power a USB Wi-Fi camera far away with a 12V to 5V converter.
Toyota vs Mitsubishi forklifts: what changes
The job is the same on both brands in the video, but a few details change:
| Item | Toyota (orange in the video) | Mitsubishi (green/blue in the video) |
|---|---|---|
| Getting to the battery | Slide the seat forward, lift the hood | Slide the seat forward, lift the hood |
| Hood hold-open | On one unit it did not work; I used a box | Locking mechanism worked properly |
| Battery position | On one side of the engine bay | On the other side; check before routing |
| Fuse on the power cable | Some already had one | Added where missing |
Other forklift models and brands may differ. Always check the operator manual for your model before opening panels.
Troubleshooting a forklift monitor that won't power on
| Symptom | Likely cause | What to check |
|---|---|---|
| Screen completely dead | Blown fuse or loose connector | Check the inline fuse, then each crimp and the battery connection |
| Turns off over bumps | Loose crimp or connector | Pull-test each crimp, tighten the screw-in connector |
| Fuse blows again | Short in the cable | Look for a pinched or rubbed wire along the route |
| Monitor works but sags or moves | Mount knob not tight | Tighten the arm knob and the two mount screws |
| Login screen does not appear | Data cable not connected | Reseat the connectors on the back, including the locking one |
Note: Some fleet terminals have their own power settings or software setup. Follow the instructions from the system provider for anything beyond the wiring and mounting shown here.
Checklist for upgrading a whole forklift fleet
On a job like this you repeat the same work on many forklifts, so a routine saves a lot of time:
- Do one forklift of each brand first and write down where the battery and the fuse are.
- Prepare fuse holders and connectors in advance. I had extra connectors already built in my pocket.
- Work in teams: in the video we were three people.
- Replace old connectors while you are there, not later.
- Heat-shrink every connection.
- Test each monitor at the login screen before moving to the next forklift.
- Keep the old monitors together and labeled for the customer.
The same habits (labels, clean wiring, testing before you leave) apply to any install, from turning a car into a generator with a power inverter to setting up a Victron BatteryProtect.
Safety tips when working on a forklift
- Park on a level floor, lower the forks, set the parking brake and remove the key.
- Prop the hood securely; do not trust a broken hold-open.
- Your hands will get black and dirty in the engine bay; gloves help.
- Never leave bare wire or an unsealed crimp near the battery.
- Follow the warehouse's own rules for equipment that is out of service while you work on it.
Frequently asked questions
How do you install a computer monitor on a forklift?
Mount the bracket, connect the monitor cable, then run the power cable inside to the battery with an inline fuse, crimping and heat-shrinking every connection.
Where does a forklift monitor get its power?
In the video the monitor power cable runs from the screen down through the hood area to the forklift battery.
Do I need a fuse for a forklift monitor?
Yes. Some forklifts already have one built into the cable; if yours does not, add an inline fuse close to the battery.
How do I open the hood on a Toyota or Mitsubishi forklift?
Pull the seat lever to slide the seat forward, then lift the hood using the latch or knob. Prop it if the hold-open does not work.
How do I remove an old forklift monitor from its mount?
Unplug the cables on the back, hold the screen and loosen the mount arm knob, then remove the two screws and unplug the locking connector.
What tools do I need to wire a forklift monitor?
A wire stripper, a crimping tool, crimp connectors, an inline fuse holder, a heat gun, screwdrivers and zip ties.
Why use a heat gun on crimp connectors?
Heat-shrink connectors seal the connection when heated, which helps them resist dirt, moisture and vibration.
How do I test the new forklift monitor?
Turn it on and check that it boots to the login screen; in the video you enter the employee number and it is ready to work.
Watch the video


Comments
Comments appear after Gabriel reviews them.
Loading comments…