

Step-by-step guide
How to install point-to-point antennas and access points on a trailer
Short answer: to install point-to-point antennas on a trailer, mount one outdoor access point / CPE antenna on each building with a clear line of sight between them, run outdoor Ethernet cable from each antenna's PoE port to the PoE adapter and network switch inside, crimp RJ45 connectors, aim the antennas at each other, seal every hole and label the cables.
In this video I install a wireless bridge (point to point) between an office trailer and another building so both can share one internet connection and transfer data, instead of paying for two connections. The site is a huge truck parking lot where they use tablets, and the customer also wanted Wi-Fi for the truck drivers. The steps below follow the install from the ladder and the roof to the little data closet, with photos from the video, followed by background on how a point-to-point link works, a troubleshooting table and an FAQ.
In this article
- Plan the link between the two buildings
- Choose a mount spot that avoids holes in the roof
- Route the cable inside the trailer
- Drill the hole for the cable
- Run the cable across the roof
- Identify the PoE port and the LAN port
- Mount the antenna on its bracket
- Clean the cable end and crimp the RJ45
- Plug the cable into the antenna
- Secure the cable with screw-mount zip ties
- Aim the antenna toward the other side
- Seal the hole inside
- Seal the screws and cable entry outside
- Label the main and secondary antennas
- Label the cables in the data closet
- Connect to the switch and access point
- How a point-to-point wireless bridge works
- About the EnGenius EnStation5-ACv2 in the video
- Troubleshooting a point-to-point link
- Cable tips for outdoor installs that last
- Where a trailer point-to-point setup makes sense
- Frequently asked questions
- Watch the video
Step 1Plan the link between the two buildings
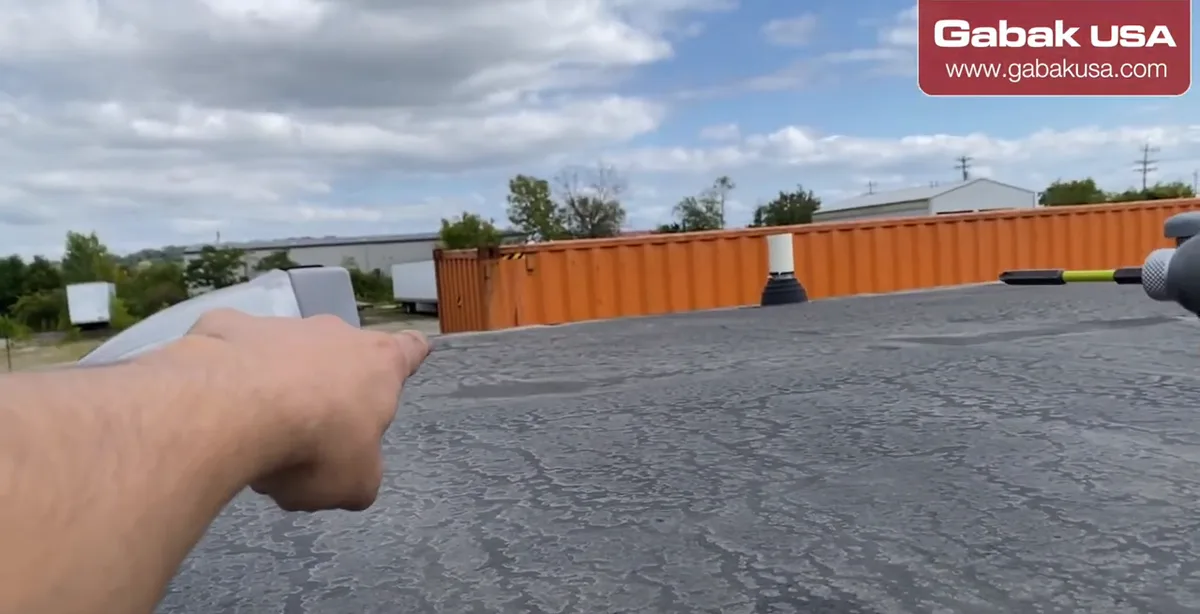
- The goal: put one antenna on the trailer and another one on the building on the other side, so both share the internet connection and can transfer data.
- The two antennas must be able to see each other. Stand where you plan to mount and check that nothing blocks the view.
- Find out where the data switch is on each side, because that is where your cable has to end.
Step 2Choose a mount spot that avoids holes in the roof
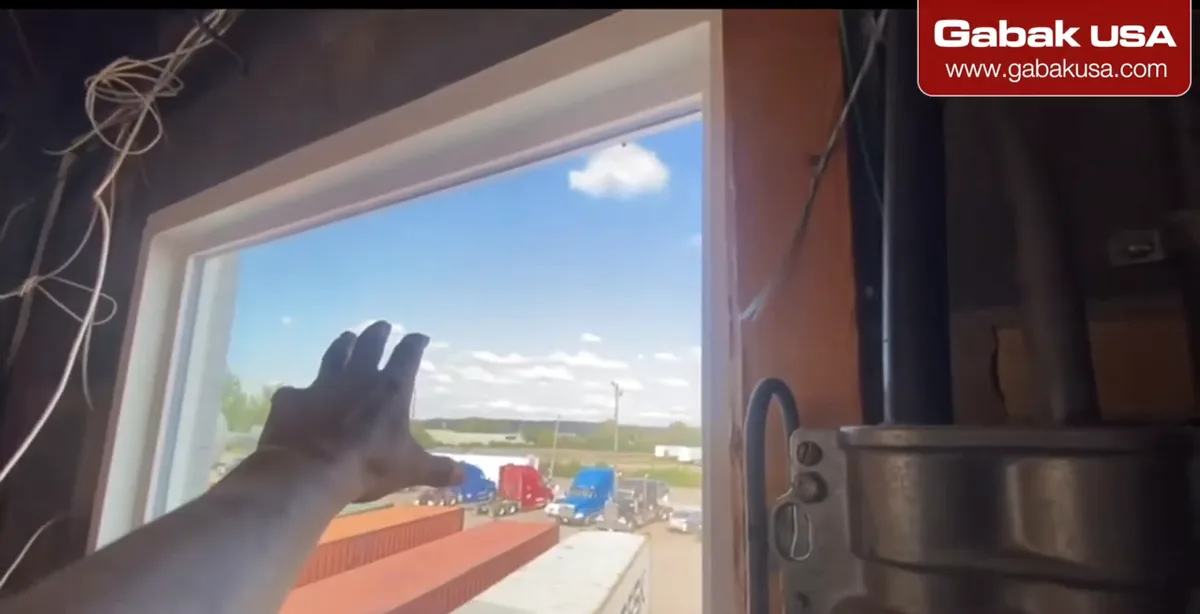
- On the other side we have a window with a perfectly fine view of the other antenna, so we can use it.
- Put a piece of lumber or a stud to adapt the mount, so you avoid making holes in the roof or the wall.
- Fewer holes means fewer places where water can get in later.
Step 3Route the cable inside the trailer
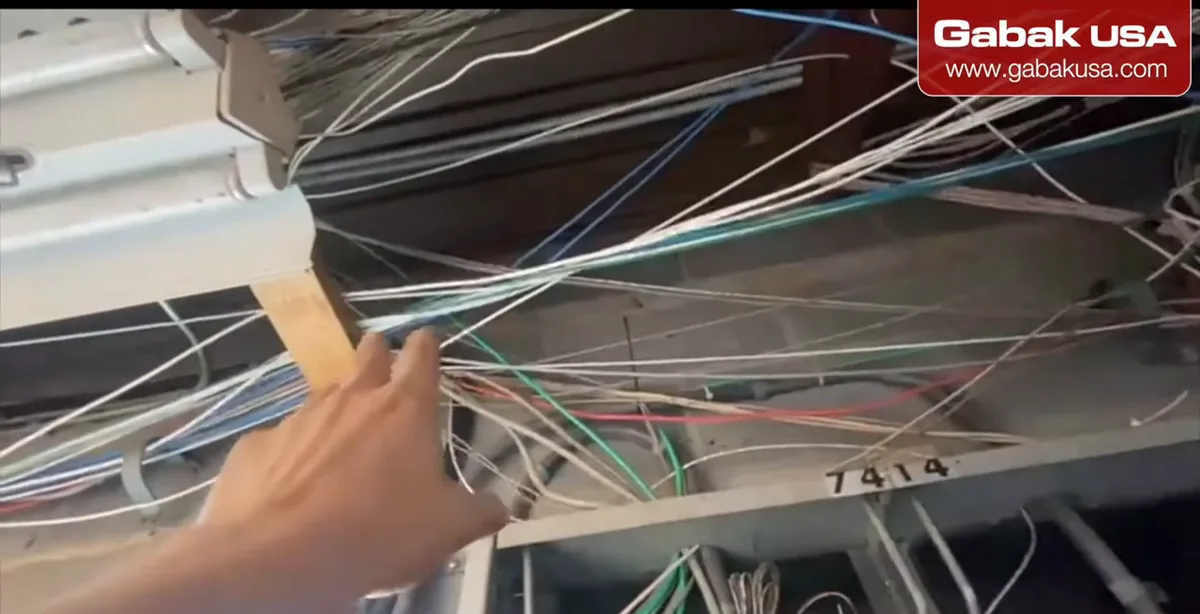
- Inside the trailer, run the cable along the ceiling all the way to the place where the network equipment is.
- Follow the path of the existing cables when you can.
- For long-lasting wiring, I highly recommend running the cables in conduit; otherwise they will not last many years.
Step 4Drill the hole for the cable
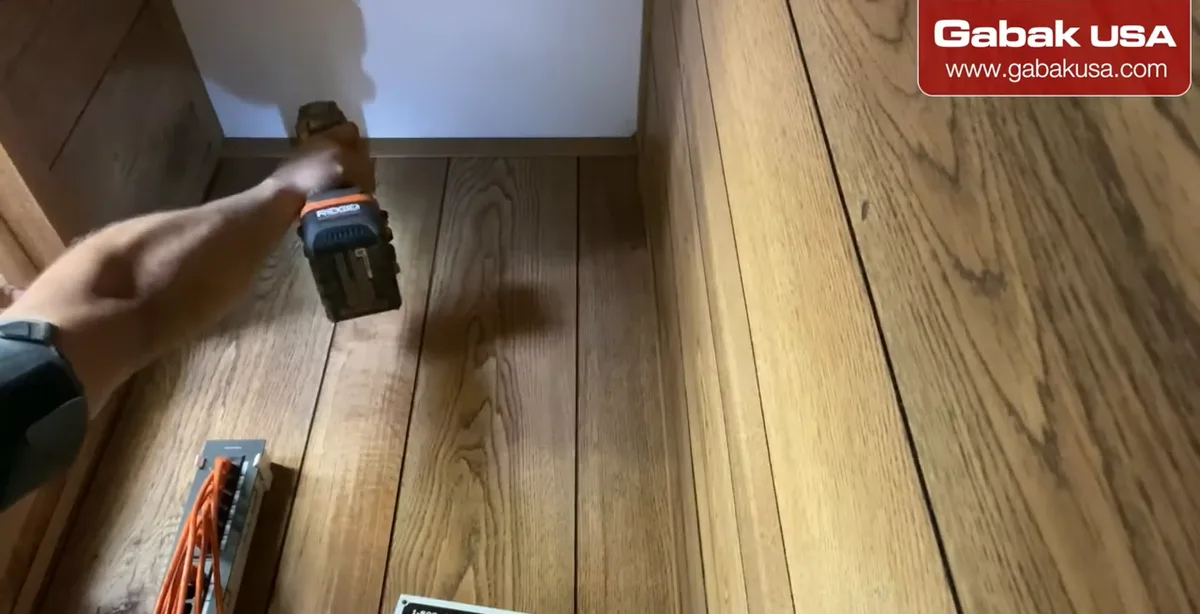
- Mark where the cable will pass and make the hole with the drill.
- Check what is behind the wall before drilling so you do not hit wiring.
- Keep the hole just big enough for the cable; you will seal it later.
Step 5Run the cable across the roof
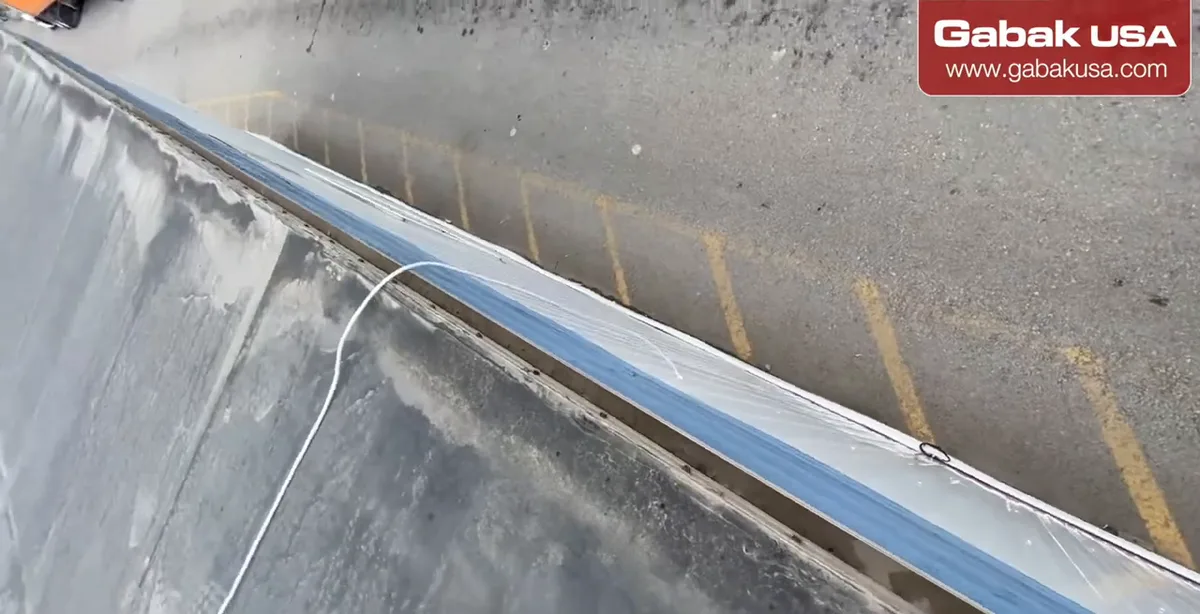
- Pass the cable through to the other side and up to the roof. Here the support is close, so it is a short run.
- Be careful on the roof; it can be slippery.
- Leave a little extra cable at the antenna end so you can crimp and re-crimp if needed.
Caution: Use a ladder rated for your weight, keep three points of contact and do not work on a trailer roof in wet or windy weather.
Step 6Identify the PoE port and the LAN port
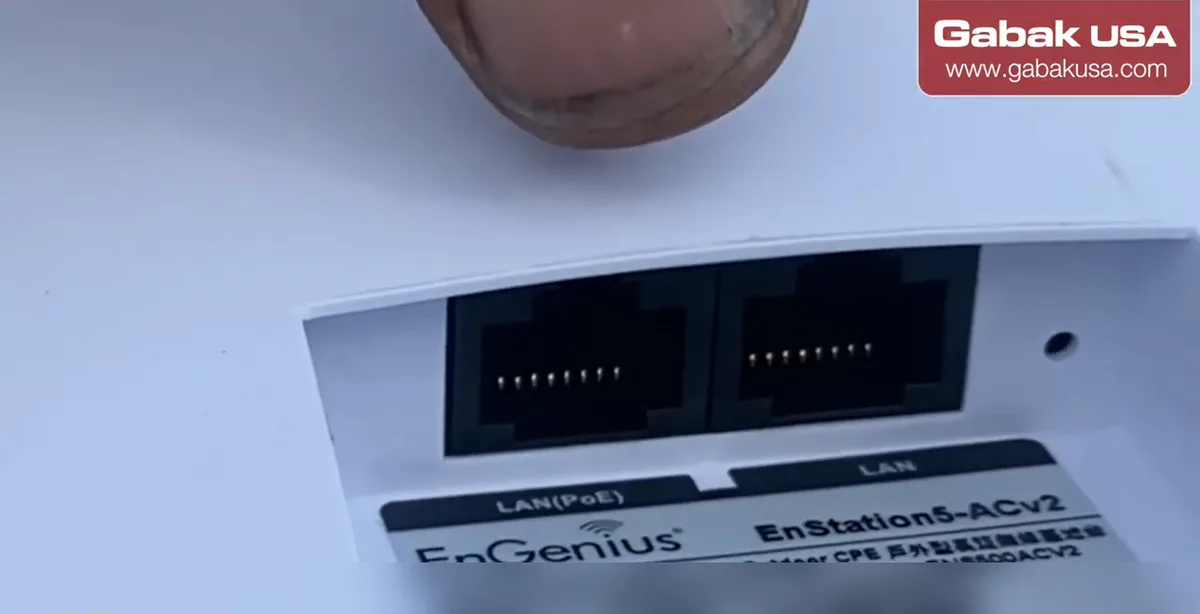
- The antenna has two ports: the one marked PoE and the one marked LAN.
- The cable from the PoE adapter inside goes into the PoE port; that cable brings both power and data.
- The unit in the video is an EnGenius EnStation5-ACv2. Its datasheet lists a proprietary 24 V PoE input on the LAN(PoE) port with an included adapter, so do not expect a standard PoE switch port to power it.
Step 7Mount the antenna on its bracket
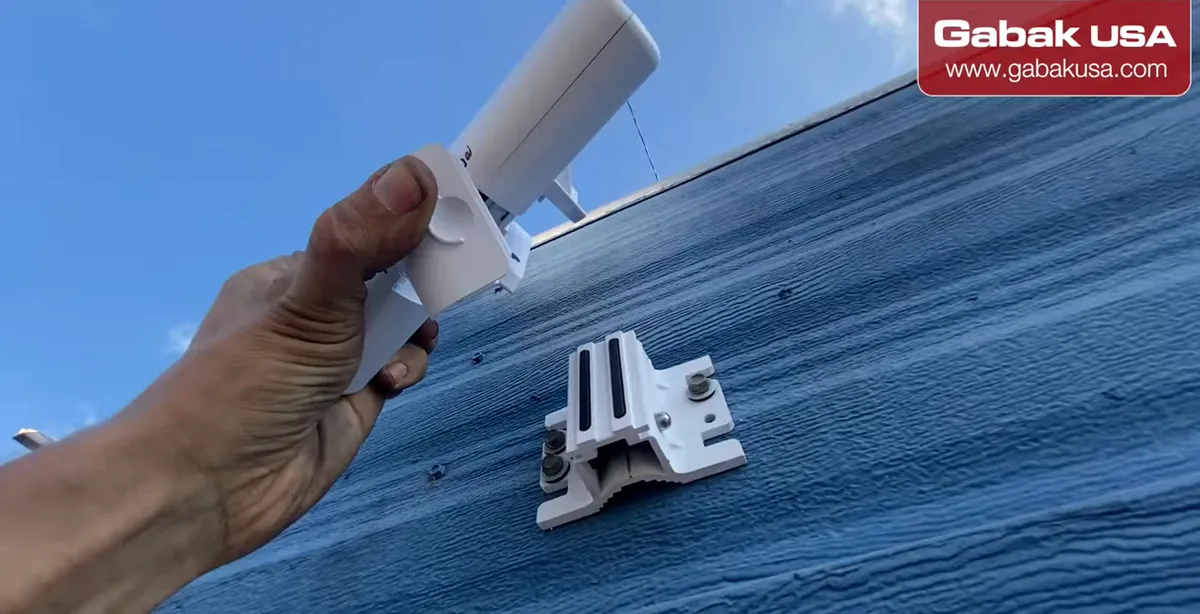
- Screw in the bracket and attach the antenna to it.
- Point it roughly toward the other side for now; you will fine-tune the aim after everything is connected.
- Make sure the bracket is solid. Wind on a moving antenna will make the link unstable.
Step 8Clean the cable end and crimp the RJ45
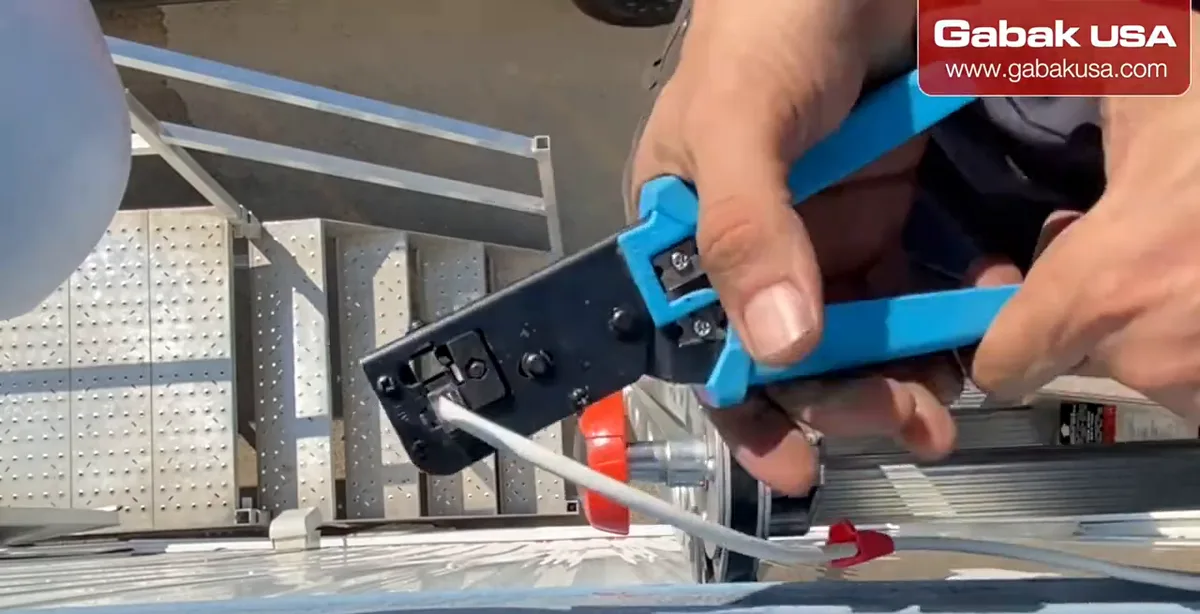
- Build the cable: strip it, clean the end and put the wires in order, then crimp the RJ45 plug.
- Clean the terminal before you plug it in so there is no dirt in the connector.
- Test the cable with a tester if you have one before you close everything.
Step 9Plug the cable into the antenna
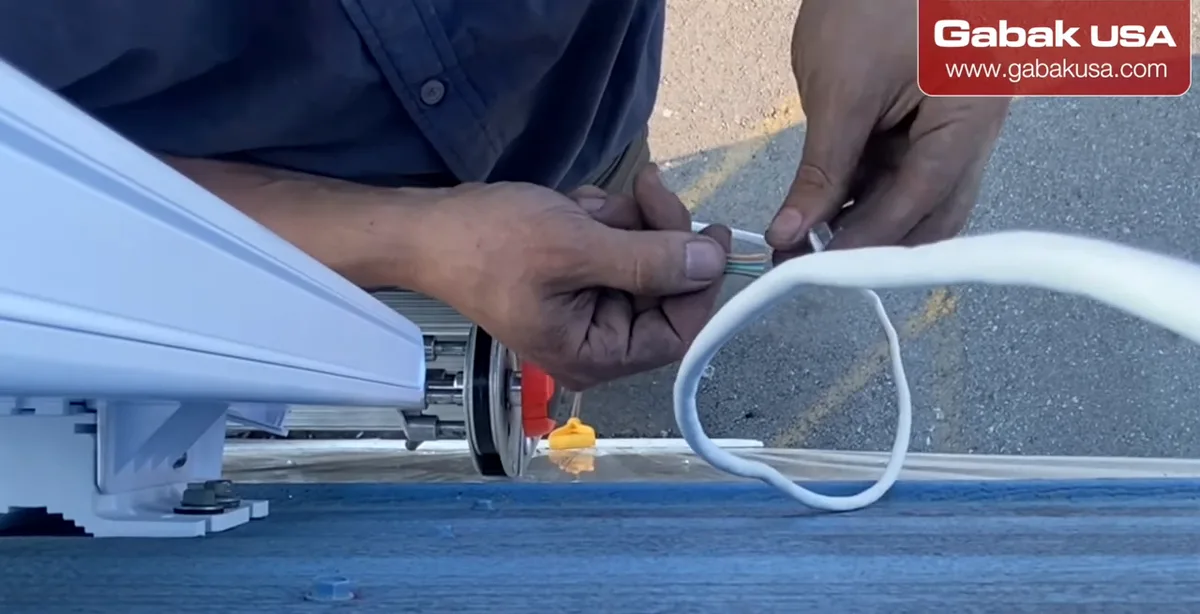
- Plug the cable into the PoE port and you can see it is installed.
- Push until it clicks, then close any cover the antenna has for the port.
- Leave a small drip loop so water runs off the cable instead of into the connector.
Step 10Secure the cable with screw-mount zip ties
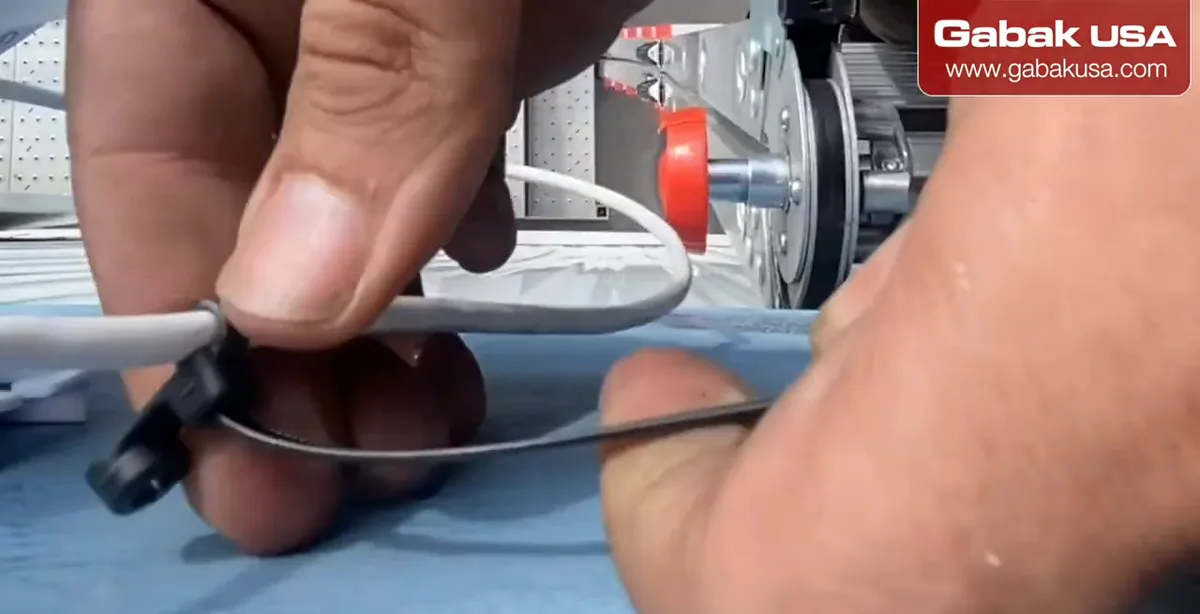
- Use zip ties with a hole and screw them to the trailer.
- That way the cable is not going to be flying around in the wind.
- Cut the extra tail of each zip tie clean.
Step 11Aim the antenna toward the other side
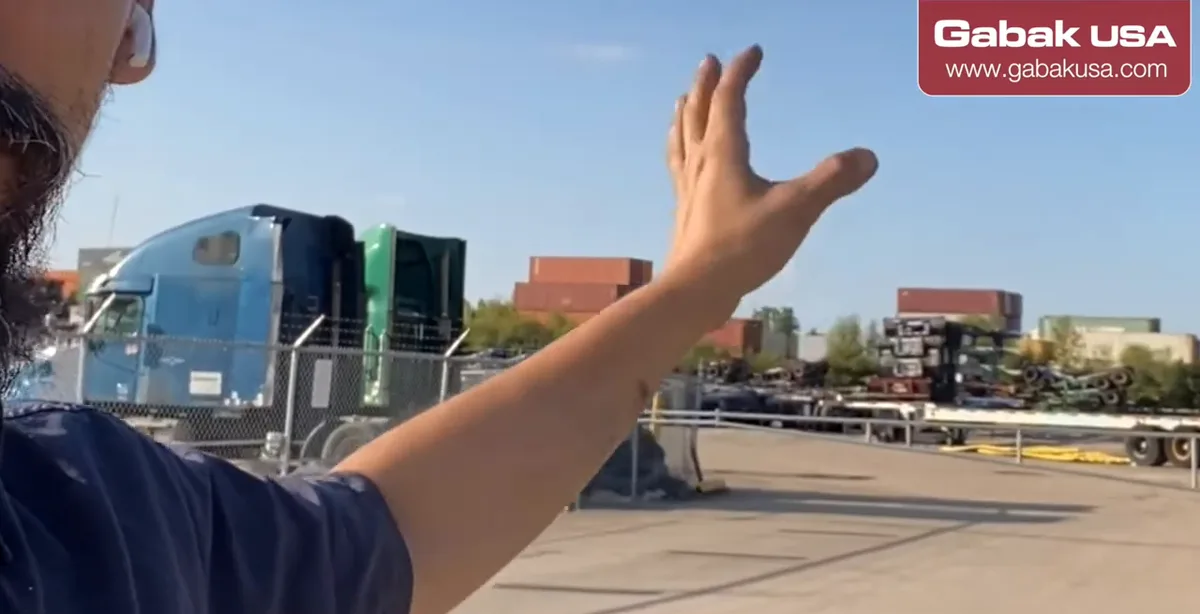
- In the beginning I was going to put it on the roof, but the customer changed their mind: we put it in front of the window, aiming toward the other side.
- This is a huge parking lot for trucks, and they use tablets there, so they also want Wi-Fi for the truck drivers.
- On that end the customer has a powerful access point that we install for that coverage.
Note: Plans change on site. Confirm the final mount location with the customer before you drill.
Step 12Seal the hole inside
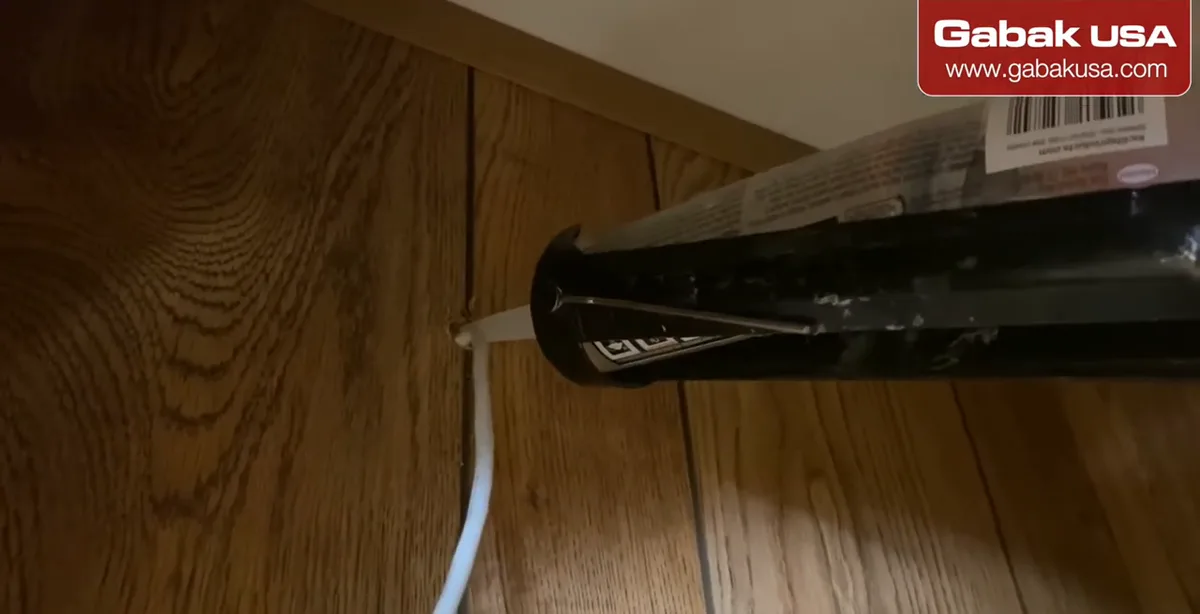
- Once the cable is through, seal the hole around it.
- This keeps water, dust and insects out of the trailer.
- Let the sealant cure before you pull on the cable.
Step 13Seal the screws and cable entry outside
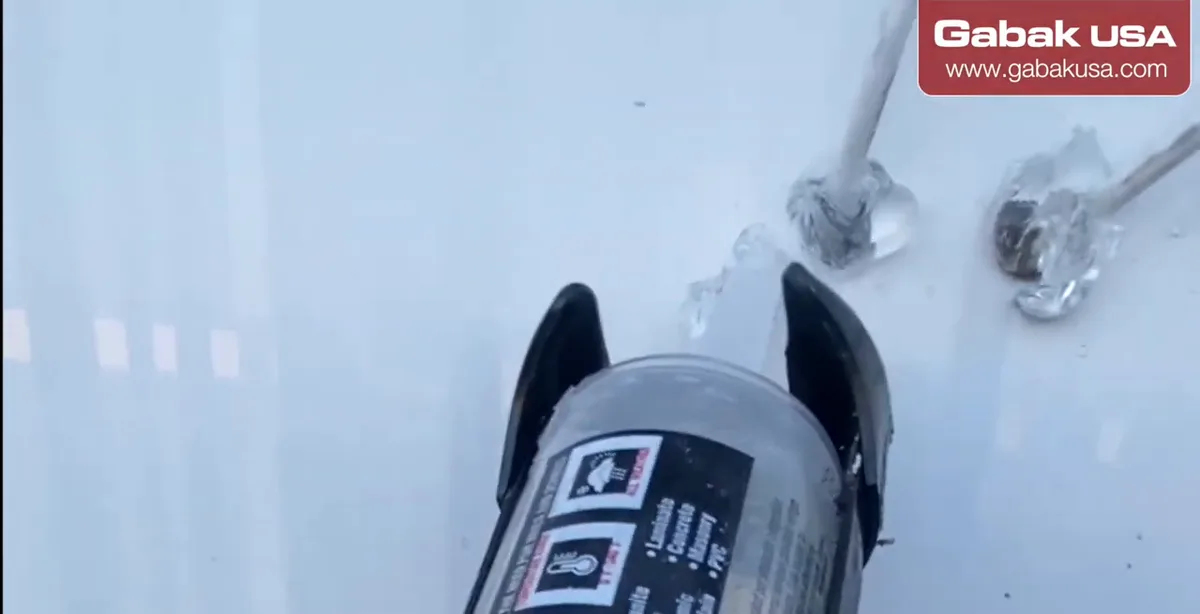
- On the other side we had to make a new hole. Put everything together and seal the screws and the cable entry on the outside too.
- Outside sealing matters most because that is where the rain hits.
- Check that nothing is left uncovered on the roof edge.
Step 14Label the main and secondary antennas
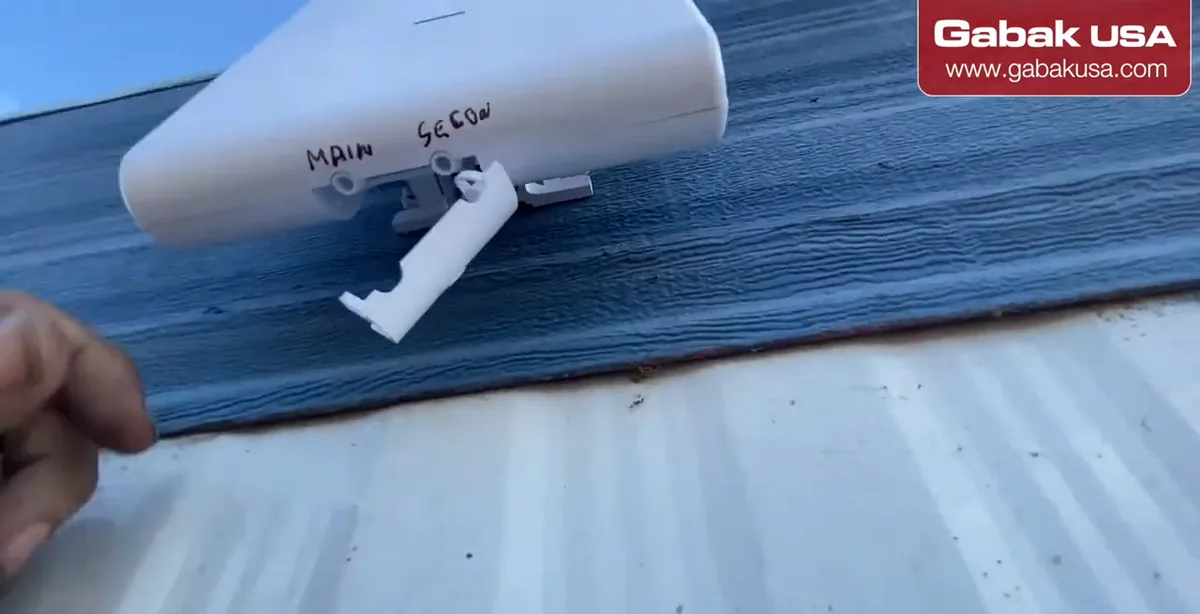
- Mark the units main and secondary.
- That way it will be easier when you have to plug things in or configure them.
- Write the same labels on the cable ends.
Step 15Label the cables in the data closet
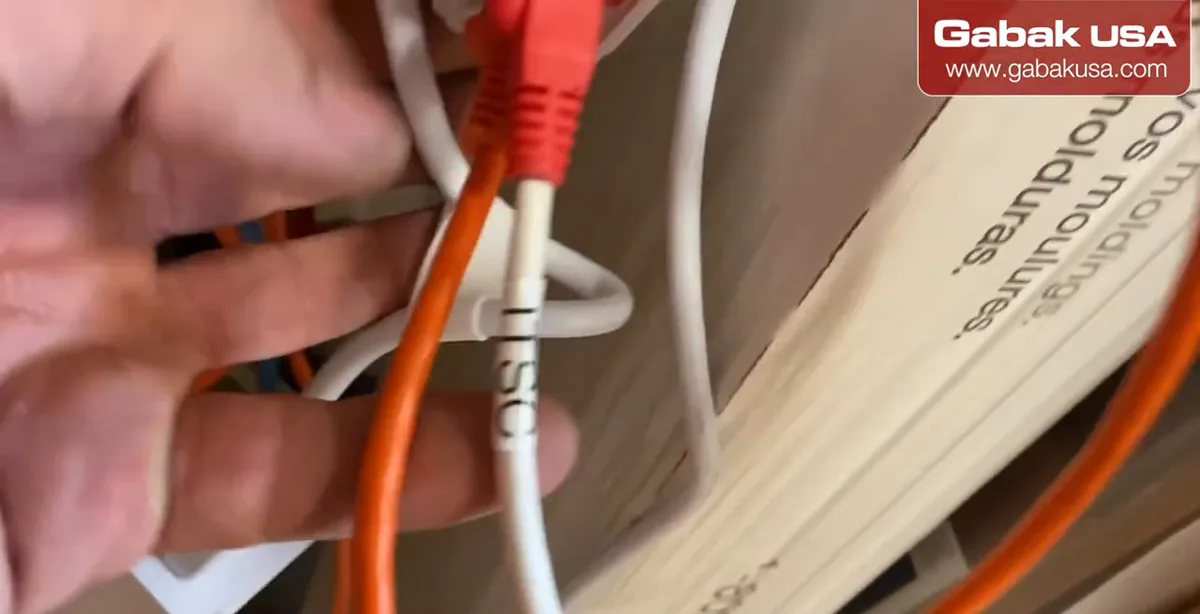
- Put a label on each cable, the one we ran and the others, so everything has its own label.
- Whoever comes next will know which cable goes to which antenna.
- Use labels that will not fall off in heat.
Step 16Connect to the switch and access point
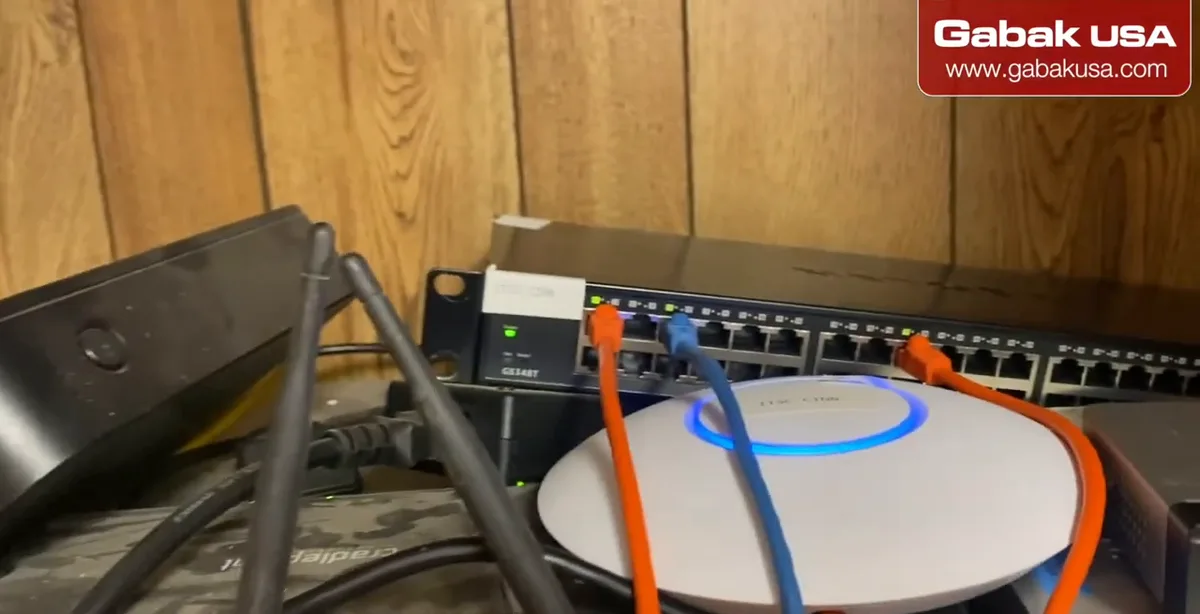
- Go through the roof again and put the cables into the little data closet.
- Plug the PoE adapter's data side into the switch and connect the access point.
- Then check the link and the Wi-Fi from a tablet in the parking lot.
How a point-to-point wireless bridge works
A point-to-point (PtP) link is two directional radios aimed at each other. One is set up as the access point and the other as the client or bridge, and together they act like a long invisible Ethernet cable. That is how two buildings can share one internet connection and the same network without trenching a cable between them.
The key requirements are:
- Clear line of sight. The antennas need to see each other; trees, buildings and trucks parked in the way weaken the link.
- Solid mounts. Directional antennas have a narrow beam, so if a mount moves, the link can drop.
- Good cabling. Each radio gets power and data over one Ethernet cable from its PoE adapter.
If you have to mount one on a brick wall instead of a trailer, see my guide to installing a point-to-point antenna on a wall.
About the EnGenius EnStation5-ACv2 in the video
The label on the unit in the video reads EnGenius EnStation5-ACv2, a long-range outdoor CPE. From EnGenius' own datasheet and manual:
| Spec | EnStation5-ACv2 |
|---|---|
| Band / standard | 5 GHz, 802.11ac Wave 2 (a/n compatible) |
| Max data rate | Up to 867 Mbps (real throughput is lower) |
| Ports | 2 x Gigabit Ethernet: LAN(PoE) and LAN |
| Power | Proprietary 24 V PoE, adapter included |
| Weather rating | IP55 |
| Modes | Access point / client bridge for point-to-point |
Caution: The EnStationACv2 (without the 5) uses a different 54 V adapter. Always power each unit with the adapter that came with it.
Other brands of point-to-point radios install the same way, but check the power requirements of yours.
Troubleshooting a point-to-point link
| Problem | Likely cause | Fix |
|---|---|---|
| No lights on the antenna | Cable in the LAN port, bad crimp or wrong adapter | Use the PoE port, re-crimp, use the original adapter |
| Link drops in the wind | Loose mount | Tighten the bracket and secure the cable |
| Weak or slow link | Not aimed well or something in the way | Re-aim and check line of sight |
| Works, then fails after rain | Water in the connector or cable | Drip loop, seal holes, outdoor cable |
| Wrong device on the network | Cables mixed up | Check your main/secondary labels |
For checking the cables you crimped, a simple tester helps; see how to use the Tesmen TLP-900AR network cable tester. To find which cable is which in a closet, use a toner and probe.
Cable tips for outdoor installs that last
- Run cables in conduit where you can. Exposed cables do not last many years in the sun and weather.
- Use outdoor-rated Ethernet cable on roofs and walls.
- Ethernet runs, including PoE, are limited to about 100 m (328 ft) per segment; EnGenius lists the same 100 m reach from the PoE adapter.
- Secure the cable every few feet with screw-mount zip ties.
- Seal every hole and screw inside and outside.
- Label both ends of every cable.
Where a trailer point-to-point setup makes sense
A setup like this is useful anywhere a second building or trailer needs the network but running cable is hard: truck yards and parking lots like the one in the video, warehouses with an office trailer, and similar sites where people work on tablets outside. One internet connection, two buildings, and Wi-Fi where the workers are.
Frequently asked questions
How do I connect two buildings with a point-to-point wireless link?
Mount a directional access point on each building with a clear line of sight, power each one with PoE, connect them to the network switch and aim them at each other.
Can two buildings share one internet connection wirelessly?
Yes. In the video, a point-to-point bridge lets the trailer and the other building share one connection instead of paying for two.
Which port do I use on an outdoor access point, PoE or LAN?
Plug the cable from the PoE adapter into the port marked PoE; it carries power and data. The second LAN port is for another device.
Do I need to drill holes to mount a point-to-point antenna?
Not always. In the video a window with a clear view and a piece of lumber were used to avoid holes in the roof or wall. Seal any hole you do make.
How do I protect outdoor Ethernet cable?
Run it in conduit, use outdoor-rated cable, secure it with zip ties and seal every entry point.
How far can an Ethernet cable run to a PoE access point?
About 100 meters (328 feet) per Ethernet segment, including the PoE run.
Can a standard PoE switch power an EnGenius EnStation5-ACv2?
Its datasheet lists a proprietary 24 V PoE input with an included adapter, so use that adapter instead of a standard 802.3af/at switch port.
Why label point-to-point antennas and cables?
Labels like main and secondary make it easy to know which cable goes where when you plug things in, configure or troubleshoot later.
Watch the video


Comments
Comments appear after Gabriel reviews them.
Loading comments…