

Step-by-step guide
How to install a point-to-point wireless antenna on a building wall: bracket, cable, RJ45 and PoE
Short answer: to install a point-to-point antenna on a building, assemble the wall-mount bracket, fix it to the wall with masonry anchors (ideally in the mortar joints), drill a hole through the wall for the Ethernet cable, mount the antenna with metal hose clamps, crimp an RJ45 connector, aim it at the other site, seal the hole with silicone and connect the cable inside to the PoE injector and your switch.
A point-to-point (PtP) wireless link works like an invisible network cable between two buildings: one antenna on each side, pointed at each other. In this job I installed the building side of a link so a trailer across the lot could have internet without trenching a cable.
Below are the steps exactly as I did them on a brick wall from a boom lift, with the mistakes to avoid (forgetting tools 20 feet up is expensive in time), plus planning tips on line of sight, grounding and outdoor cable from the manufacturers' documentation.
In this article
- Unbox the wall-mount bracket and check the hardware
- Assemble the bracket with the square-neck bolts
- Leave the bracket adjustable
- Choose the mounting spot: brick or mortar joint
- Drill the anchor holes: hammer drill vs rotary hammer
- Work safely from the lift
- Prepare the anchors, screws and washers
- Fasten the bracket to the wall with the impact driver
- Drill the cable hole through the wall
- Pull the Ethernet cable through the wall
- Mount the antenna with metal hose clamps and aim it
- Crimp the RJ45 connector (T568B)
- Connect the cable to the antenna
- Seal the cable hole with silicone
- Paint the cable and bracket
- Connect PoE and the switch inside, then check the lights
- How a point-to-point wireless link works
- Plan the link: line of sight and Fresnel zone
- Cable, grounding and surge protection
- Tools that save you trips up and down
- Troubleshooting after the install
- Frequently asked questions
- Watch the video
Step 1Unbox the wall-mount bracket and check the hardware
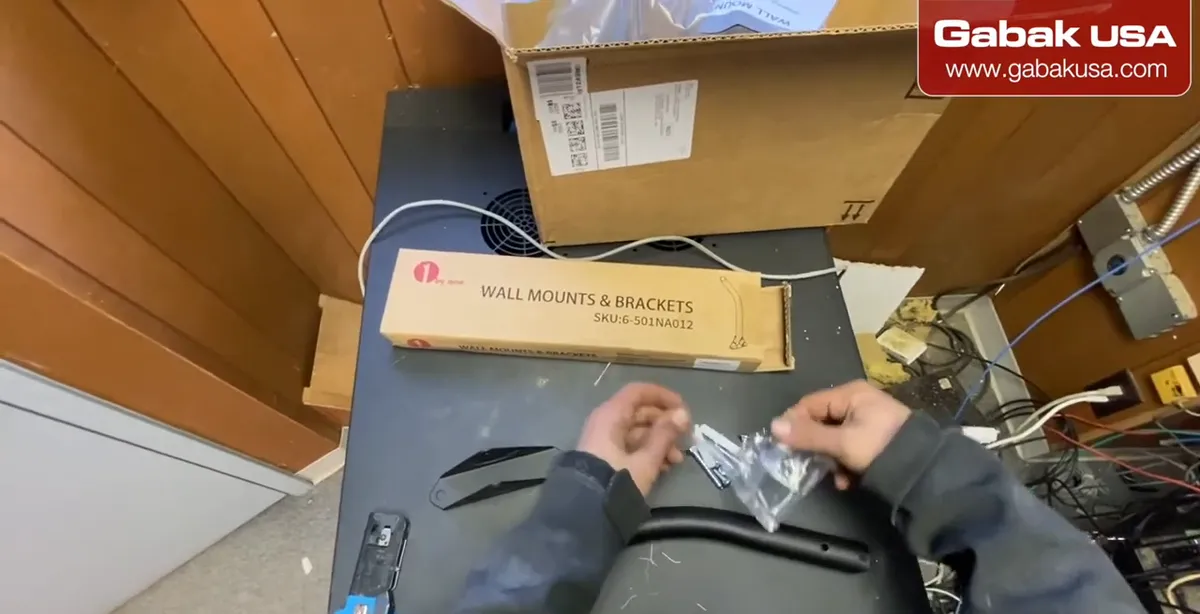
- Open the **wall-mount bracket** kit and confirm everything is there: the arm, the wall plate, **masonry anchors**, long screws, **square-neck bolts** and nuts.
- Remove all the protective plastic from the bracket before you go up.
- Do this on the ground. Discovering a missing part on the lift means another trip down.
Step 2Assemble the bracket with the square-neck bolts
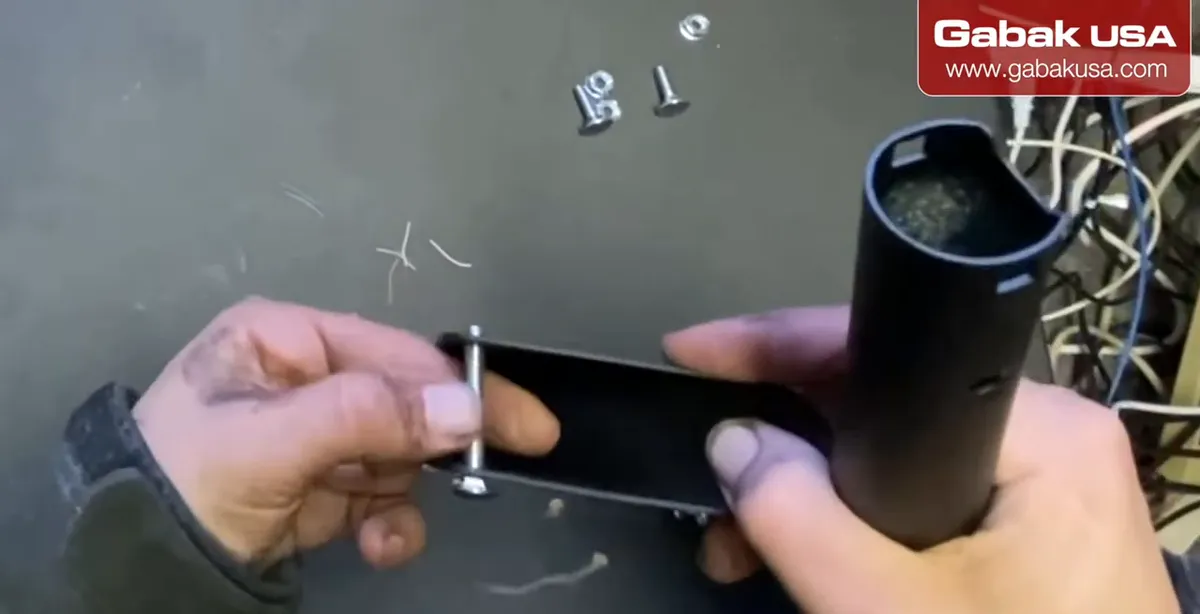
- The bracket has **square holes** and the bolts have a **square neck**. Put the square part into the square hole so the bolt **locks in place**.
- If you insert it from the round side, the bolt **spins forever** and you can't tighten the nut.
- Put the nuts on loosely for now; you will tighten them later with the impact driver.
Step 3Leave the bracket adjustable
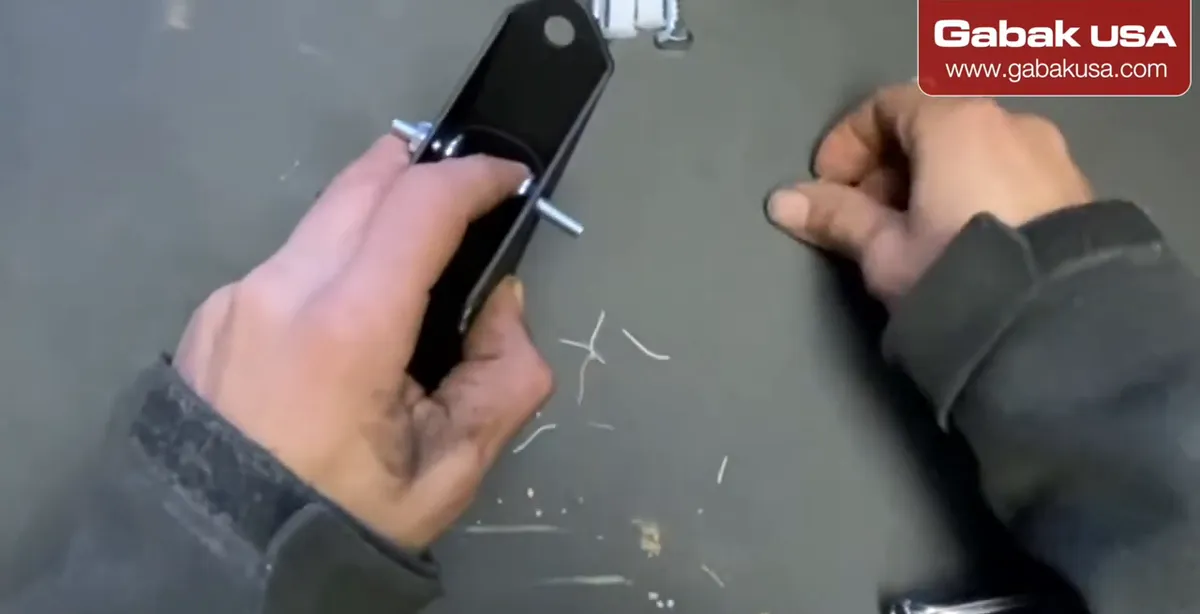
- Once assembled, the arm can still **move up and down** so you can set the angle you need.
- Leave it slightly loose so you can position it on the wall, then lock it when the antenna is in place.
- Common mistake: fully tightening everything on the ground and then finding the arm points the wrong way.
Step 4Choose the mounting spot: brick or mortar joint
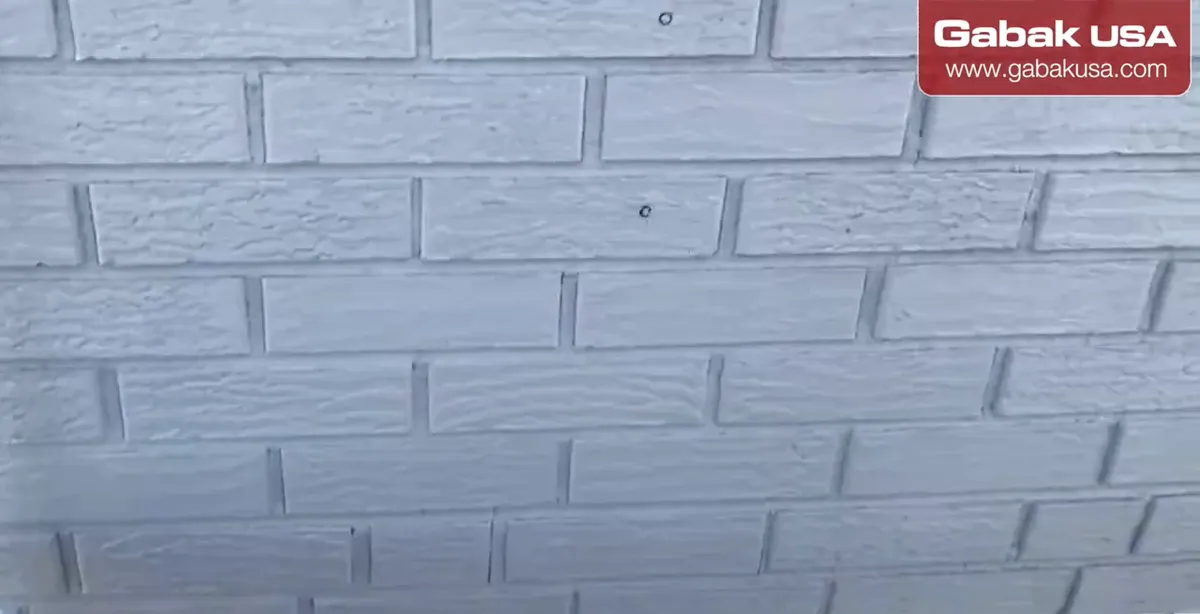
- You can drill **in the brick** or **between the bricks** (the mortar joint). If you can, use the joints.
- If the antenna is removed later, holes in the mortar are **easier to patch** than holes in the brick face.
- Pick a spot **as high as practical** with a clear view toward the other site and where the cable can go through the wall to the network rack.
Note: Plan the cable route before drilling: where it enters, how it reaches the rack inside, and where you will leave slack.
Step 5Drill the anchor holes: hammer drill vs rotary hammer
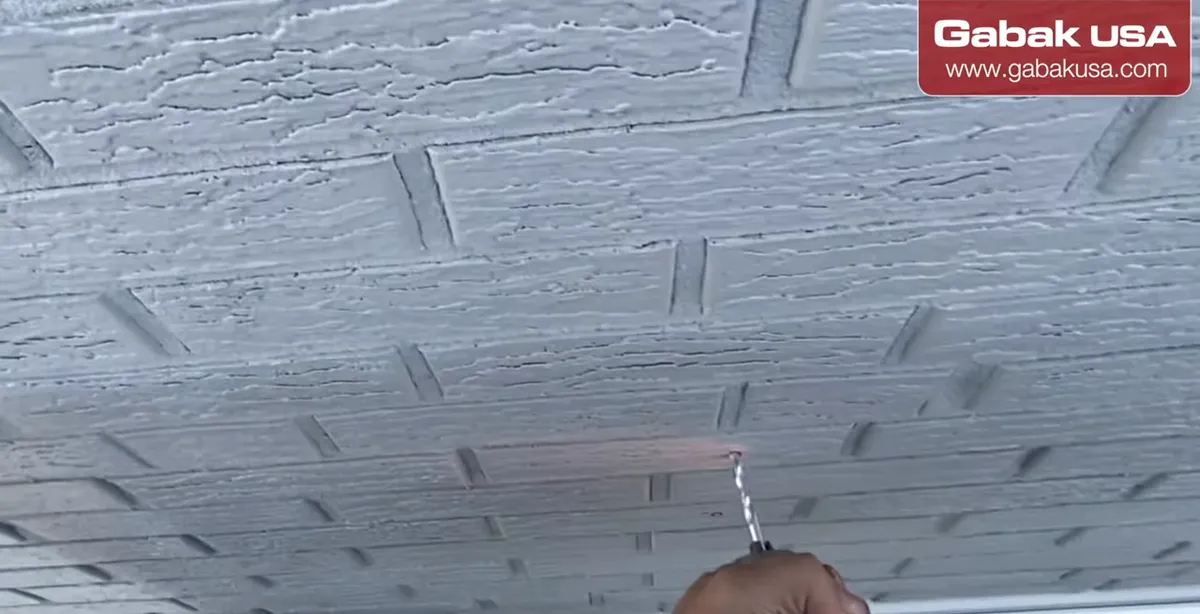
- In the video I first tried a **basic hammer drill**: it worked but it was slow. Then I used a **rotary hammer** and it made the same hole **in a few seconds**.
- Make the hole the right size for the anchor. I usually start with a **smaller bit** and then use the bit size the anchors need.
- Tap the anchors in with a **hammer**; don't force them with a tool that bends them.
Caution: The drill bit gets very hot. Don't touch it with bare hands right after drilling.
Caution: Wear eye and ear protection when drilling masonry.
Step 6Work safely from the lift
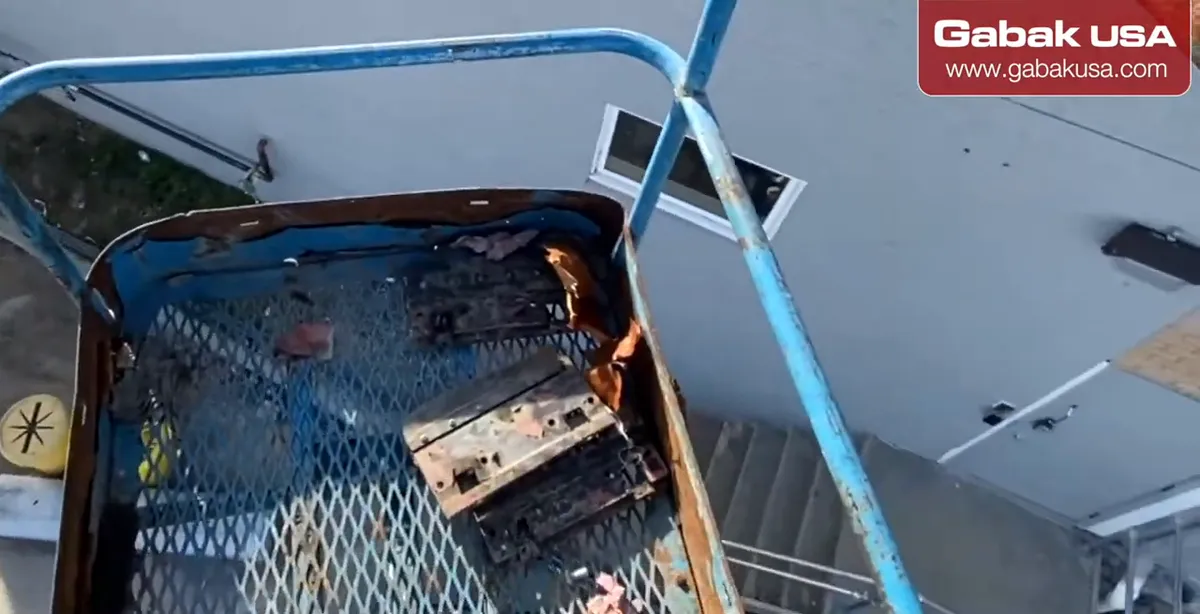
- For this height I used a **boom lift**. Use the **slow (turtle) mode** to get close to the wall, and come in from a short distance.
- Bring **everything** up with you: hammer, washers, socket set, crimper. I forgot the hammer, the washers and the crimper, and each trip is about 10 minutes down and 10 minutes up.
- Before lowering the basket, check that nothing is under you that you could crush.
Caution: Follow the lift's operating instructions and use fall protection. If you have never used a boom lift, get trained first.
Step 7Prepare the anchors, screws and washers
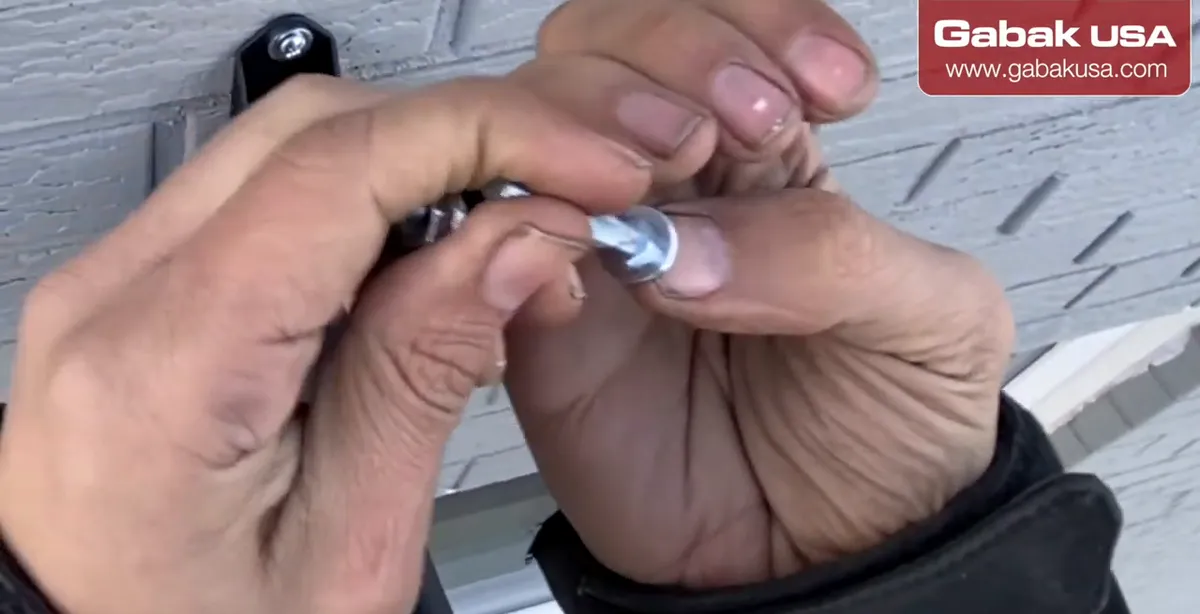
- Put a **washer** on each screw before it goes through the bracket plate.
- Work **slowly**: there is usually **no spare nut or screw** in the kit. If you drop one from the lift, you lose a lot of time.
- Some bracket designs are awkward: fit one side first, then the other side, so the plate hangs while you start the screws.
Step 8Fasten the bracket to the wall with the impact driver
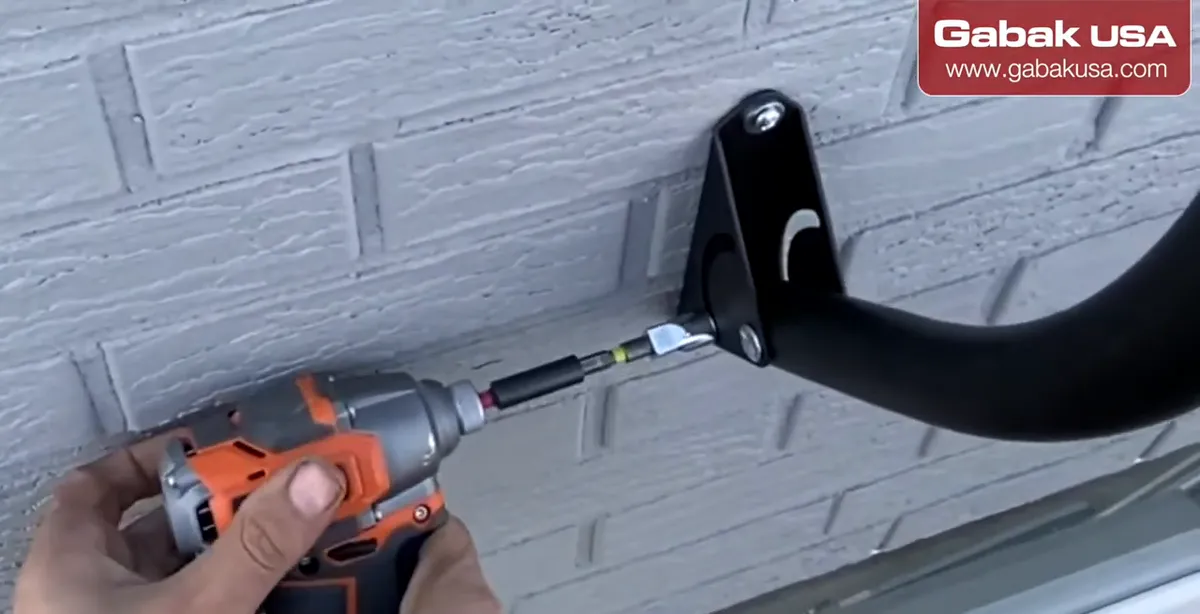
- Drive the screws with an **impact driver** and the right **socket**. A quarter turn at a time is enough once it's snug.
- When the driver starts **impacting** (the clicking sound), the screw is tight.
- Check the bracket doesn't move. It has to hold the antenna through storms for many years.
Step 9Drill the cable hole through the wall
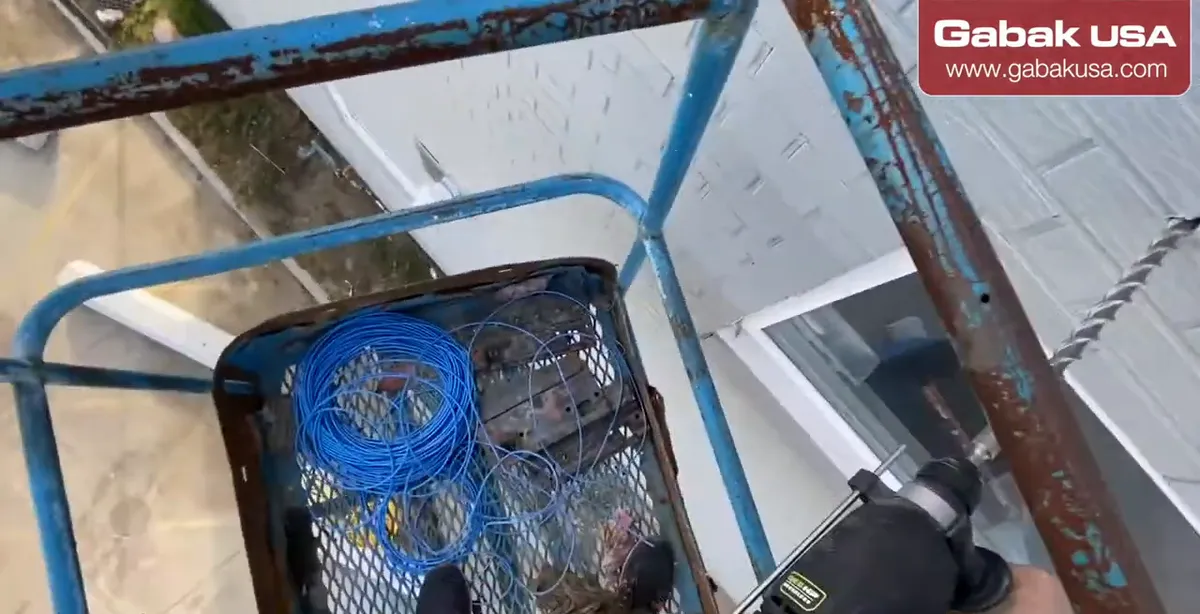
- Use a **long masonry bit** to drill through the wall next to the bracket so the cable goes straight inside.
- Wear **ear protection**: a big rotary hammer through brick is loud.
- Coordinate with someone inside so they know where the bit will come out and can push a wire through.
Step 10Pull the Ethernet cable through the wall
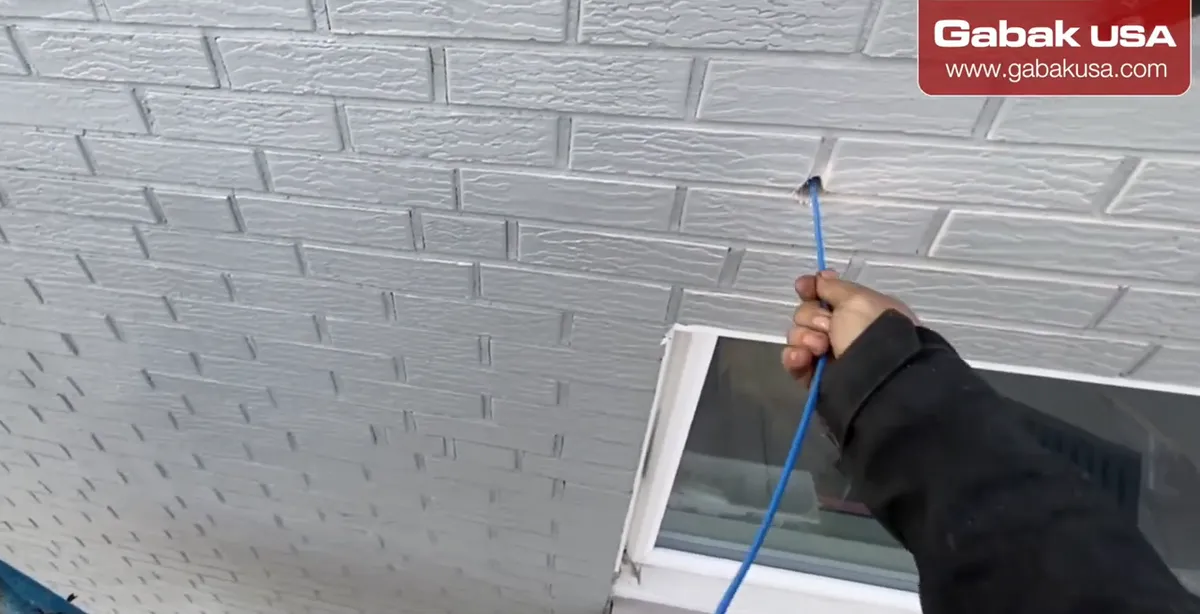
- The person inside pushes a **wire** through the hole. Tape the Ethernet cable to it with **electrical tape** so the end can't snag, then pull.
- Wrap the tape well and make sure nothing sticks out, or it will catch inside the wall.
- Leave **3 to 4 feet of slack** at the antenna side so you can mount and adjust the antenna; about 10 feet was enough inside to reach the rack in this job.
Note: The cable in the video was not outdoor-rated, so I painted it afterwards. For new installs, use outdoor, UV-resistant cable; antenna makers recommend shielded cable (see the grounding section).
Step 11Mount the antenna with metal hose clamps and aim it
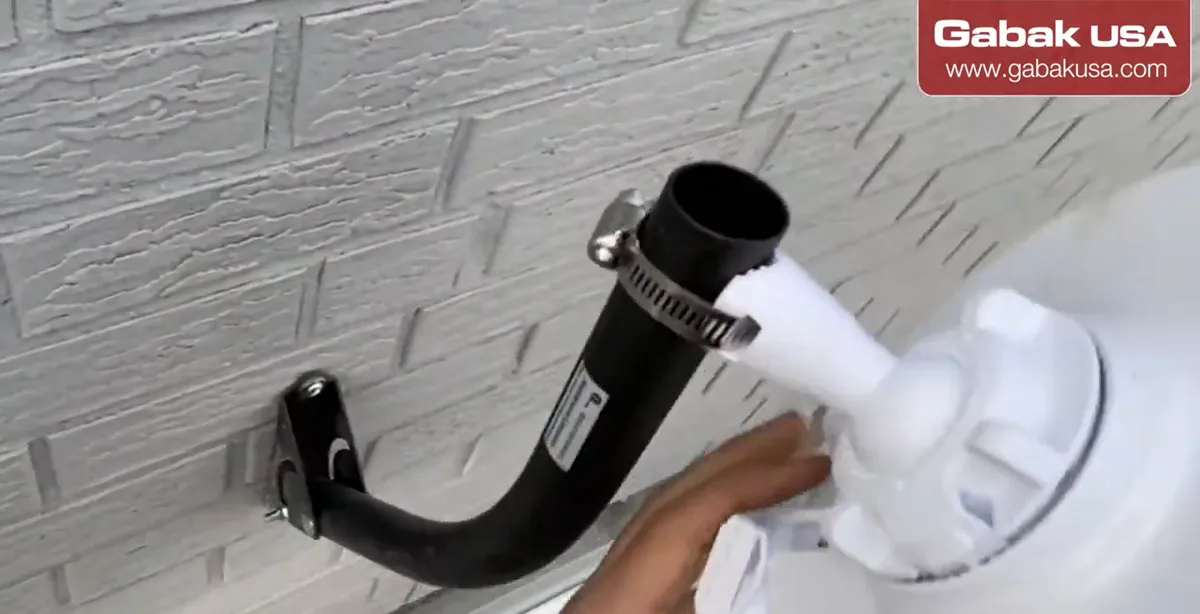
- Many antennas come with **plastic zip ties**. I prefer **metal hose clamps**: plastic ties exposed to the sun can fail within a season.
- Tighten the clamp just enough that the antenna can still **turn by hand**, aim it toward the other site, then tighten it fully with the impact driver.
- Aim at the **remote antenna** (in this case the trailer). Fine alignment is done later by watching the signal level.
Step 12Crimp the RJ45 connector (T568B)
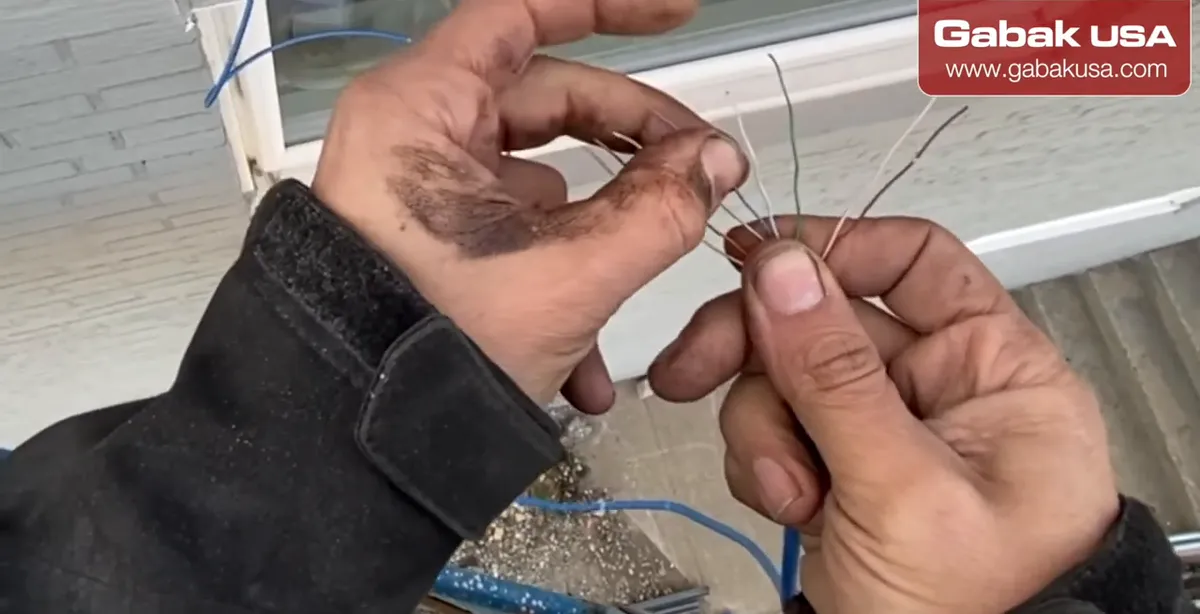
- Slide the **connector boot** onto the cable **first**. It protects the connector if someone pulls the cable.
- Untwist and order the wires. I use **T568B**: white-orange, orange, white-green, blue, white-blue, green, white-brown, brown. It reads **light, dark, light, dark** with blue in the middle; T568A also works if both ends match.
- Cut the wires even, push them into the connector, **check the colors again**, and crimp. If you see two light or two dark wires together, the order is wrong.
Caution: Close the crimper's blade after use; an open stripping blade can cut you.
Step 13Connect the cable to the antenna
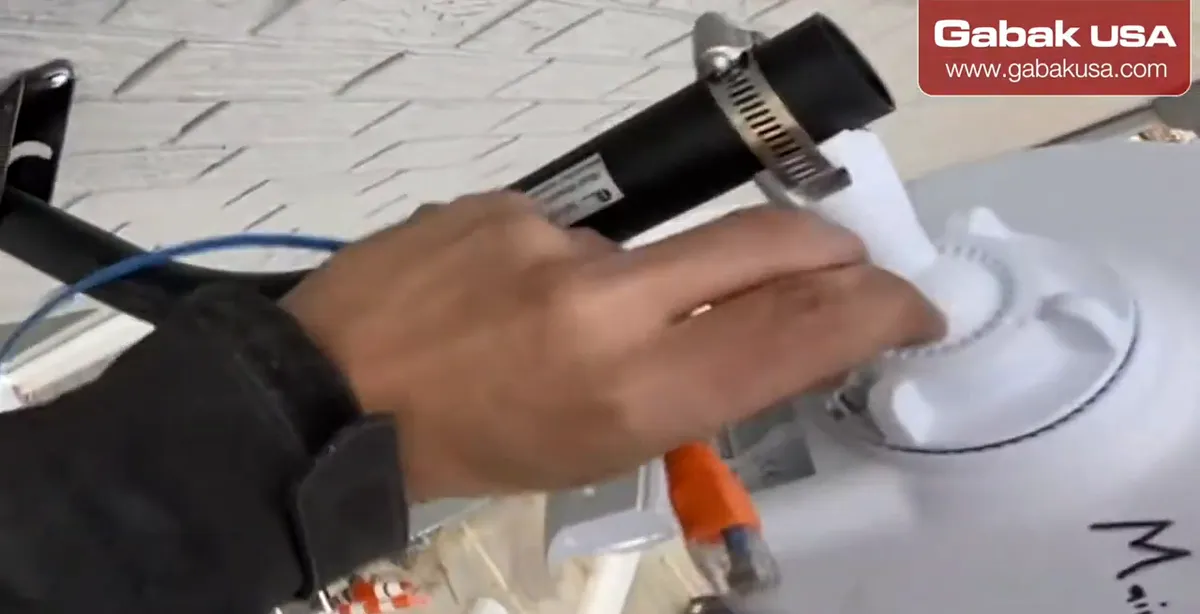
- Plug the RJ45 into the antenna's Ethernet (PoE) port and **put the port cover back on** so water can't get into the connector.
- Push the remaining slack back inside the wall or secure it neatly against the wall.
- Re-check the aim after closing everything; the antenna should still point at the remote site.
Step 14Seal the cable hole with silicone
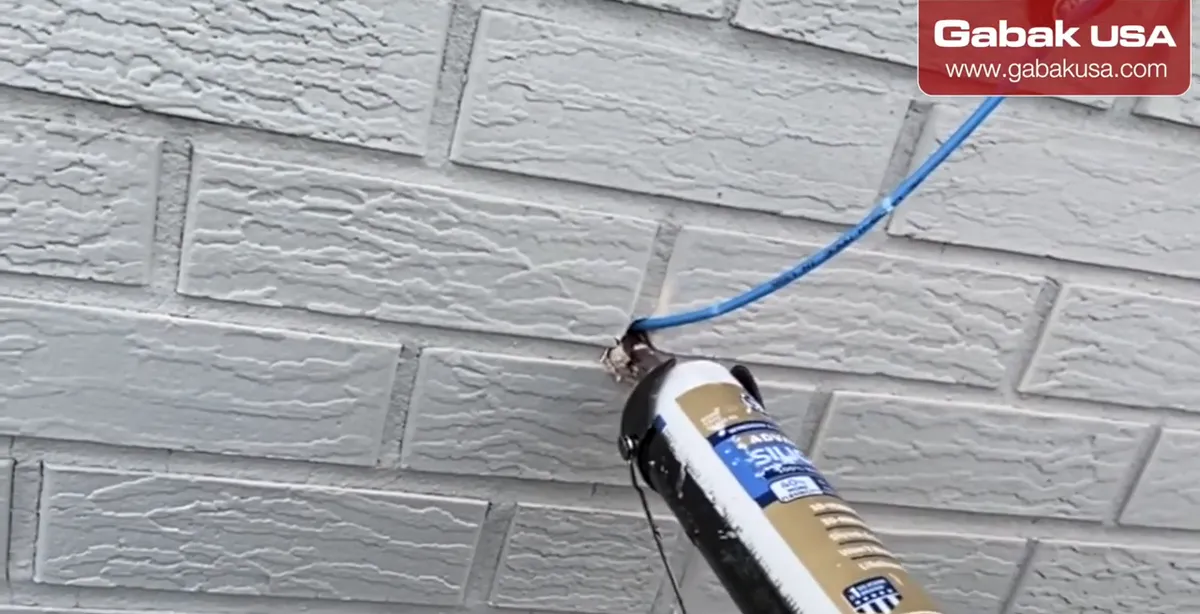
- Fill the hole around the cable with **silicone sealant** so no water or insects get inside.
- A **clear** or wall-colored silicone looks best. I only had brown, so I painted over it.
- Leave a small **drip loop** in the cable below the hole, so rain runs off the low point of the loop instead of following the cable into the wall.
Step 15Paint the cable and bracket
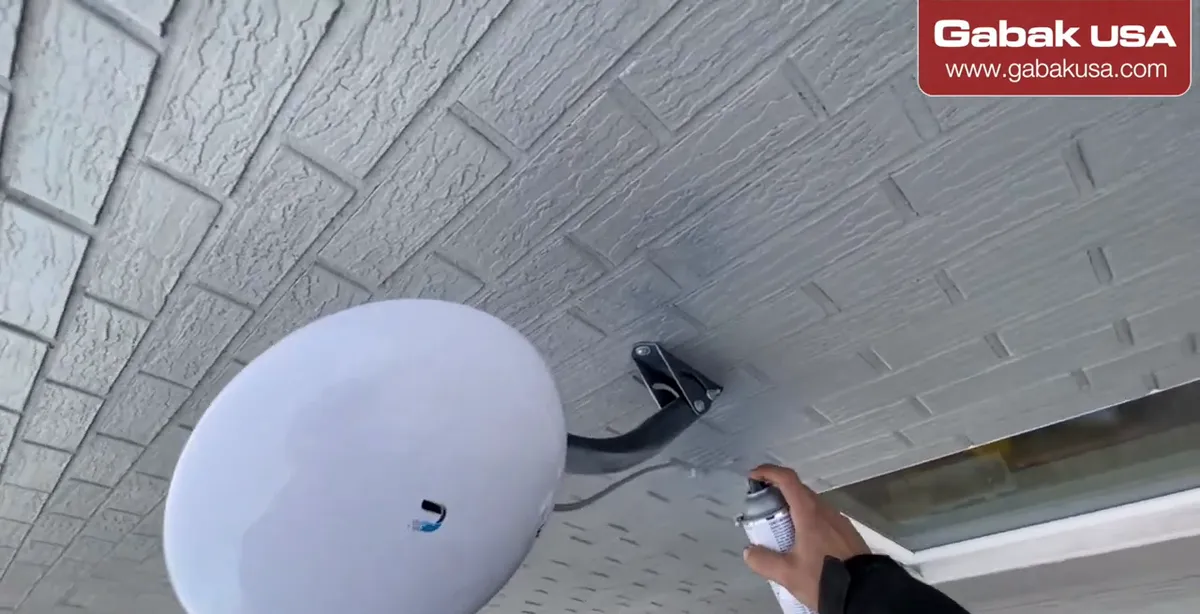
- Paint the exposed cable and the bracket the **same color as the wall**. It looks professional and the paint protects the cable from the sun.
- Use the paint the customer has for the building if possible.
- From the ground the installation should be hard to notice.
Step 16Connect PoE and the switch inside, then check the lights
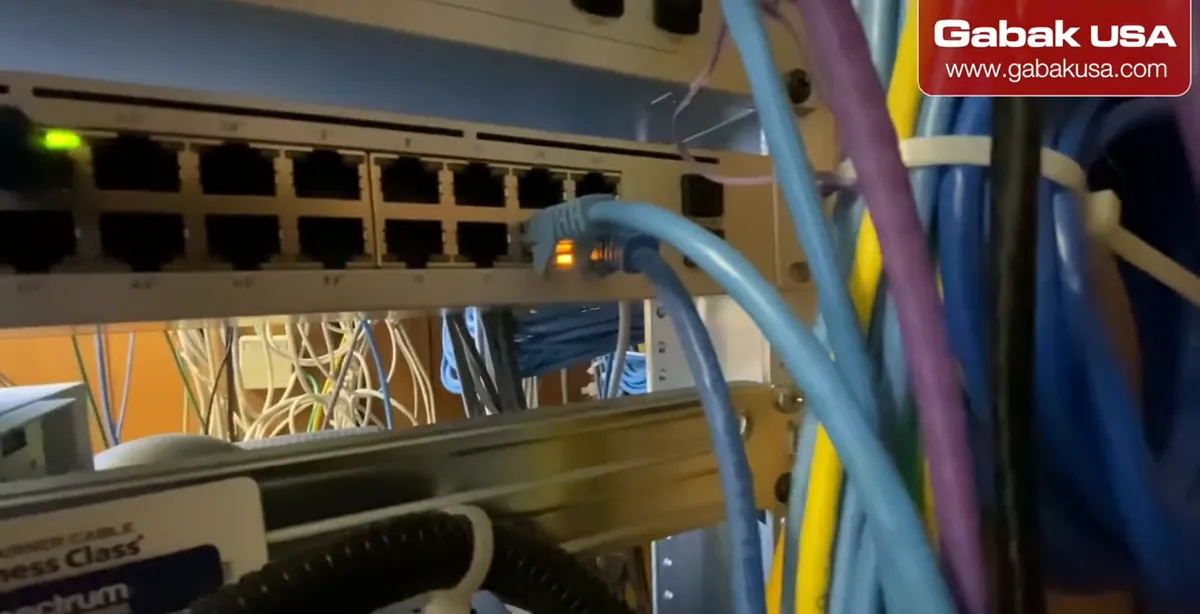
- Inside, run the cable to the **rack**, cut it to length, and crimp another RJ45 with its boot.
- Plug the antenna cable into the **POE** port of the **PoE injector** and connect the injector's **LAN** port to the **switch**. Follow the warnings printed on the injector.
- Check for **activity lights** on the switch. Then the link can be configured from another computer on the network.
Caution: Use the PoE injector supplied with the antenna or one that matches its PoE type. Passive PoE and 802.3af/at are not interchangeable and the wrong one can damage equipment.
How a point-to-point wireless link works
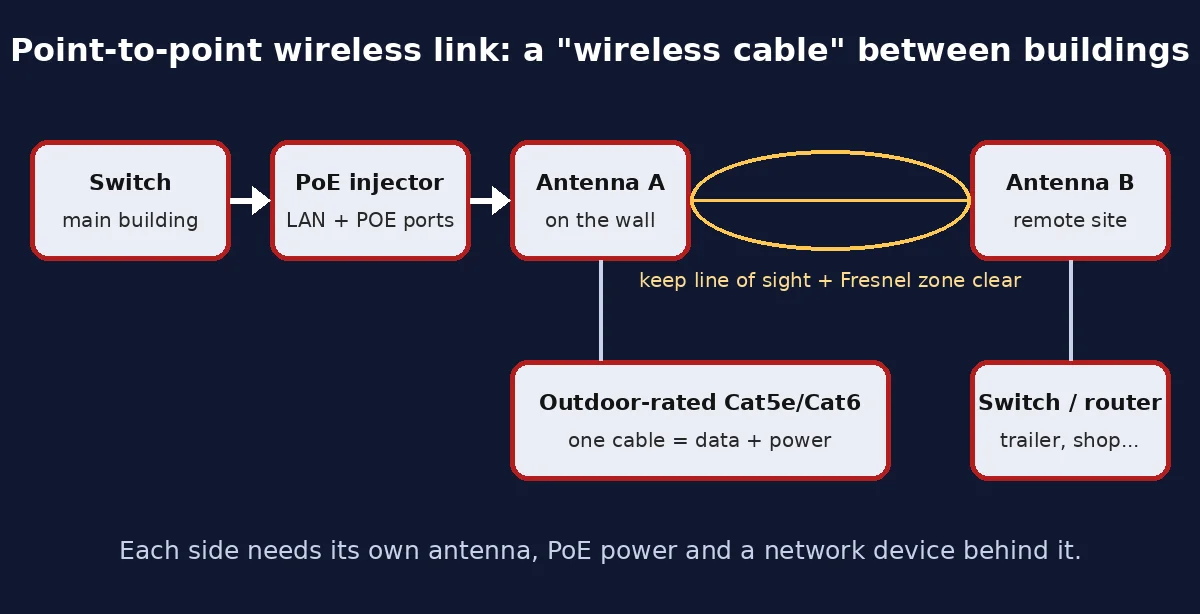
A point-to-point (PtP) link is two directional antennas pointed at each other. Together they act like a transparent network cable between two places, such as a main building and a trailer, a shop, a barn or a second office. It's an alternative to digging a trench or paying for a second internet line.
Each side needs:
- A directional antenna/radio, usually powered with PoE (data and power on the same Ethernet cable).
- A PoE injector or a PoE switch indoors.
- A switch, router or access point behind it so the devices at that site can use the link.
The video covers the building side of the link. The trailer side is the same idea: mount, cable, PoE, and then both radios are configured and aligned to each other.
Plan the link: line of sight and Fresnel zone
Before drilling anything, make sure the two antennas can see each other. Ubiquiti's training material explains that the real path is not a thin line but an ellipse called the Fresnel zone, and that at least 60% of the first Fresnel zone must be free of obstacles for a good link. Trees, roofs, metal surfaces and buildings in that area reduce performance.
Practical tips from the manufacturers' guides:
- Mount as high as practical, so the path clears cars, fences and trees (and remember trees grow).
- Use a link planning tool, but check the path in person; planning tools mostly model terrain, not every tree or building.
- Configure and link the radios on the bench first, then install them outside.
- Align one side at a time, moving in small steps while watching the signal, ideally with a helper on the other end.
- Avoid mounting at the very top of the structure; UISP's guide suggests about 1 m (3.3 ft) below the highest point to reduce lightning risk.
Cable, grounding and surge protection
Outdoor cable runs are where many installs fail. Ubiquiti's quick start guides call for shielded Cat5e (or better) cable with a drain wire, grounded through the PoE's AC ground, and recommend surge protectors: one near the radio and one where the cable enters the building.
- Use outdoor, UV-resistant cable. If you have to use indoor cable, as in the video, painting it helps, but it is a compromise.
- Use shielded RJ45 connectors with shielded cable so the shield is actually connected.
- Bond grounds according to your local electrical code; when in doubt, ask a licensed electrician.
- Test the finished cable. A simple tester like the one in my TESMEN TLP900AR cable tester guide catches swapped pairs and bad crimps before you go back up the lift.
Tools that save you trips up and down
Most of the time on this job was lost going down for forgotten tools. A short checklist before you go up:
| Item | Why |
|---|---|
| Rotary hammer + masonry bits (short and long) | Anchor holes in seconds and the cable hole through the wall |
| Hammer | To set the anchors without bending them |
| Impact driver + socket set + washers | Fast, tight bracket and clamp installation |
| Crimper, RJ45 connectors and boots | Terminate the cable at the antenna |
| Metal hose clamps | Longer life than plastic zip ties in the sun |
| Electrical tape + fish wire | Pull the cable through the wall |
| Silicone + caulking gun | Seal the cable hole |
| Paint | Match the wall and protect the cable |
I keep anchors stored together with the drill bit of the right size, and everything labeled in organizer boxes in the van, so I don't have to drive back to the hardware store in the middle of a job.
Troubleshooting after the install
| Symptom | Likely cause | What to check |
|---|---|---|
| No lights on the antenna | No PoE power | Cable in the POE port of the injector, injector powered, correct PoE type |
| No activity light on the switch | Bad crimp or wrong order | Re-crimp; test the cable with a tester |
| Link is slow or drops | Poor alignment or blocked path | Re-aim one side at a time; check trees and roofs in the path |
| Works, then fails after rain | Water in the connector or hole | Port cover, drip loop, silicone seal |
| Cable cracks after a year | UV damage | Outdoor-rated cable, paint, metal clamps |
If the internet itself is the problem rather than the link, see how I improved 4G LTE signal inside a business with an outdoor antenna, or how I installed an LTE modem and Cradlepoint in a rack.
Frequently asked questions
What is a point-to-point wireless link?
Two directional antennas pointed at each other that carry a network connection between two locations, like an invisible Ethernet cable between buildings.
How do I share internet with another building without a cable?
Install a point-to-point antenna on each building, connect one to the network with a PoE injector and the other to a switch or router at the remote site, and align them.
Do point-to-point antennas need line of sight?
Yes. The antennas must see each other, and at least 60% of the first Fresnel zone should be clear of trees, roofs and other obstacles.
Should I drill into the brick or the mortar to mount an antenna?
Either works, but the mortar joint is better when possible because it's easier to patch if the antenna is removed later.
What cable should I use for an outdoor antenna?
Use outdoor-rated, UV-resistant Ethernet cable; manufacturers like Ubiquiti recommend shielded Cat5e or better with a drain wire, grounded through the PoE.
Do I need a PoE injector for a wireless antenna?
Most outdoor radios are powered over Ethernet. Use the injector that came with the antenna or one that matches its PoE type.
Zip ties or hose clamps for mounting an antenna?
Metal hose clamps last much longer outdoors; plastic zip ties exposed to the sun can break within a season.
How do I seal the hole where the cable enters the wall?
Fill the hole around the cable with silicone sealant and paint over it, so water and insects can't get inside.
Watch the video


Comments
Comments appear after Gabriel reviews them.
Loading comments…