

Step-by-step guide
How to power a USB Wi-Fi security camera far from an outlet with a 12V to 5V USB converter
Short answer: you can't make a USB cable long enough to power a Wi-Fi security camera 100 feet away, but you can run 12 V DC over a simple two-wire cable and put a small 12V to 5V USB converter next to the camera. The long run carries low-voltage DC, the converter outputs a clean 5 V USB supply, and the camera only needs its own short USB cable.
This is how I power USB cameras like Wyze far from an outlet: in the video I use a step-down converter that accepts 7 to 22 volts and gives 5 volts at 3 amps. I test it on the bench with a lab power supply, first with a phone and then with a Wyze camera that boots and streams normally in the app.
Below are the steps, why a long USB extension doesn't work, how to deal with voltage drop on long wire runs, and a troubleshooting table for when the camera keeps rebooting.
In this article
- Get a 12V to 5V USB step-down converter
- Plan the run: supply indoors, converter at the camera
- Run a two-conductor cable for the DC power
- Connect the power supply to the converter input
- Set the supply and measure the voltage at the far end
- Test the USB output with a phone first
- Plug the camera's USB cable into the converter
- Check the live view in the camera app
- Protect an indoor camera with an outdoor housing
- Install a microSD card before you close it up
- Close the housing and mount the camera
- Why you can't just use a long USB extension cable
- Voltage drop on long runs: a simple example
- Which cameras this works with
- Choosing the power supply and converter
- Troubleshooting a remote USB camera
- Frequently asked questions
- Watch the video
Step 1Get a 12V to 5V USB step-down converter
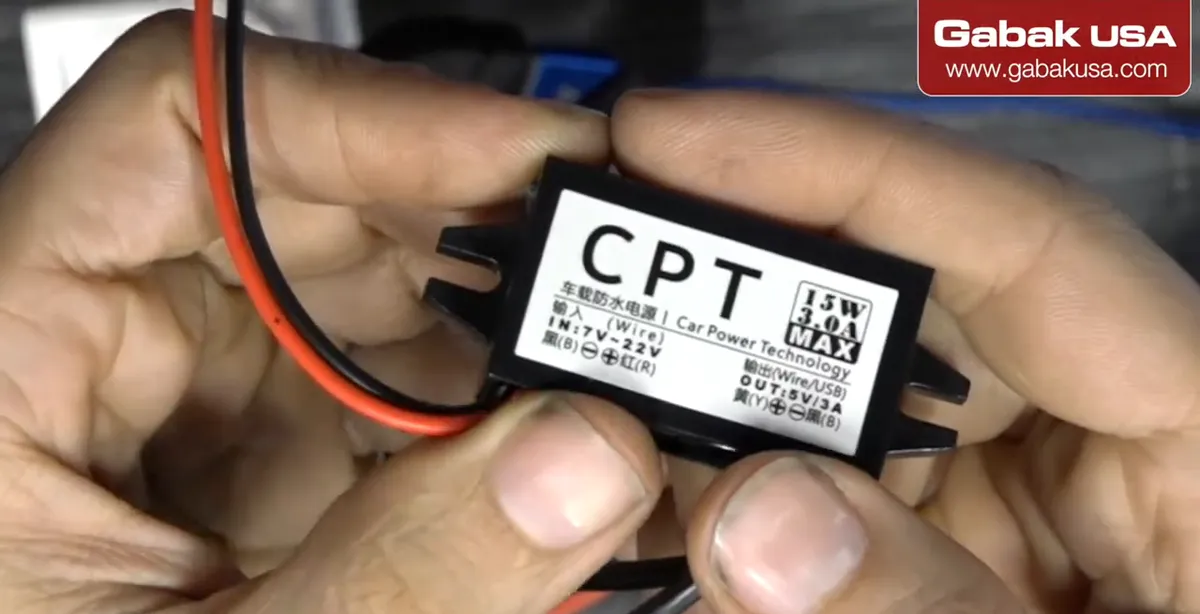
- The key part is a DC-DC step-down (buck) converter with a USB output. The one in the video is labeled input 7V-22V, output 5V/3A, 15 W max.
- Why it works: the camera only needs 5 V USB, but 5 V doesn't travel well over long thin wires. The converter lets you send a higher voltage down the cable and drop it to 5 V at the camera.
- Check that the output current (3 A here) is more than your camera needs. A camera plus anything else plugged in must stay under the converter's rating.
- Common mistake: buying a converter with a different input range and feeding it more volts than it accepts.
Step 2Plan the run: supply indoors, converter at the camera
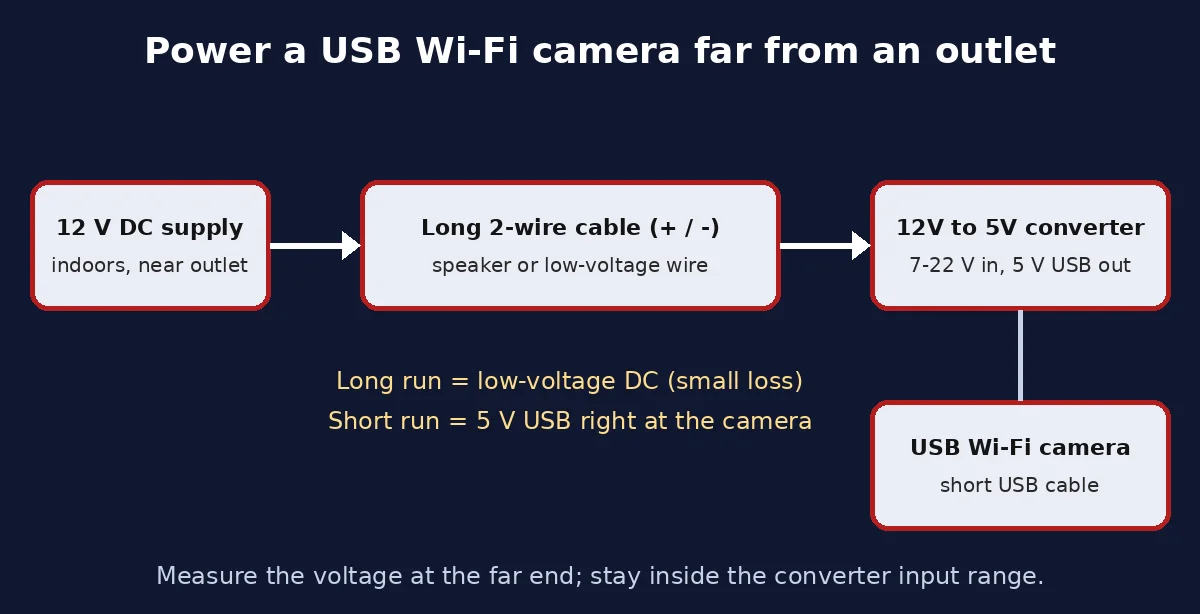
- Put the 12 V power supply near an outlet, run the long two-wire cable to the camera location and put the converter at the camera end.
- Only the last short piece is USB. That's why this works for 100 ft or more while a USB extension doesn't.
- The camera still needs Wi-Fi signal where you mount it; this trick solves power, not network coverage.
- Tip: write down where the converter will sit so you can protect it from rain later.
Step 3Run a two-conductor cable for the DC power
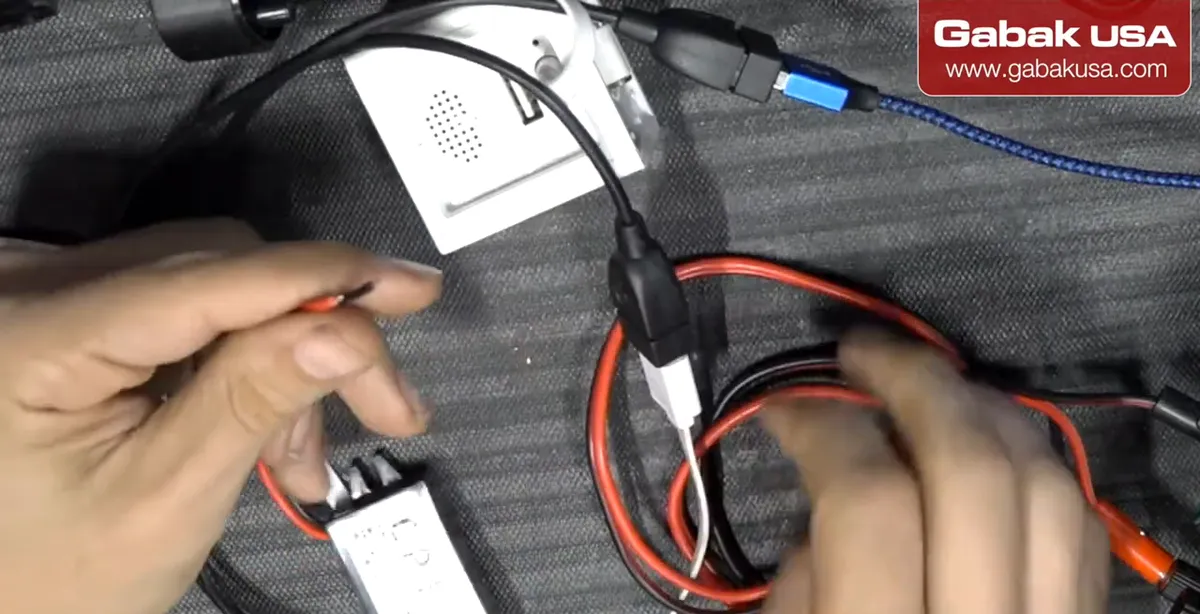
- Use speaker cable or a similar two-conductor wire for the long run, as suggested in the video.
- Keep the polarity consistent from end to end: mark the positive conductor (red on the converter) and the negative (black).
- Thicker wire (a lower AWG number) loses less voltage over distance; see the voltage-drop section below.
- Common mistake: using the thinnest wire you have for a long run and then wondering why the camera reboots.
Note: For outdoor runs, use cable rated for outdoor or direct-burial use where it's exposed, and follow your local code for low-voltage wiring.
Step 4Connect the power supply to the converter input
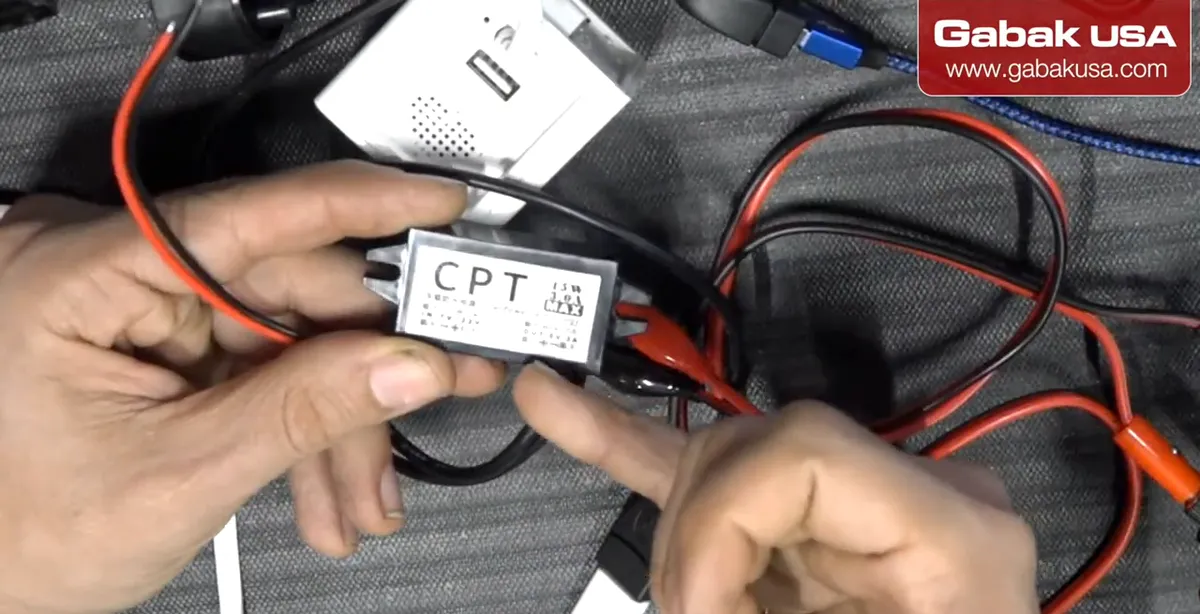
- Connect the supply's positive to the red input and negative to the black input of the converter.
- In the video I used alligator clips on the bench; for the permanent install use proper wire connectors and insulate them.
- Do the first test on the bench, not on the roof: it is much easier to find a mistake there.
- Common mistake: reversing the input wires. Check polarity with the multimeter before you power on.
Caution: Never feed the converter more than its maximum input (22 V on this model). A bench supply can go much higher, so set the voltage before you connect.
Step 5Set the supply and measure the voltage at the far end
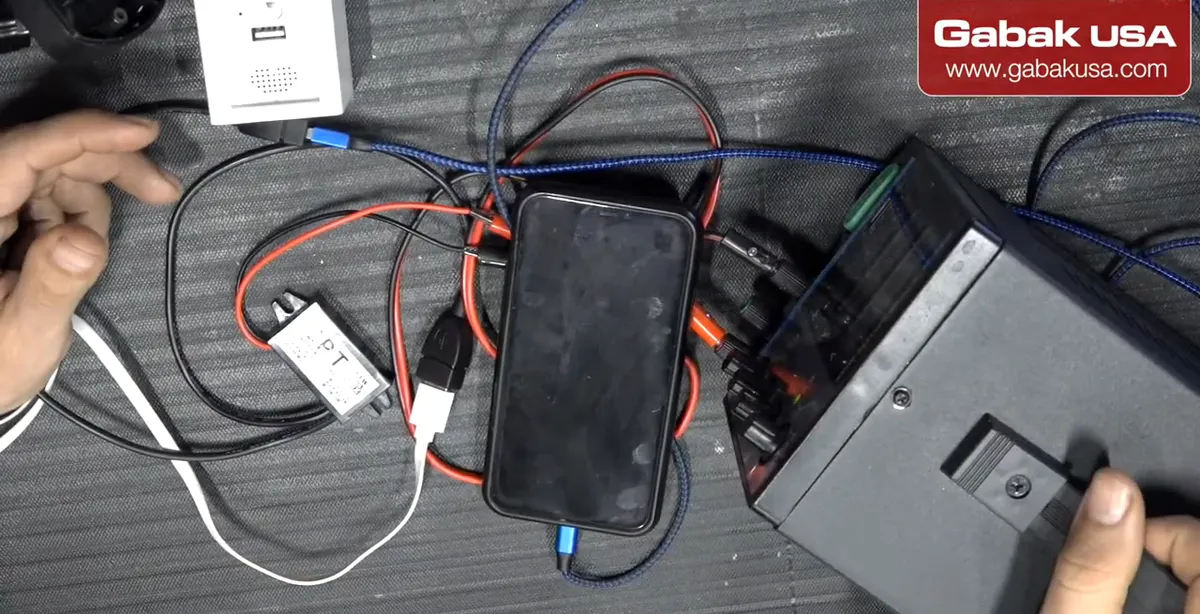
- Set the supply to 12 V. In the video the bench supply read 12.2 volts when switched on.
- On a long run, measure the voltage at the converter end with a multimeter. If the voltage has dropped a lot, you can raise the supply voltage a bit, as long as it stays inside the converter's input range.
- Why: the converter needs at least its minimum input (7 V here) to output a stable 5 V.
- Common mistake: measuring only at the supply and assuming the far end gets the same voltage.
Step 6Test the USB output with a phone first
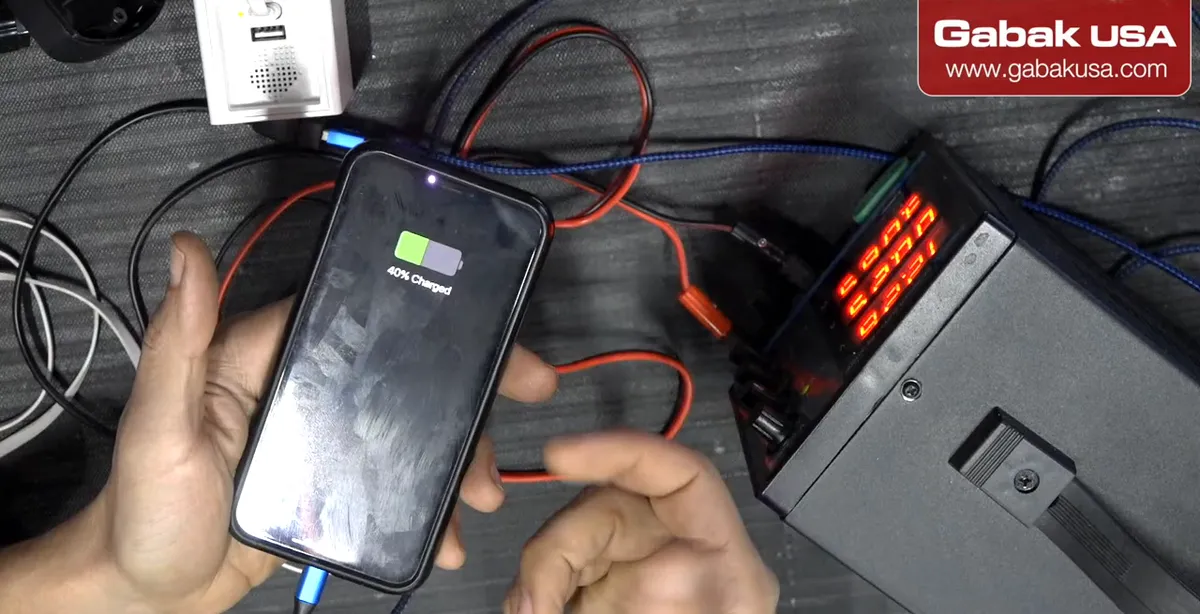
- Plug a phone into the converter's USB port. In the video the phone starts charging as soon as the supply is on.
- Turn the supply off and on: the phone stops charging and starts again. That confirms the converter is really doing the work.
- A phone is a cheap, safe test load; if something is wrong you find out before you connect the camera.
Step 7Plug the camera's USB cable into the converter
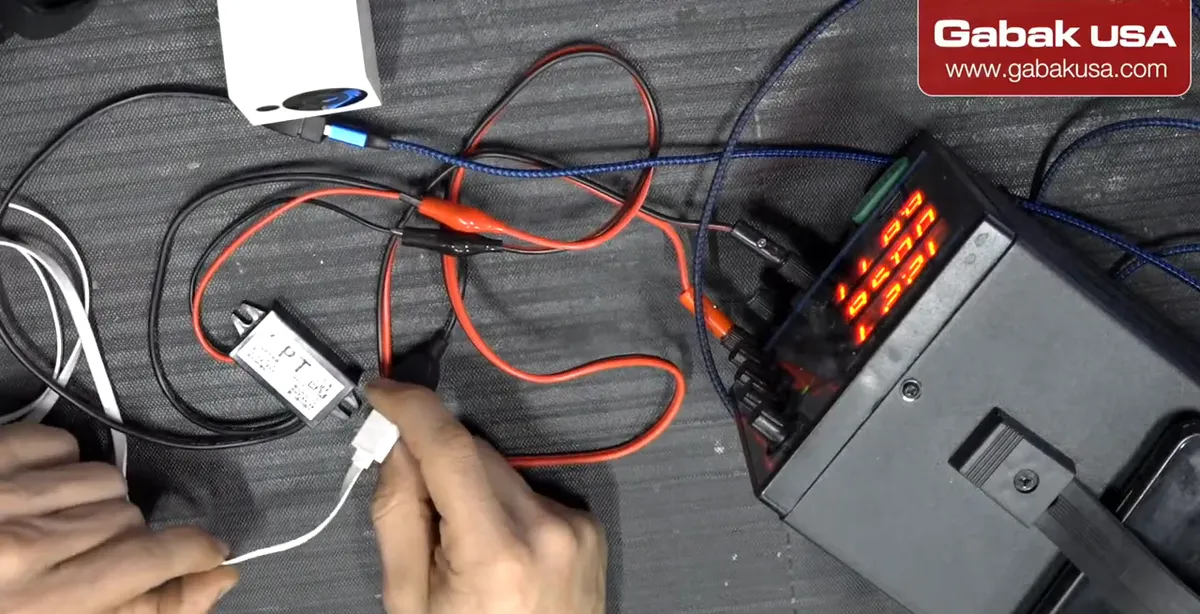
- Unplug the phone and connect the camera's own short USB cable to the converter's USB output.
- Give the camera a minute: in the video it took a little while to finish booting before it came online.
- Keep the USB cable short. The whole point is that the long part of the run is DC wire, not USB.
Step 8Check the live view in the camera app
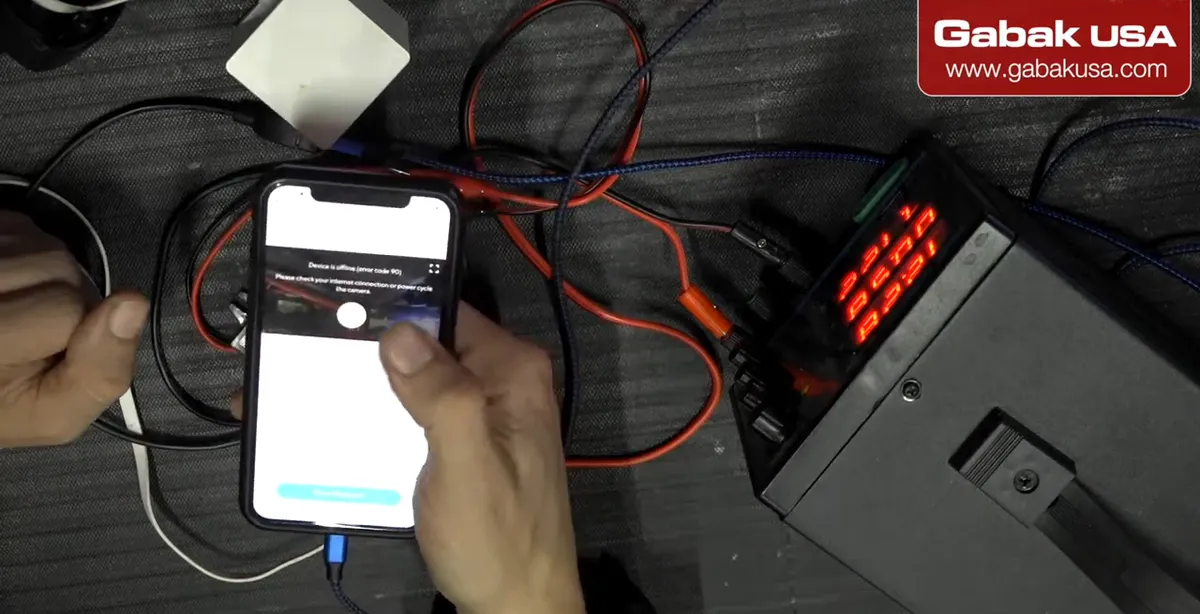
- Open the camera app and refresh until the camera shows online. In the video the Wyze app showed the live picture, and moving the camera moved the image.
- Watch it for a few minutes: if the camera reboots by itself, the voltage at the converter is probably too low under load.
- Do this check before mounting the camera somewhere hard to reach.
Step 9Protect an indoor camera with an outdoor housing
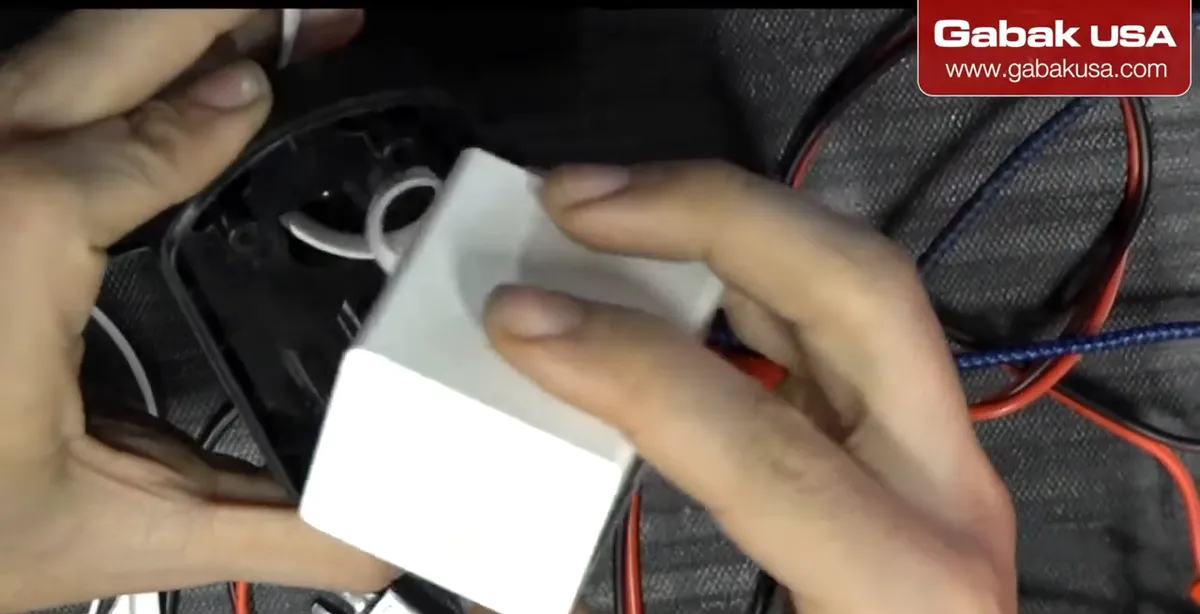
- The camera in this part of the video is the older Wyze Cam v2, so I put it inside an outdoor housing.
- According to Wyze, the Cam v2 is not designed for outdoor use (it isn't weatherproof), while the Wyze Cam v3 is IP65 rated for indoor/outdoor use. As I say in the video, with the v3 you don't need the housing.
- Route the cable so water drips away from the openings.
Caution: Using an indoor-only camera outside can void its warranty even in a housing. Keep the converter and connections out of the rain too.
Step 10Install a microSD card before you close it up
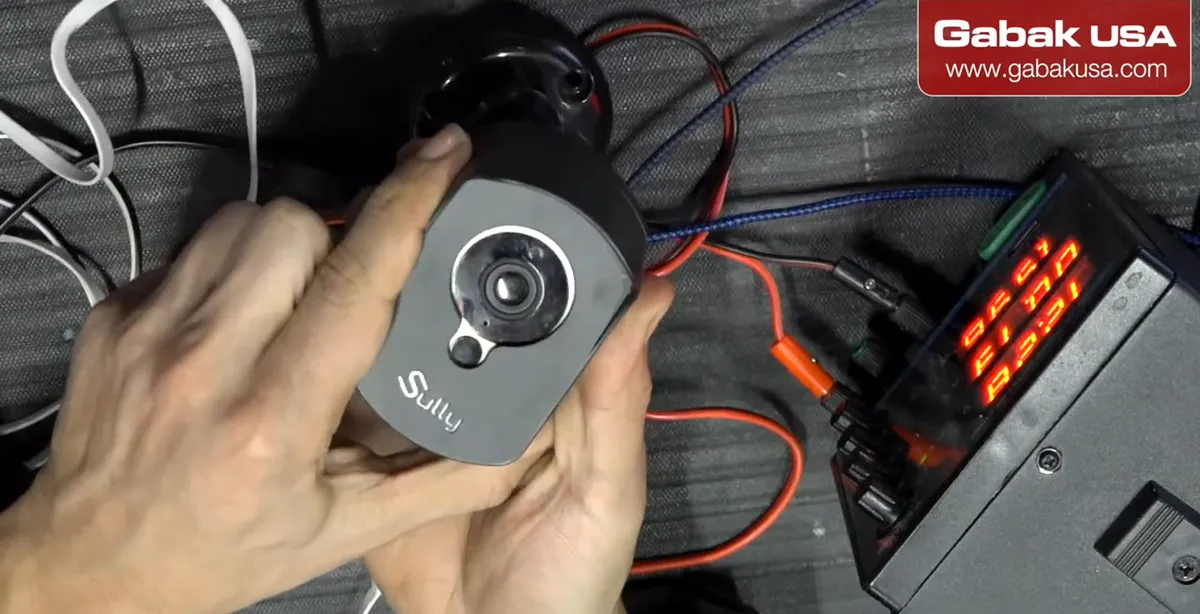
- I always recommend a microSD card in the camera.
- Why: on the free cloud option the event clips are very short (about 12 seconds per clip on Wyze's free plan when this camera came out), which often isn't enough to see what happened. Local recording keeps the full video.
- Insert the card with the camera powered off, then power it back on.
- Common mistake: closing the housing and mounting the camera before inserting the card.
Step 11Close the housing and mount the camera
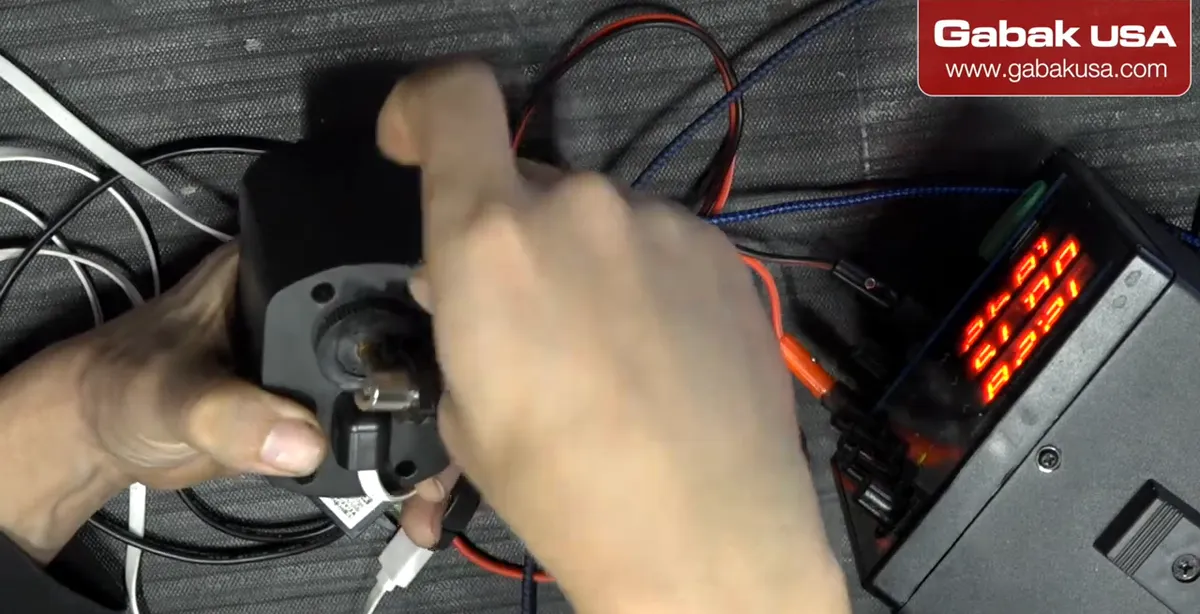
- Close the housing, mount the camera and secure the converter in a dry spot near it.
- Leave a small drip loop in the cable before it enters the housing.
- Check the live view one last time from the phone after mounting.
- In the video I mention these converters cost roughly 10 to 15 dollars on Amazon, much cheaper than running a new outlet.
Why you can't just use a long USB extension cable
USB was designed for short cables. USB 2.0 cables are limited to about 5 meters (16 feet), and the newer, faster USB versions need even shorter passive cables. In the video I say I wouldn't trust any USB cable longer than about 6 feet (2 meters) for powering a camera.
The problem is voltage drop. USB supplies only 5 volts, so losing even one volt in a long, thin cable is 20% of the supply, and many cameras reboot or refuse to start below their minimum voltage. A higher voltage like 12 V can lose a volt or two on the way and the converter still has plenty to make a clean 5 V.
That's the trick of this method: send power long distance at a higher voltage, convert it to USB at the end. If you need *data* over USB at a distance instead of just power, that's a different problem; see how I extend a USB cable 150 ft with a USB extender.
Voltage drop on long runs: a simple example
Voltage drop depends on current x wire resistance (Ohm's law), and the current travels out and back, so the wire length counts twice.
Approximate resistance of copper wire (per 1,000 ft of one conductor):
| Wire size | Resistance per 1,000 ft | Round trip on a 100 ft run (200 ft of wire) |
|---|---|---|
| 18 AWG | about 6.4 ohms | about 1.3 ohms |
| 16 AWG | about 4.0 ohms | about 0.8 ohms |
| 14 AWG | about 2.5 ohms | about 0.5 ohms |
Example (illustrative numbers, not measured in the video): a load drawing 0.5 A through 1.3 ohms of 18 AWG loses about 0.65 V. Starting at 12 V, the converter still gets about 11.3 V, far above its 7 V minimum. If you tried to send 5 V USB over the same wire at 1 A, you'd lose about 1.3 V and the camera would see roughly 3.7 V, which is not enough.
Also, a step-down converter draws less current on the 12 V side than it delivers on the 5 V side (power in is roughly power out plus some loss), which is one more reason the higher voltage travels better. In practice, just do what the video says: measure with a multimeter at the far end and adjust the supply within the converter's input range.
Which cameras this works with
This works with any camera or device that is powered by 5 V USB and gets its data over Wi-Fi:
- Wyze Cam v3: IP65 rated for indoor/outdoor use and powered by USB; Wi-Fi is 2.4 GHz only, so make sure your signal reaches the mounting spot.
- Wyze Cam v2 and Wyze Cam Pan: indoor cameras. Wyze says they are not designed for outdoor use, so outside they need protection (as in the video), and the warranty may not cover outdoor use.
- Other USB-powered Wi-Fi cameras, small Wi-Fi bridges or sensors: check the label for 5 V and the current they need.
It does not fit cameras that need 12 V directly (just run 12 V to them) or PoE cameras, which get power and data over the network cable. If you'd rather avoid wiring completely, look at a camera with its own power source like this 4G LTE solar security camera.
Choosing the power supply and converter
- Input range: the converter in the video accepts 7-22 V. A 12 V supply sits nicely in the middle and leaves room for voltage drop.
- Output current: 3 A at 5 V (15 W) is more than a small Wi-Fi camera needs, so one converter has headroom.
- Supply rating: pick a 12 V supply that can deliver comfortably more than the converter will draw.
- Bench supply vs adapter: in the video I used a lab power supply because it shows the voltage. For a permanent install a regular 12 V adapter (like the ones used for CCTV) is enough.
- Weather: the converter's label describes it as a waterproof car power module, but still keep the wire connections dry and sealed.
If you're not sure your supply delivers what the label says, test it first; the same method I use in how to test any laptop charger works for any DC adapter.
Troubleshooting a remote USB camera
| Problem | Likely cause | Fix |
|---|---|---|
| Camera keeps rebooting | Voltage too low at the converter under load | Measure at the far end, use thicker wire or raise the supply voltage within the input range |
| No power at all | Reversed polarity or a loose connection | Check + and - with a multimeter at both ends |
| Converter gets very hot | Input too high or too much load | Stay inside the input range and the 3 A output rating |
| Camera online but goes offline often | Weak Wi-Fi at the mounting spot | Move the camera or add an access point; 2.4 GHz reaches farther |
| Picture is fine but no recordings | No microSD card, or only short cloud clips | Install a microSD card |
| Water inside the housing | Cable entry facing up, no drip loop | Re-route the cable downward and seal the entry |
Frequently asked questions
How far can you extend power to a USB camera?
With a USB cable alone, only a few meters (USB 2.0 is specified up to about 5 m). Running 12 V over a two-wire cable and converting to 5 V at the camera lets you go much farther; measure the voltage at the far end to confirm.
Can I power a Wyze camera with 12 volts?
Not directly; Wyze cameras use 5 V USB. Use a 12V-to-5V USB step-down converter at the camera, like the 7-22 V input, 5 V 3 A one in the video.
What cable should I use for a long low-voltage run?
A two-conductor cable such as speaker wire works, as shown in the video. Thicker wire (lower AWG) loses less voltage over long runs, and outdoor sections should use outdoor-rated cable.
Will a long USB extension cable work for a security camera?
Usually not reliably. Long USB cables lose too much of the 5 V, and the camera may reboot or not start at all.
Is the Wyze Cam v3 waterproof?
Wyze rates the Cam v3 IP65 for indoor/outdoor use. The older Wyze Cam v2 is not designed for outdoor use and needs protection outside.
How do I know if the voltage drop is too much?
Measure with a multimeter at the converter end while the camera is running. If it gets close to the converter's minimum input (7 V on this model), use thicker wire or a slightly higher supply voltage inside the allowed range.
How much does a 12V to 5V USB converter cost?
In the video I estimate about 10 to 15 dollars on Amazon; prices change, so check current listings.
Do I need a microSD card in the camera?
It's highly recommended. Free cloud clips are short, and a microSD card records locally so you can see the full event.
Watch the video


Comments
Comments appear after Gabriel reviews them.
Loading comments…