

Step-by-step guide
How to trace phone and Ethernet cables with a toner (tone generator and probe)
Short answer: to trace a cable with a toner, plug the tone generator (transmitter) into the jack at the room, set it to TONE, go to the data closet and sweep the probe (receiver) over the patch panel ports or the 66 block pairs. The cable carrying the tone gives a clearly different, louder sound; disconnect equipment at the far end when you can, because a connected switch or phone system makes the tone much weaker.
A toner and probe (also called a tone and probe kit or cable tracker) is the tool for the day you arrive at a customer and nothing is labeled. In the video I explain on a whiteboard how a room jack connects to the patch panel and to the phone block, show the tools up close and then trace a real phone line at a customer that was moving from analog lines to IP phones.
Below are the steps, the mistakes that waste time (like toning a twisted pair on Ethernet cable) and a troubleshooting table for weak or confusing tones.
In this article
- Understand where the cable goes
- Check the labels before you tone
- Connect the tone generator at the room jack
- Turn the transmitter on and read the lights
- Sweep the probe in the closet and listen
- Use the volume wheel and headphones in noisy rooms
- Reduce interference at the customer site
- Trace the pair at the 66 block
- Disconnect pairs one at a time until the tone gets louder
- Or listen with a butt set without unplugging
- For Ethernet cable, use split pairs
- Move the cable and label it
- How a toner and probe works
- Tracing phone lines vs Ethernet data cables
- Troubleshooting a weak or confusing tone
- Tips before you go to a customer
- Frequently asked questions
- Watch the video
Step 1Understand where the cable goes
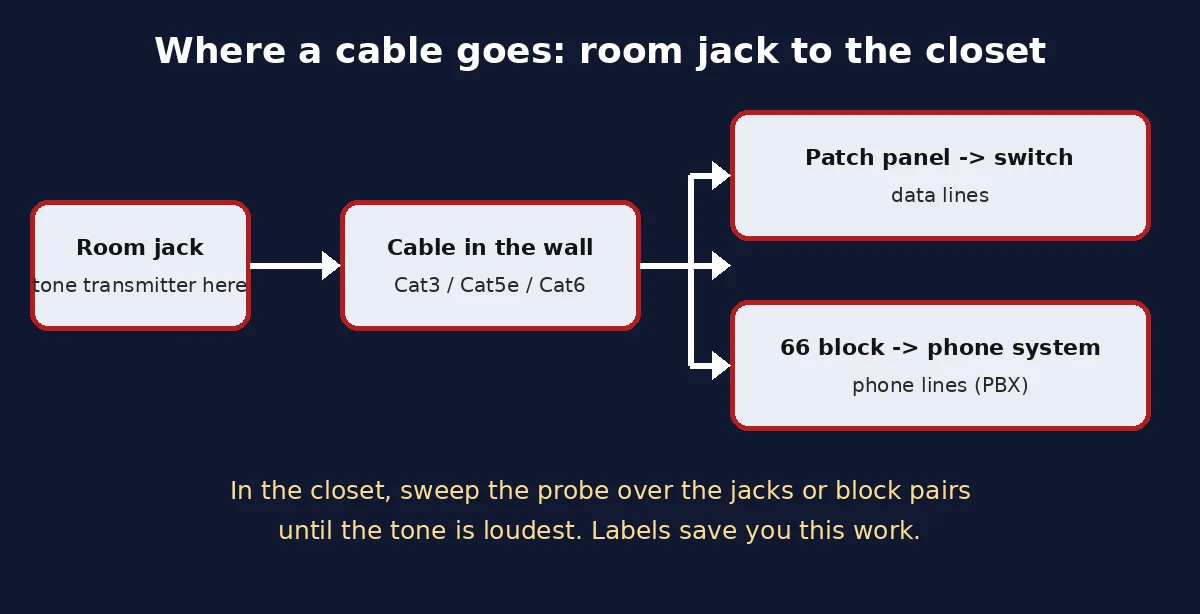
- Every room jack has a cable that ends in the data closet: data lines usually on a patch panel (then a switch), phone lines on a 66 block (then the phone system or PBX).
- Your job is to find which port or which pair in the closet belongs to the jack in the room.
- In the video I draw this on a whiteboard first; knowing the layout tells you where to start sweeping with the probe.
Step 2Check the labels before you tone
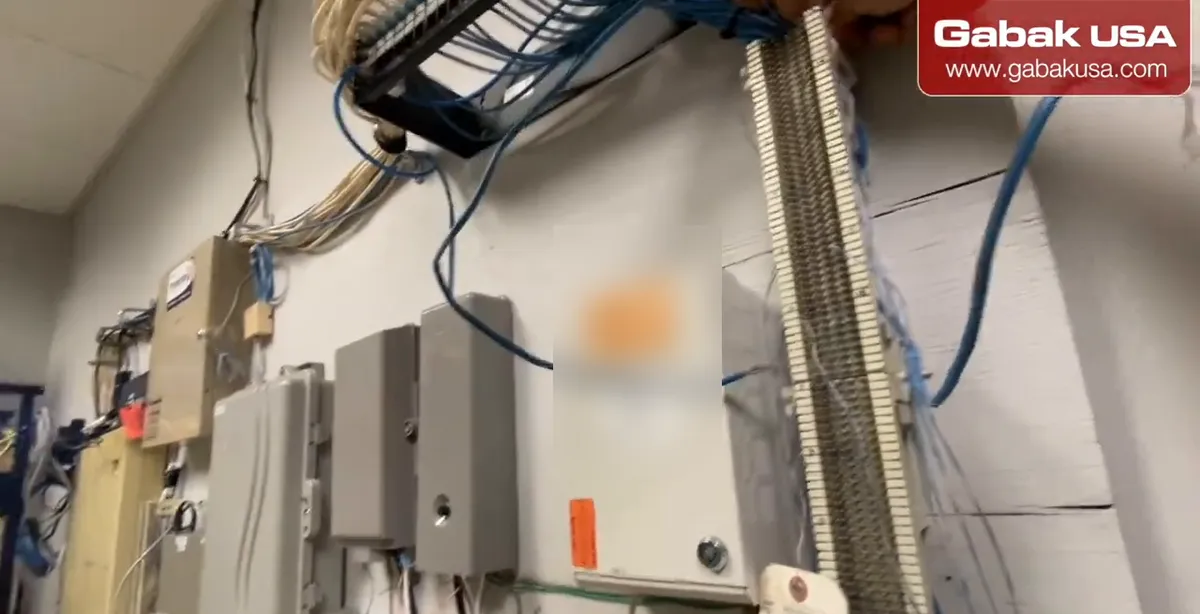
- If the room jack and the patch panel are labeled, read them first; it can save the whole job.
- In practice labels are often missing or wrong. That happens all the time at customers, so carry a toner anyway.
- When you finish, label both ends so the next technician doesn't have to repeat this.
Step 3Connect the tone generator at the room jack
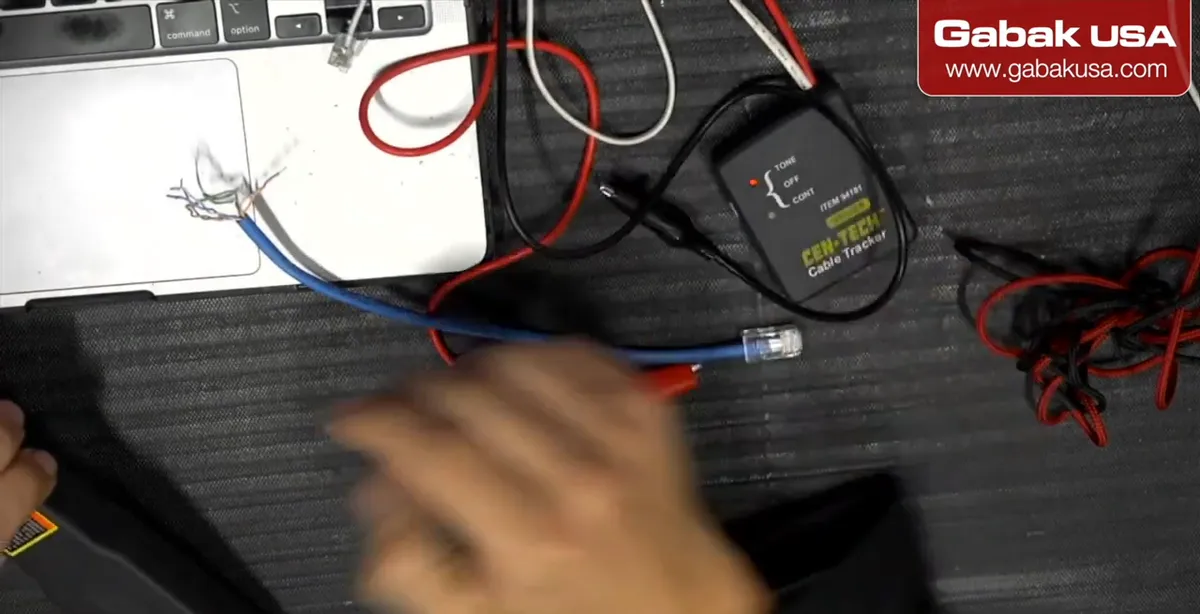
- Plug the transmitter into the jack in the room with a patch lead (RJ45 for data, RJ11 for phone), or clip its leads to the wires.
- The ideal case is to unplug both ends: nothing connected in the room and nothing connected in the closet. Then the tone travels cleanly.
- Common mistake: leaving a switch, phone or phone system connected at the other end; it weakens the signal and makes the cable harder to find.
Caution: The tool manual says to remove power sources from cables being tracked. Phone lines carry voltage (around 48 V DC when idle and more when ringing), so don't touch bare conductors.
Step 4Turn the transmitter on and read the lights
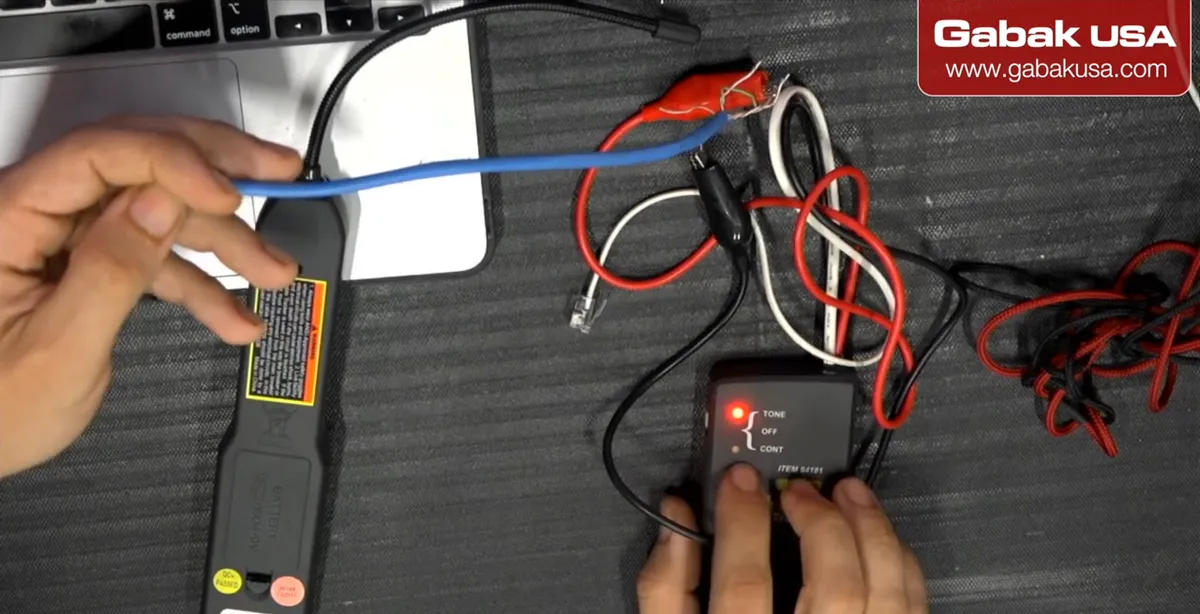
- On this model the switch has three positions: TONE, OFF (middle) and CONT (continuity).
- Set it to TONE. In the video, a single red light means there's nothing else on the line; if a second light also turns on, the line is live, with dial tone from the phone system.
- That second light is useful: it tells you right away that the pair is still connected to a working phone line.
Step 5Sweep the probe in the closet and listen
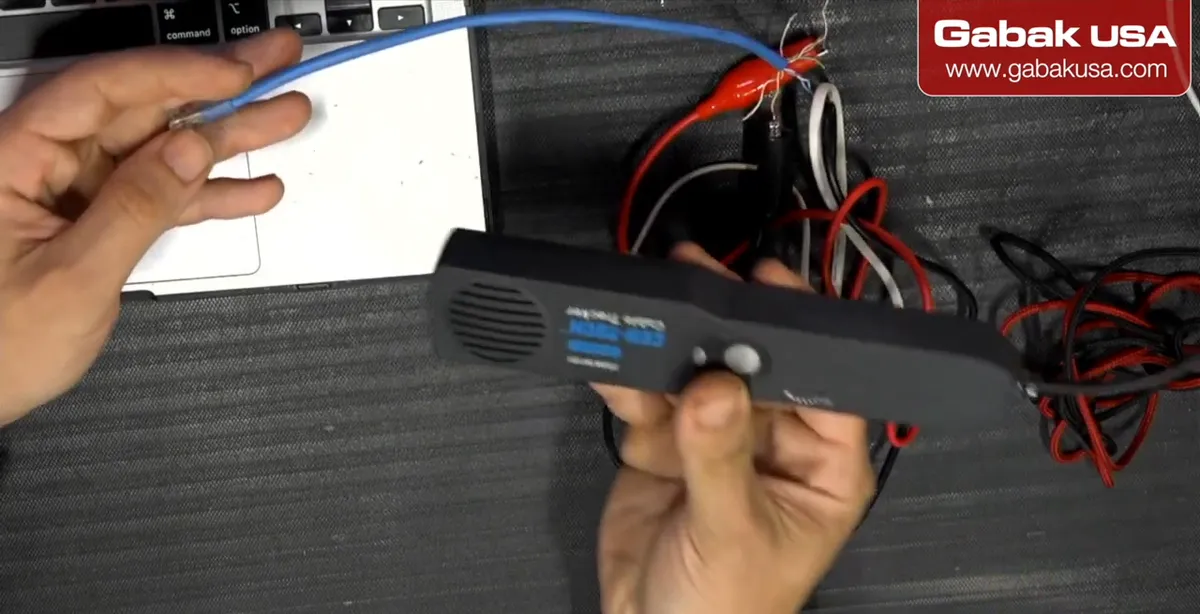
- Hold the button on the probe (it turns off when you release it) and move the tip along the patch panel ports or the 66 block pairs.
- Keep pressing and moving until you hear a different, stronger sound. Wrong cables give a faint tone, silence or random noise.
- Don't be surprised if you hear a radio station or music on hold; the probe picks up other signals too.
Step 6Use the volume wheel and headphones in noisy rooms
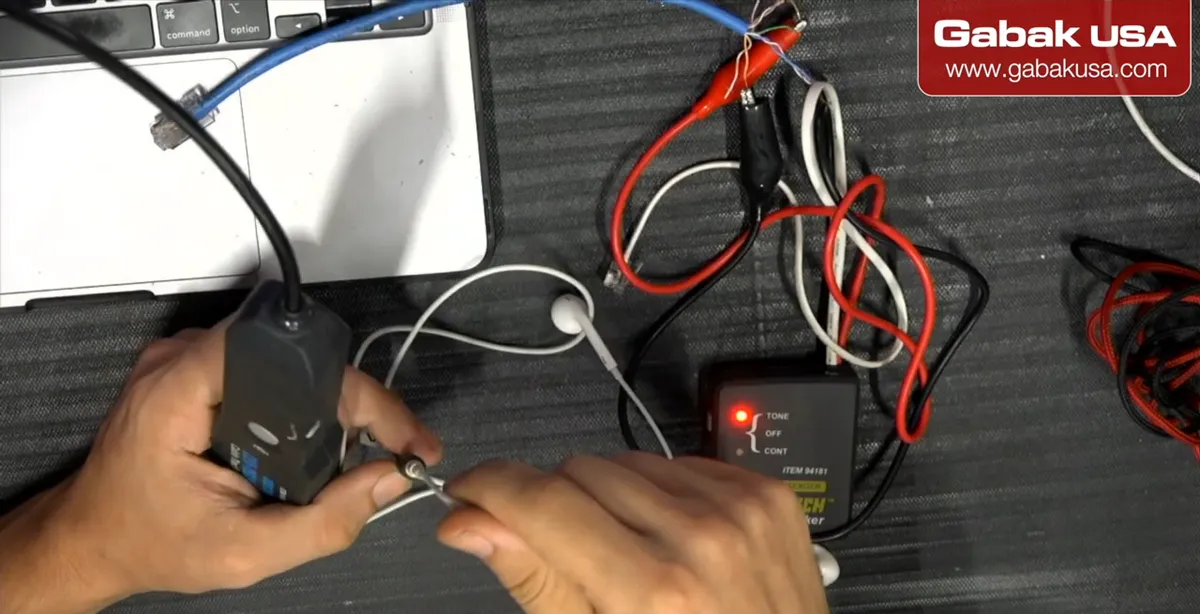
- The wheel on the probe sets the volume/sensitivity. I usually keep it at maximum.
- In a noisy place (servers, people talking) plug headphones or earbuds into the probe's jack. In the video I use Apple earbuds and they work very well.
- Headphones also help when the signal is very weak, because you're not fighting the room noise.
Step 7Reduce interference at the customer site
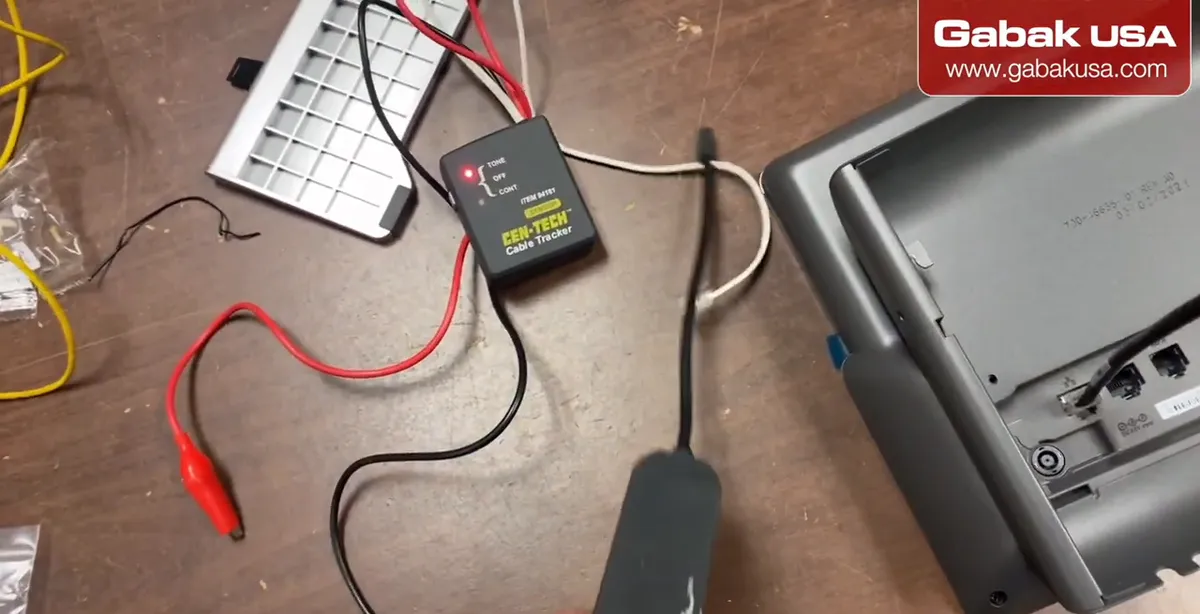
- At a business you often can't unplug everything: the phone system and the network have to keep working.
- Connected equipment (PBX, switch, data) adds interference and drains the tone, so expect a weaker signal.
- If you're allowed, unplug the far-end equipment for that one cable only. If not, use the next two methods.
Step 8Trace the pair at the 66 block
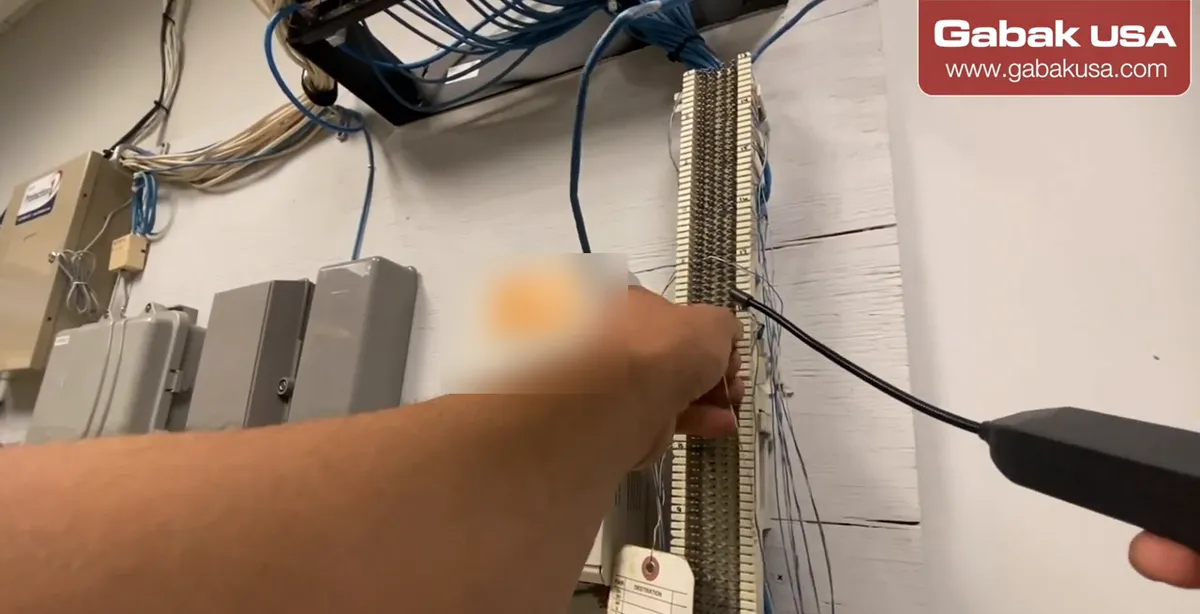
- For phone lines, go to the 66 block and run the probe along the pairs.
- On a live line the tone can be very weak; in the video you can barely hear it with the probe's speaker.
- Mark the area where it sounds strongest so you only have to check a few pairs in the next step.
Step 9Disconnect pairs one at a time until the tone gets louder
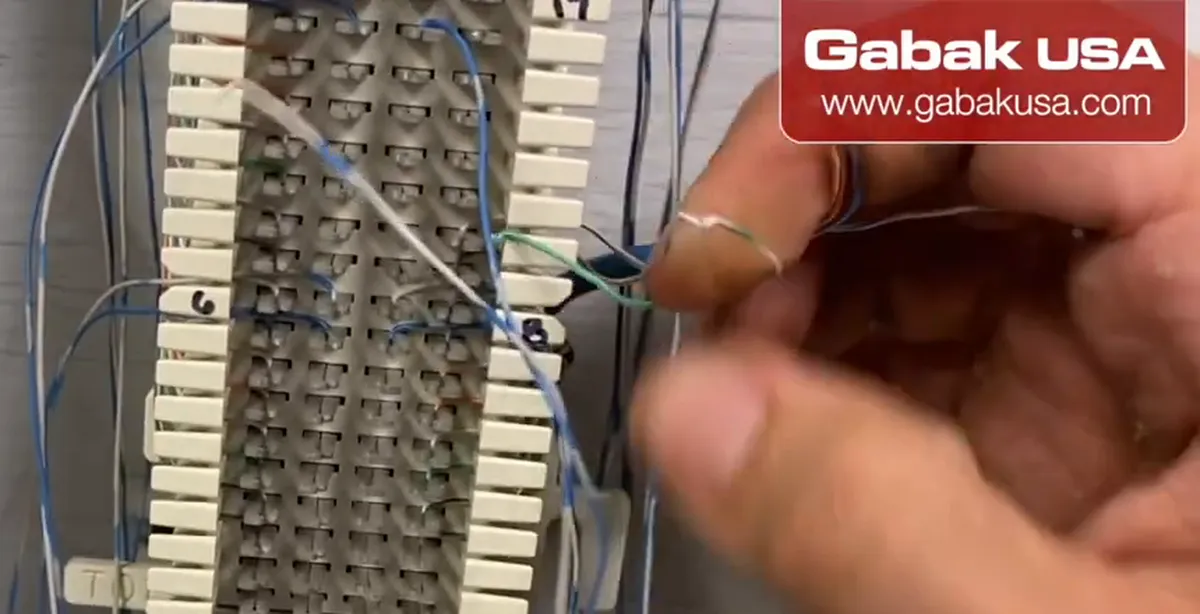
- Disconnect the suspected wires one at a time from the phone system side. When you disconnect the right one, the tone on the probe gets much stronger.
- On the transmitter, the dial-tone light goes out and only the tone light stays on: you found it.
- If it was the wrong one, plug it back in and try the next. On this block no tool was needed to do this.
- Common mistake: disconnecting several lines at once in a working office. Go one by one and put back what you remove.
Caution: Only disconnect lines when the customer agrees, and expect a phone to drop while that pair is lifted.
Step 10Or listen with a butt set without unplugging
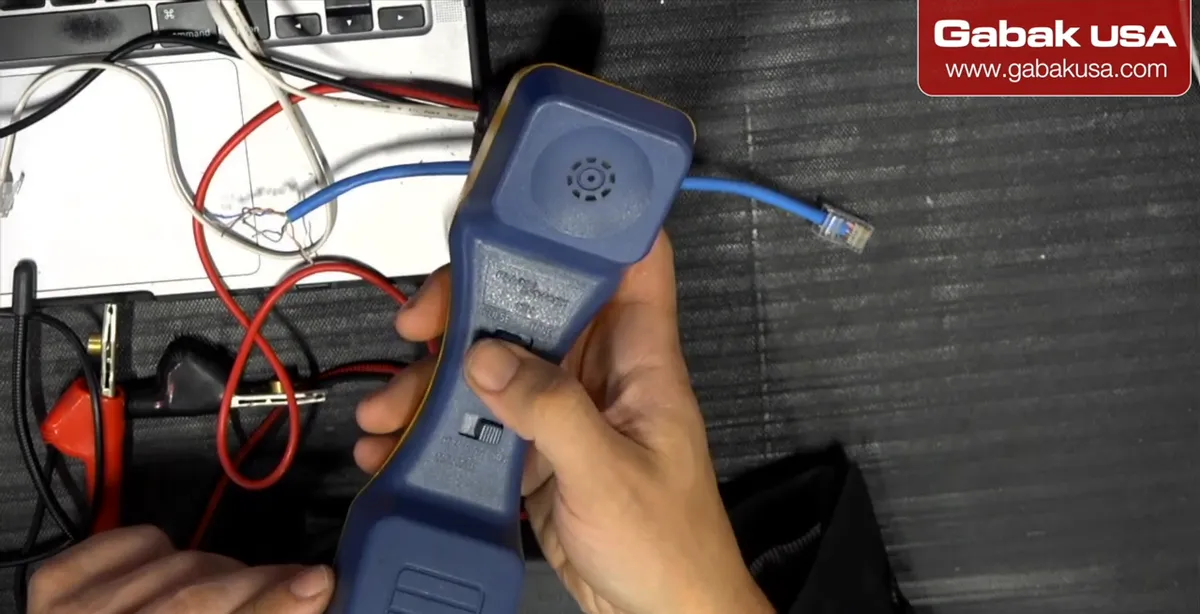
- The safest method is a butt set (lineman's test set). Clip its leads on each pair of the 66 block and listen.
- You'll hear the same tone you hear with the probe when you touch the right pair, and you don't disconnect anything.
- In the video I use a Fluke butt set, just switched on and clipped to the block. Not everybody has one; if you don't, use the probe method above.
Step 11For Ethernet cable, use split pairs
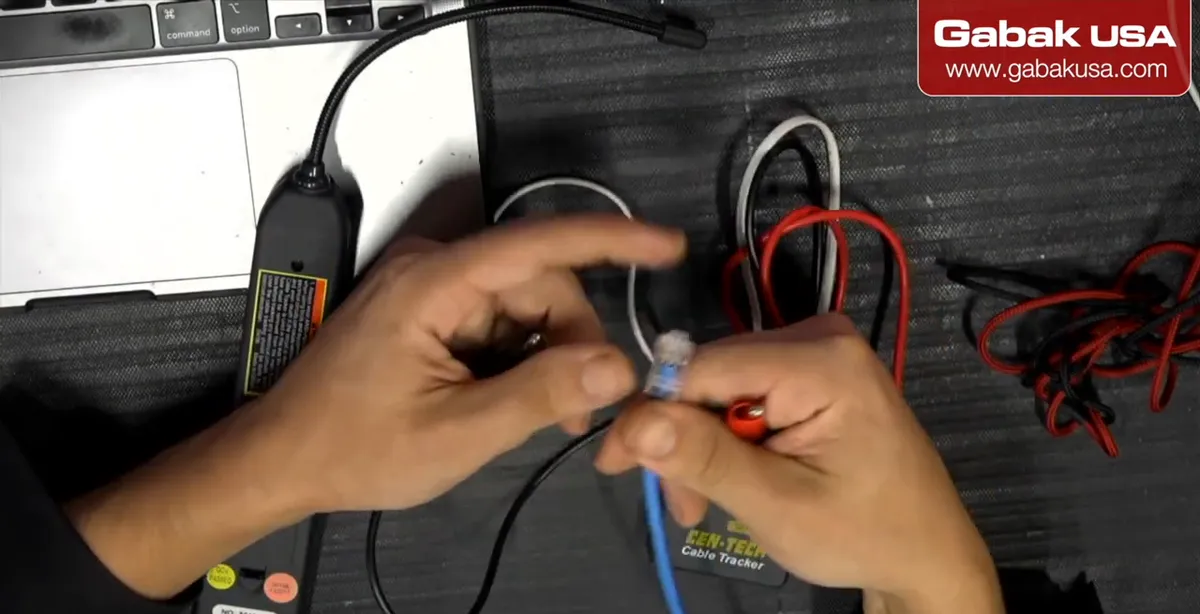
- Ethernet cable has four twisted pairs. If you put the tone on one pair (orange and white-orange), the twist cancels the signal and at the far end it's so weak you can't detect it.
- Instead put the tone on two wires from different pairs, for example orange and brown (or orange and blue).
- Make yourself a small adapter (an RJ45 plug with leads on split conductors) so you can do it quickly on every job.
- Common mistake: blaming the toner when the real problem is the twisted pair.
Step 12Move the cable and label it
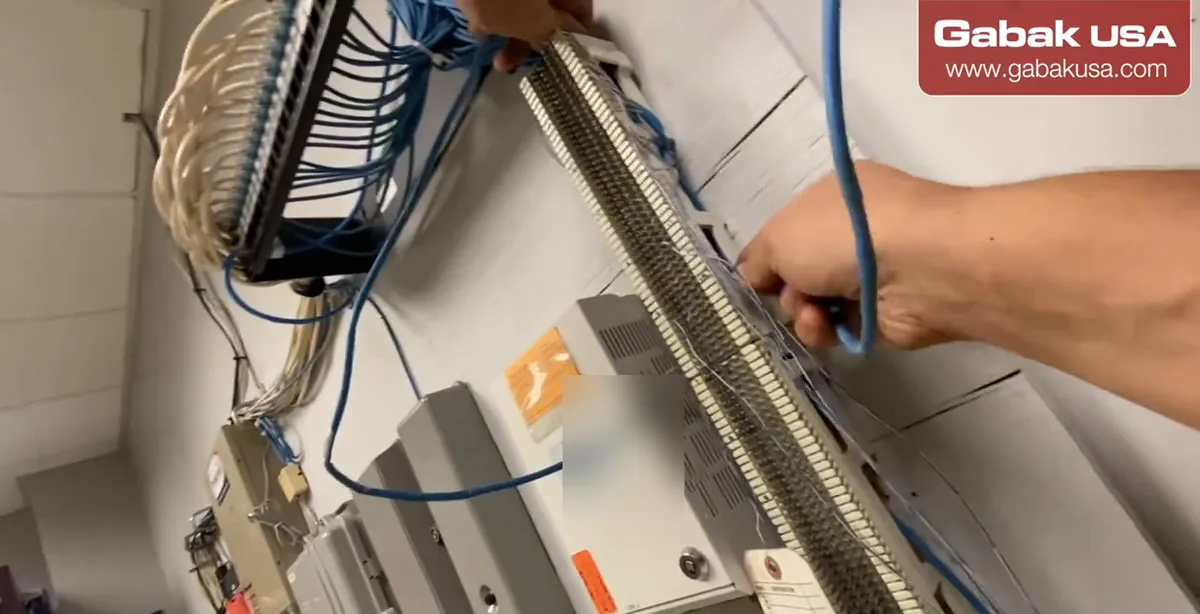
- Once you've found the cable, do the job: in the video the customer was replacing analog phone lines with IP phones.
- The previous technician had run Cat6 instead of phone cable, using one pair per line, so I only had to remove it from the old phone system and move it to the patch panel (with an RJ45 plug).
- Label both ends before you leave.
How a toner and probe works
A tone generator puts an audio signal on a pair of wires. The inductive probe picks up that signal through the insulation and plays it on its speaker, so you never have to cut or pierce the cable.
The louder and clearer the tone, the closer you are to the right cable. Because the probe also picks up other signals, you'll sometimes hear hum, data noise or even a radio station; the right cable sounds distinctly different.
The Cen-Tech tracker in the video also has a continuity (CONT) mode: with the far end of a pair shorted, the LED tells you whether the circuit is closed, which is handy to check a pair end to end. If you need to check every conductor of an Ethernet cable and its wiring order, use a cable tester instead, like the one in my TESMEN TLP900AR network cable tester guide.
Tracing phone lines vs Ethernet data cables
| Phone line | Ethernet data cable | |
|---|---|---|
| Where it ends | 66 block (or 110 block) to the phone system | Patch panel to a switch |
| Connector at the jack | RJ11 | RJ45 |
| Where to put the tone | The pair used by the line | Two conductors from different pairs (e.g. orange + brown) |
| What weakens the tone | Connected phone system, dial tone | Connected switch or device |
| Safest way to identify | Butt set on the block | Unplug the patch cord at the switch |
Cat5e/Cat6 cable can carry phone lines too: that's what made the customer job in the video easy, because the old phone cable was really Cat6 and could go straight to the patch panel for the new IP phones. If you're setting up that new network side, see how I install an AT&T modem and a Cradlepoint 4G LTE router in a rack.
Troubleshooting a weak or confusing tone
| Problem | Likely cause | Fix |
|---|---|---|
| Tone is very weak everywhere | Equipment connected at the far end (switch, PBX) | Unplug the far end if allowed, or lift pairs one by one |
| Can't hear anything on Ethernet cable | Tone is on a single twisted pair | Use two wires from different pairs (orange + brown) |
| Every cable sounds the same | Probe sensitivity too high, cables bundled tightly | Lower the wheel a little and test cable by cable |
| Radio or music in the probe | Probe picking up other signals | Normal; listen for the distinct tracer tone |
| Can't hear in the server room | Room noise | Plug headphones into the probe |
| Transmitter shows two lights | The line has dial tone (live) | Expected on a working line; the tone will be weaker |
| Nothing at all | Dead 9 V battery or switch on OFF | Replace batteries, set TONE |
Tips before you go to a customer
- Practice at home. Take a roll of 100 feet of cable and try the toner, the split-pair adapter and the butt set before you need them on a job. You'll learn what a weak signal sounds like through a live phone line.
- Carry three "best friends": the toner, a split-pair adapter for Ethernet cable and a butt set.
- Ask before you unplug. A business keeps working while you trace, so agree with the customer which lines you can disconnect.
- Troubleshooting starts with the cable. On one job an access point wasn't working; tracing its cable showed it was simply unplugged. Easy when it's labeled, a disaster when it isn't.
- Label everything you identify. An organized closet makes the next job (and the next technician's job) much faster.
The same rule applies outdoors: for long links like a point-to-point antenna installation, label the cable at both ends when you pull it.
Frequently asked questions
What is a toner used for in networking?
A toner (tone generator and probe) identifies which cable or pair in the closet belongs to a jack in a room, without cutting or piercing the insulation.
How do you use a tone generator and probe?
Connect the tone generator to the cable at one end, set it to tone, then sweep the probe over the cables at the other end; the right one gives a louder, distinct sound.
Why is my toner signal so weak on Ethernet cable?
Probably the tone is on one twisted pair, which cancels the signal. Put it on two conductors from different pairs, for example orange and brown.
Can you tone a live phone line?
It can work, but the tone is much weaker and the line carries voltage. Lifting the pair from the phone system or using a butt set makes it easier; the tool manual recommends removing power from the cable.
Why does my tone probe pick up a radio station?
The probe amplifies any signal it picks up, so it can hear radio, music on hold or data noise. Listen for the distinct tracer tone.
What is a 66 block?
A punch-down terminal block used to connect telephone wire pairs, typically between the building cabling and the phone system.
Do I need a butt set to trace phone lines?
No, but it's the safest option because you listen on each pair without disconnecting anything. Without one, use the probe and lift pairs one at a time.
What does the CONT setting on a cable tracker do?
It checks continuity: the LED indicates whether the circuit on the pair is closed, which helps confirm a pair end to end.
Watch the video



Comments
Comments appear after Gabriel reviews them.
Loading comments…