

Step-by-step guide
How to install a 4K mirror dash cam with front and rear cameras (Red Tiger) for accident proof
Short answer: a dual dash cam that records the front and the rear at the same time gives you video proof of a car accident on a microSD card, with your speed, date and time on the video. To install a mirror dash cam, strap it over your rearview mirror, connect power and the GPS, run the rear camera cable to the back of the vehicle, then turn on the ignition and check both views.
In this guide you will see how a Red Tiger 4K mirror dash cam was installed in a Chrysler minivan used as a work van: the ports on top of the camera, mounting it with rubber straps, powering it with a 12V to 5V converter instead of a cable hanging from the cigarette lighter, routing the rear camera cable, and using the touchscreen to swipe between cameras, play back recordings and change settings.
The point, as the video explains, is simple: if you're driving forward or backing up and someone hits you, you want evidence to show the police.
In this article
- Get to know the mirror dash cam
- Identify the ports on top
- Strap the camera over your rearview mirror
- Find a power source in the overhead console
- Convert 12V to 5V for the USB-C input
- Tidy the wiring at the front
- Mount the rear camera at the back
- Run the rear camera cable (quick way)
- Hide the cable behind the trim (neat way)
- Turn on the ignition and check the start-up time
- Read the information on screen
- Swipe between the front and rear camera
- Play back recordings with speed, date and time
- Adjust the settings menu
- Why a front and rear dash cam helps after an accident
- Hardwiring vs. the cigarette lighter plug
- Mirror dash cam buying checklist
- Troubleshooting a mirror dash cam
- Is a mirror dash cam legal?
- Frequently asked questions
- Watch the video
Step 1Get to know the mirror dash cam
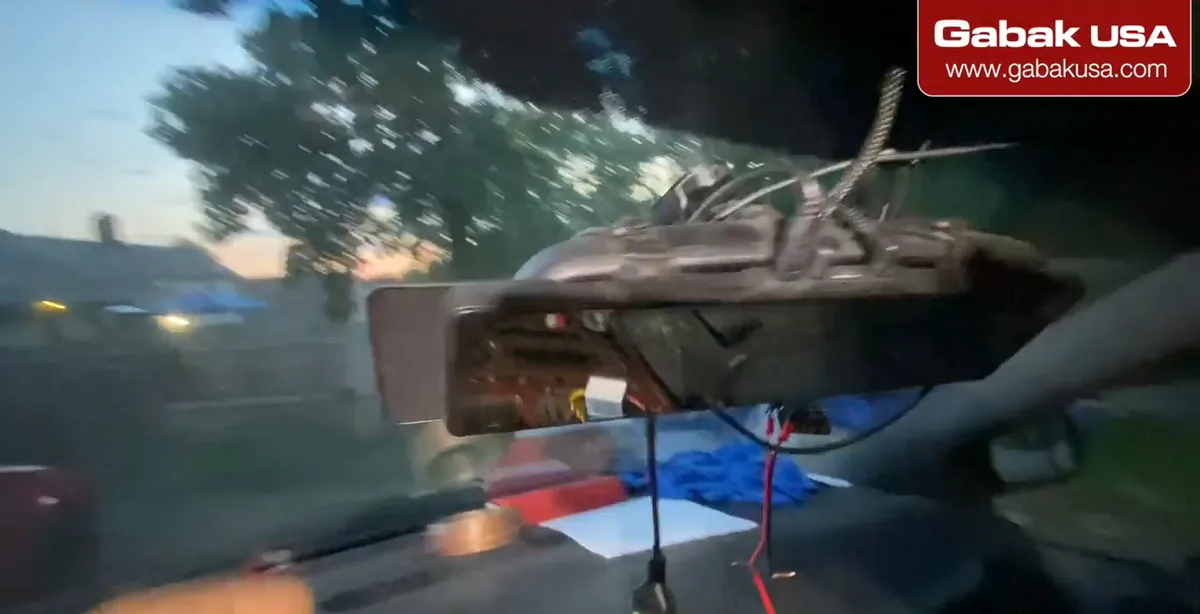
- This type of dash cam replaces the look of your rearview mirror: the screen is the mirror, and the front camera sits on the back, facing the road.
- A separate rear camera connects with a long cable and records what is behind you.
- Before you mount anything, plug it in and power it up once to make sure both cameras work. In the video the wiring is left visible on purpose so you can see the connections.
Step 2Identify the ports on top
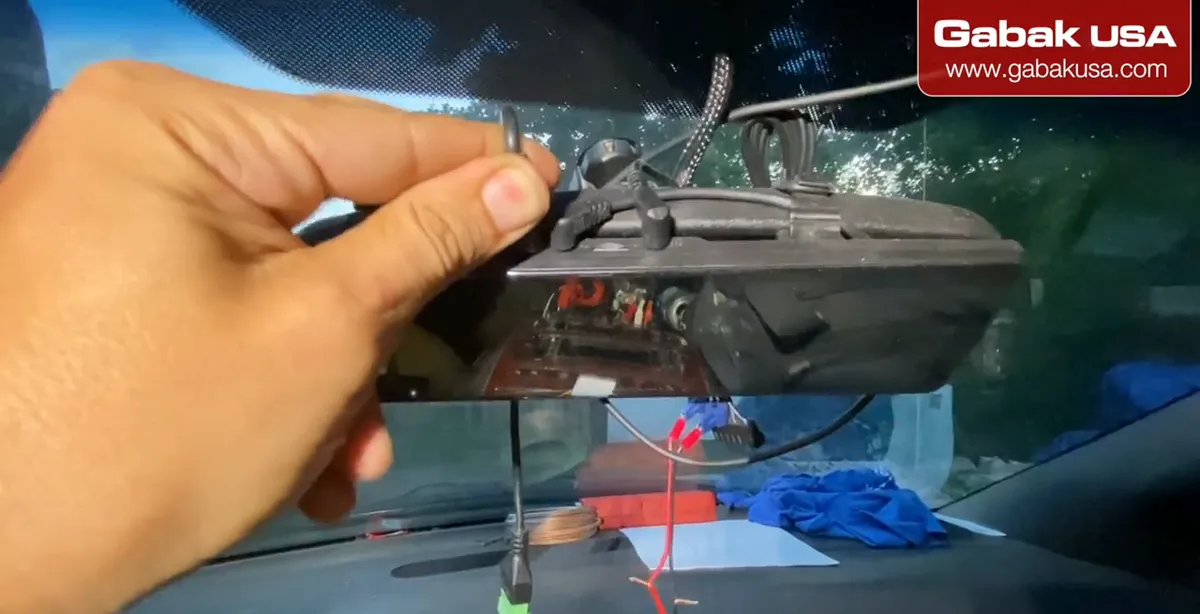
- On top of the camera you'll find the SD card slot, the GPS connector, the rear camera input and the power input.
- The power on this model is USB-C. That was one of the reasons for choosing it; at the time of purchase it was the only one found with USB-C.
- Insert the microSD card first. Use a card size the camera supports and format it in the camera (Step 14).
Step 3Strap the camera over your rearview mirror
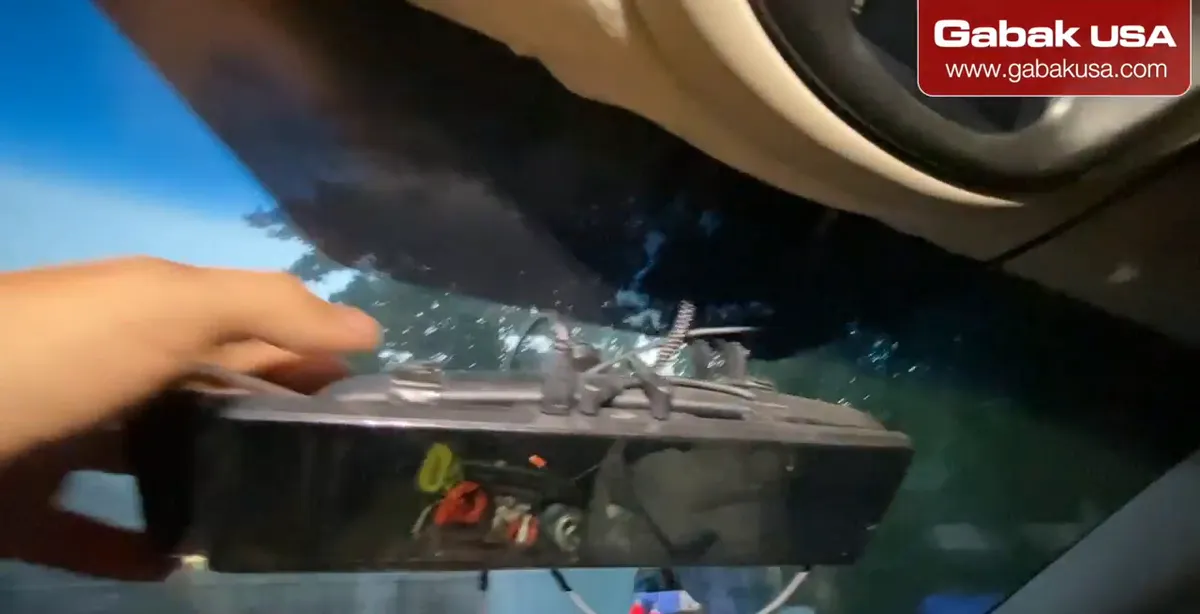
- Mount the dash cam on the rearview mirror you already have, using the elastic straps that come with it.
- Aim the camera and the mirror the way you need them, then press the straps so the unit doesn't move over bumps.
- Place the GPS module where it has a clear view of the sky, such as on the windshield; the video shows it mounted near the camera. GPS is what puts your speed on the video.
Step 4Find a power source in the overhead console
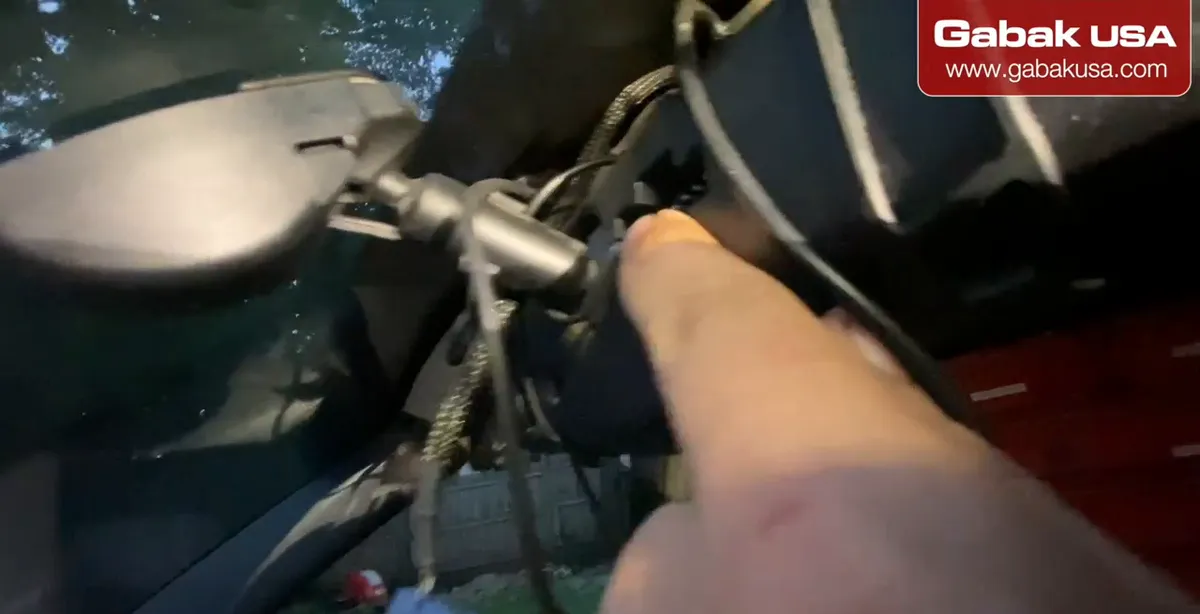
- This minivan has buttons on the ceiling to open and close garage doors, and a cable that normally feeds that console.
- There's no garage where the van is used, so that cable was unplugged and its power was used for the dash cam instead. It can be plugged back in later.
- Every car is different. If you're not sure which wire to use, use the plug-in power cable that comes with the camera or ask an installer.
Caution: Disconnect power or remove the fuse before cutting or splicing any vehicle wire, and use a fused circuit. A short on an unfused wire can damage wiring or start a fire.
Step 5Convert 12V to 5V for the USB-C input
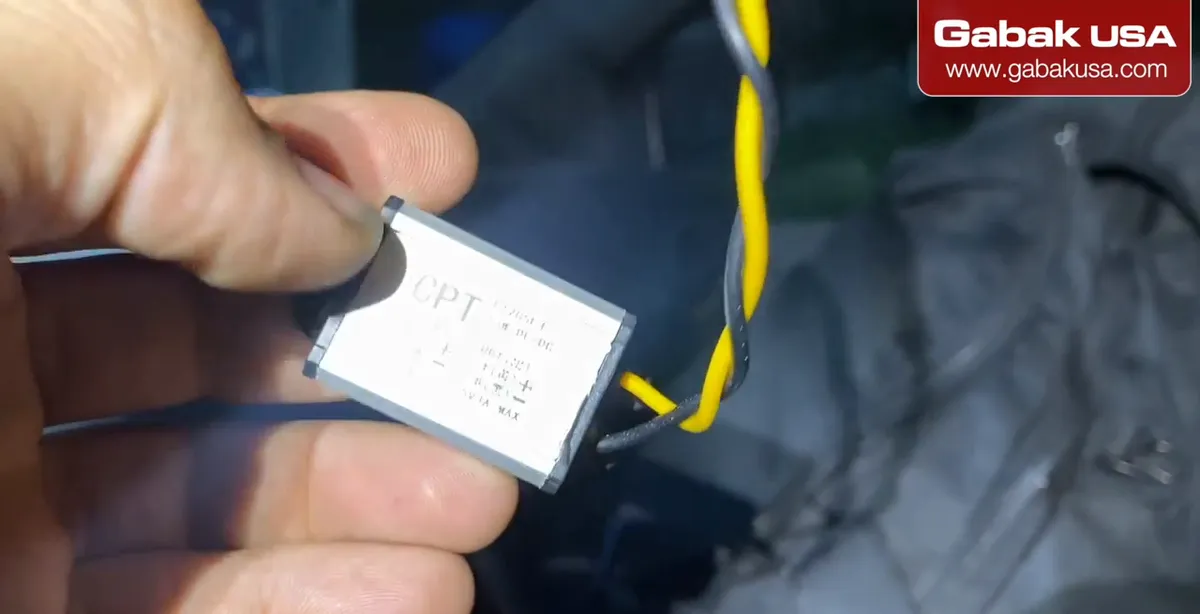
- The car gives about 12 volts while USB-C needs 5 volts, so a 12V to 5V converter is used between them.
- From the converter an adapter goes to the camera's USB-C plug. The wires are connected on the terminals.
- With this setup there is no cable hanging from the cigarette lighter to the mirror.
- Check the converter's output before you connect the camera; a wrong voltage can damage it.
Step 6Tidy the wiring at the front
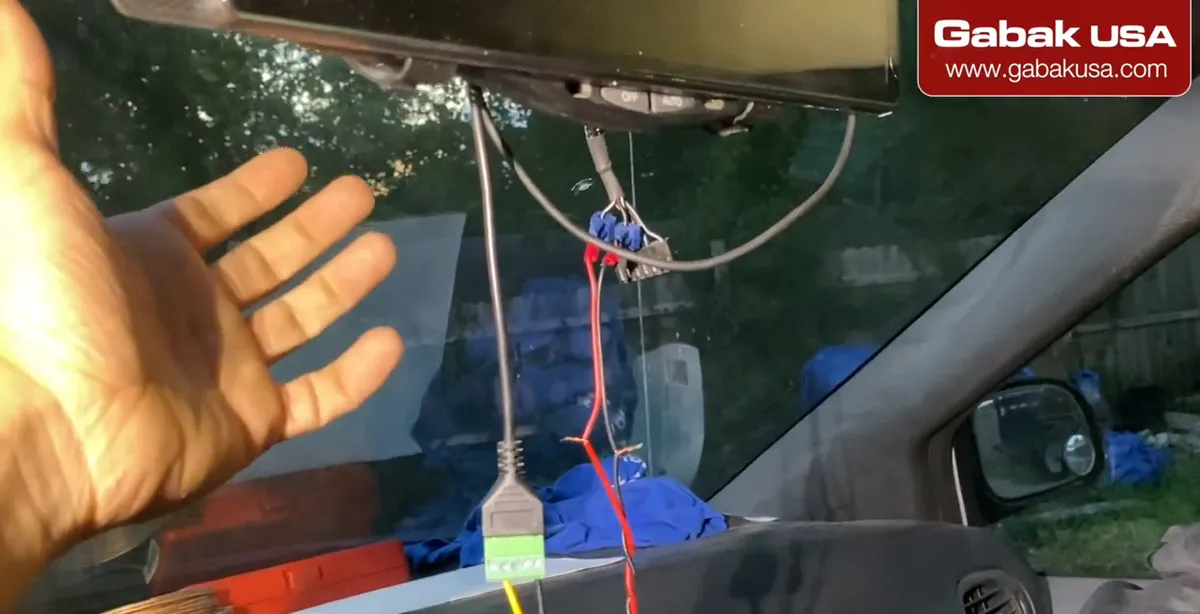
- Once everything works, tuck the wires into the headliner so the cables don't hang everywhere.
- The video shows the wiring loose only to explain the connections; it gets arranged neatly afterwards.
- Leave a little slack near the mirror so you can still adjust the angle.
Caution: Many vehicles have curtain airbags along the roof edge and pillars. Don't run cables across the front of an airbag or where they could stop it from deploying.
Step 7Mount the rear camera at the back
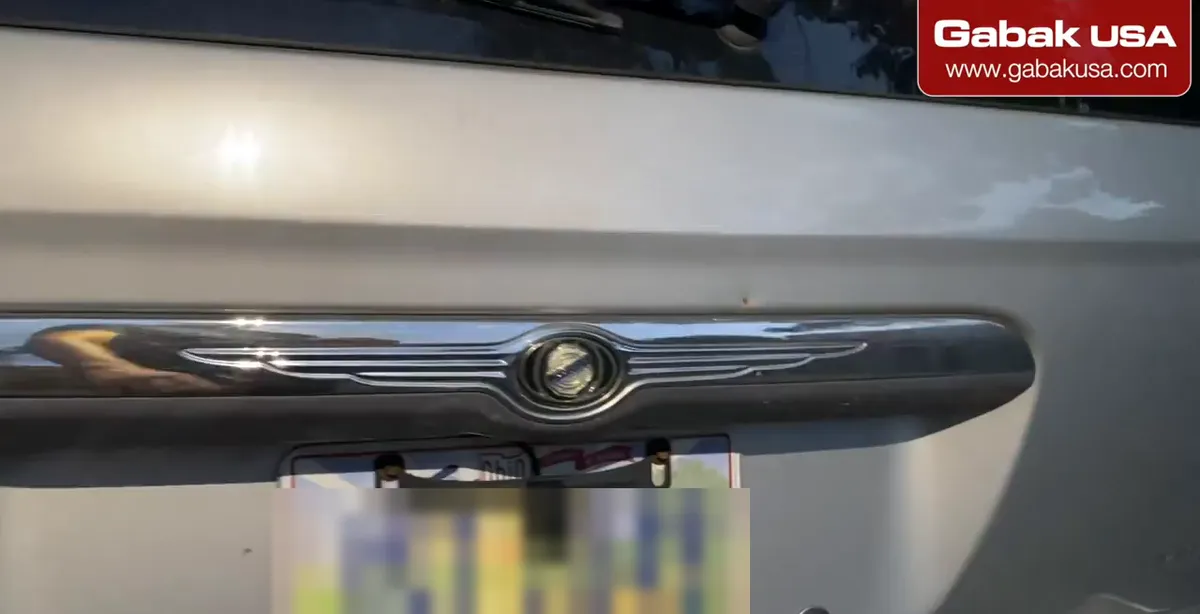
- The rear camera goes at the back of the minivan; in the video it sits at the license plate under the liftgate handle.
- Aim it so it covers the road behind you and the area you back into.
- Make sure it doesn't cover the plate numbers, then seal the cable hole so water can't get in.
Step 8Run the rear camera cable (quick way)
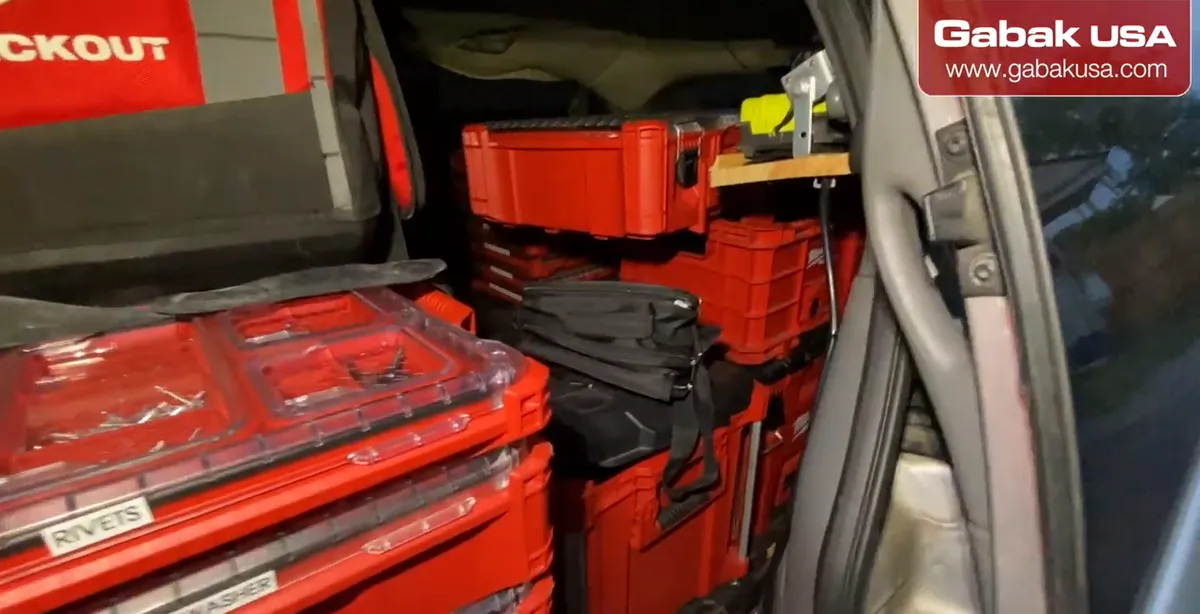
- This is a work van, and the cable was run through the middle of the minivan to the back.
- It's an inexpensive van used only for tools, no passengers, so a perfect look wasn't the goal.
- If you go this way, keep the cable away from seat rails, pedals and anything that moves or gets stepped on.
Step 9Hide the cable behind the trim (neat way)
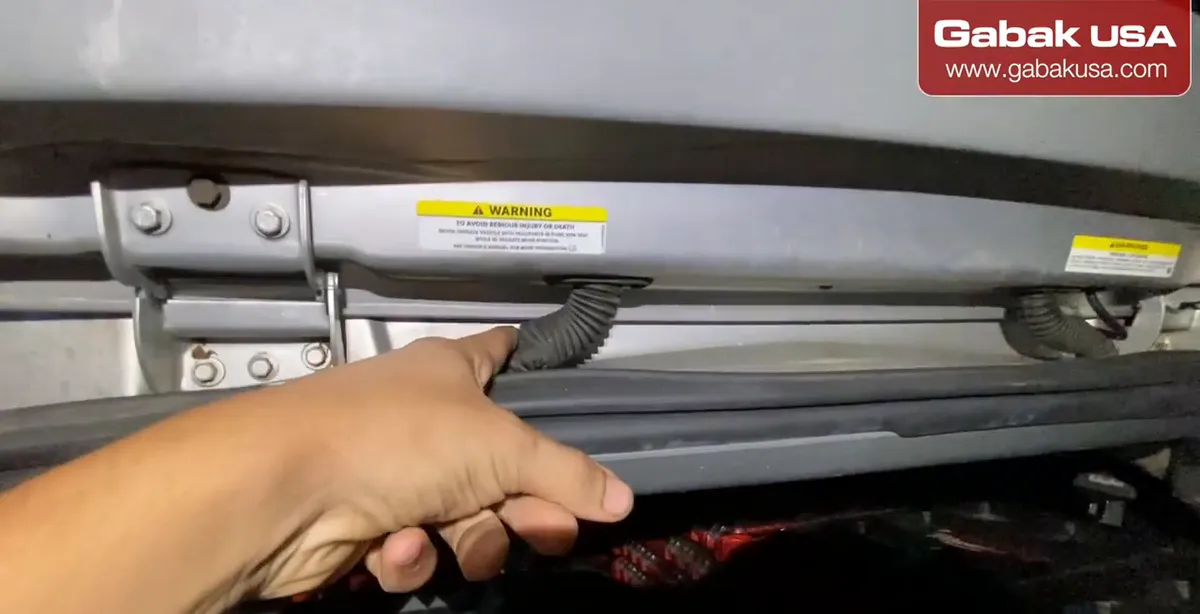
- For a clean look, remove the plastic trim panels and run the cable behind them, from the front all the way to the back.
- At the liftgate, go up and through, remove the two screws on the trim and run the cable behind it to the camera.
- The same was done in another car through the headliner. Each car is different, but the construction is basically the same.
- Common mistake: pulling the cable tight at the liftgate hinge. Leave slack so it doesn't pinch every time you open it.
Step 10Turn on the ignition and check the start-up time
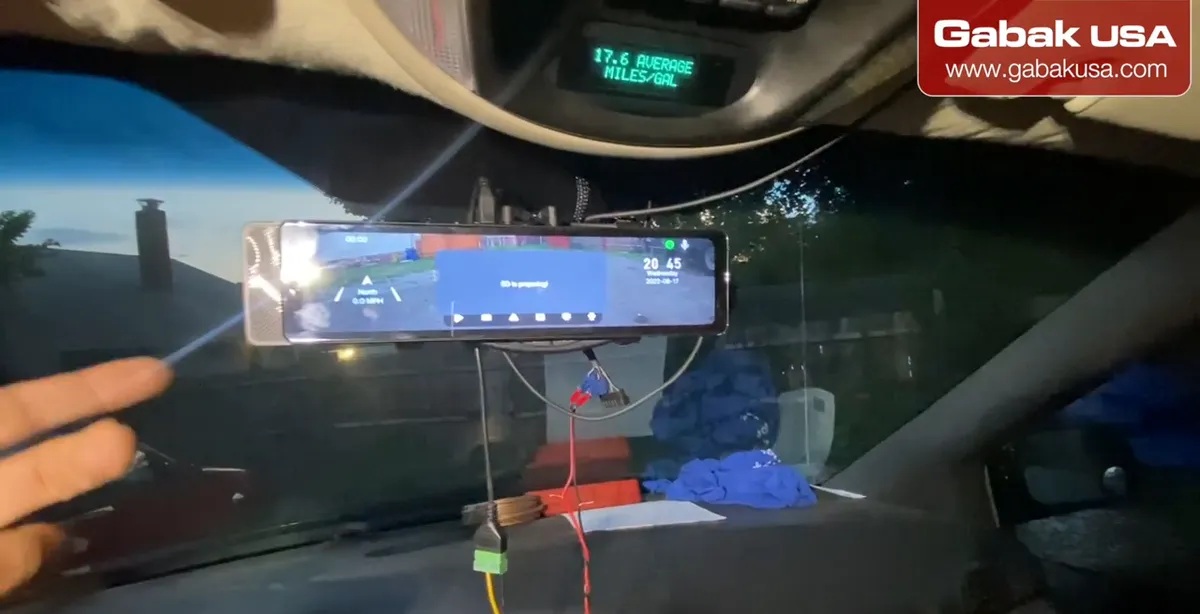
- With this wiring the camera turns on by itself as soon as you turn the key.
- In the video it was ready in about 2 to 3 seconds. Other brands tried took 15 to 30 seconds.
- That matters if you get in and want to leave right away: the camera is already recording.
- When the camera is off, the screen works as a normal mirror.
Step 11Read the information on screen
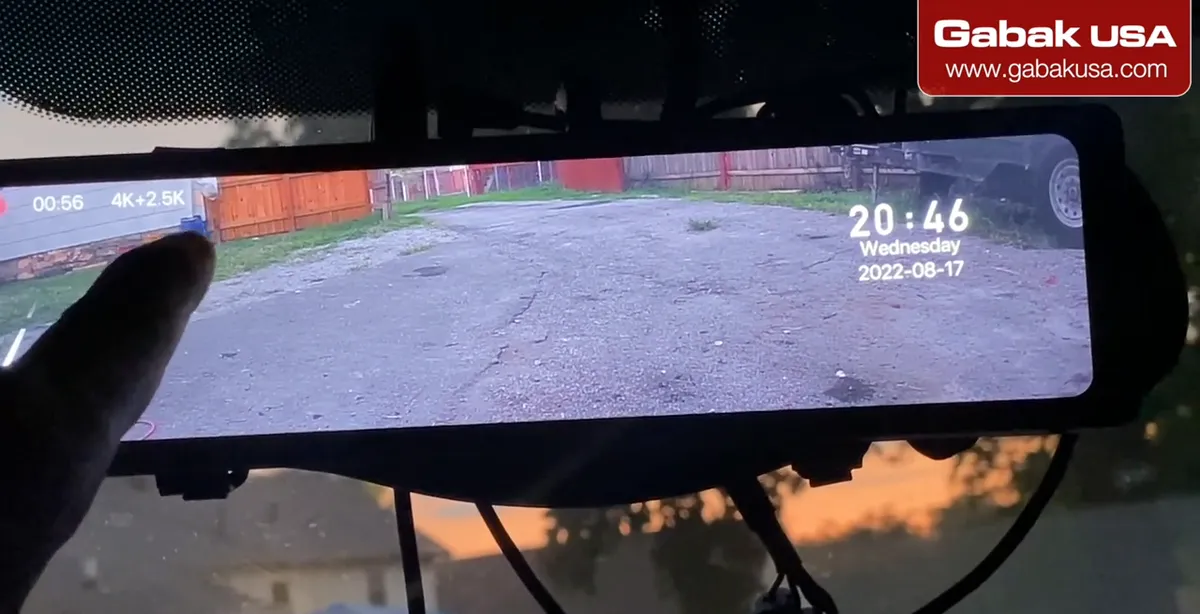
- The screen shows the time, the date and the miles per hour. Speed shows nothing when the van isn't moving.
- It also shows the resolution: 4K + 2.5K, for the front and rear cameras.
- Check that the date and time are correct on day one; that's what makes the video useful as proof.
Step 12Swipe between the front and rear camera
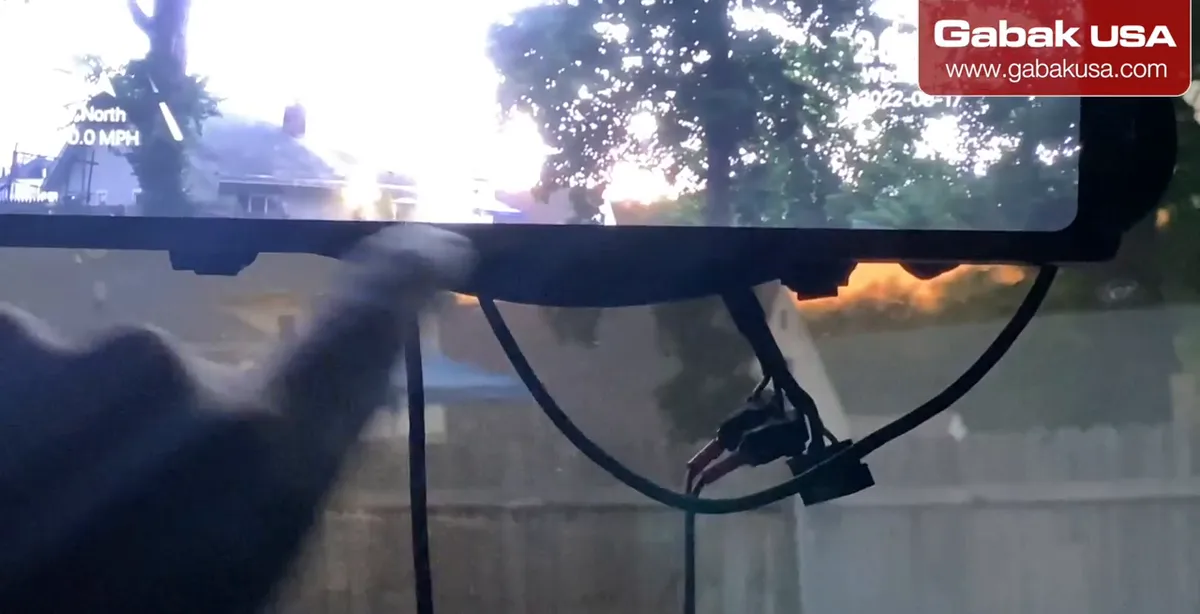
- Swipe right or left to switch between the rear camera and the front camera. Tapping can swap the cameras or show only one.
- In the video the screen is left on the rear camera most of the time: the cargo area full of tools blocks the normal mirror view.
- Both cameras keep recording no matter which one is on the screen.
Step 13Play back recordings with speed, date and time
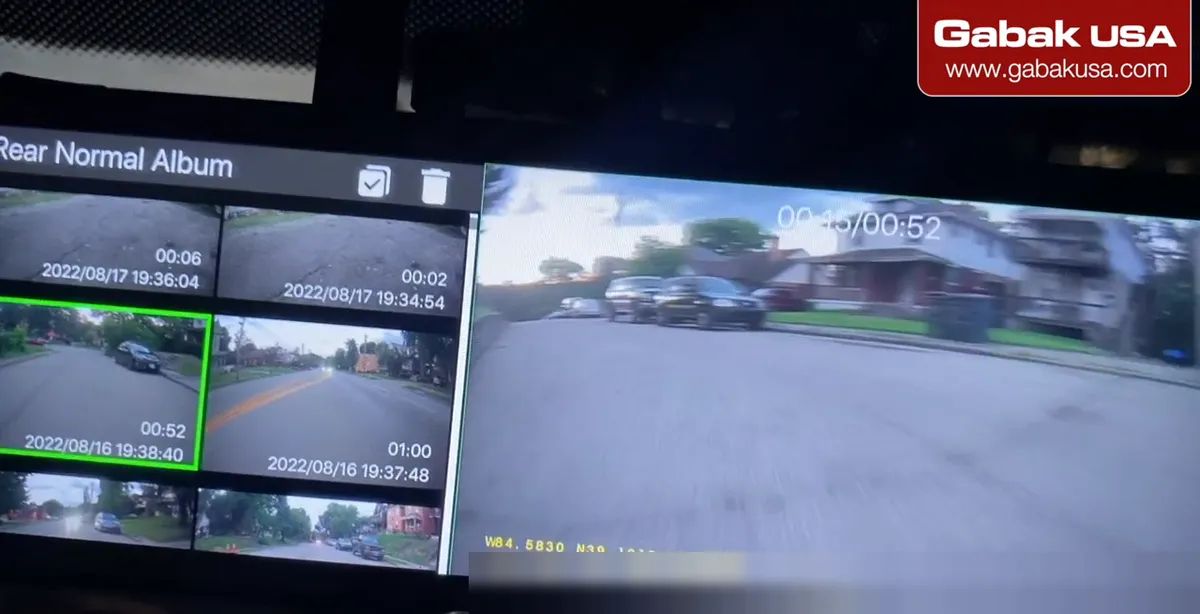
- Tap once, then choose camera play (playback) and pick the front or rear camera.
- Each clip shows the miles per hour, the date and the hour, so you can tell the police how fast you were going or that someone hit you from behind.
- You can also take pictures, but it can be left in automatic so it records everything.
- You can remove the SD card and watch the videos on your computer.
Step 14Adjust the settings menu
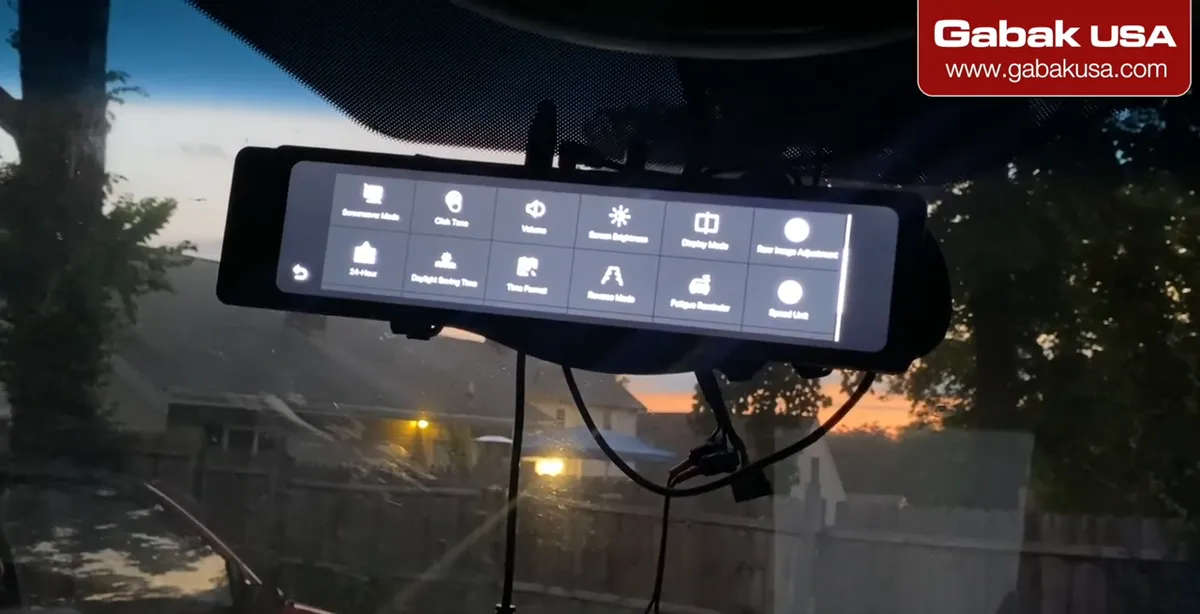
- In Menu you'll find sound, encode, split time, resolution, screen saver, click tone, volume, brightness, swapping the cameras, time, GPS information, language and format.
- Format erases the card. Reset restores factory settings if you mess something up.
- Split time sets how long each recorded file is. Shorter clips are easier to find and share.
Note: Save any important clip to your computer before you format the card.
Why a front and rear dash cam helps after an accident
A single front camera doesn't help when someone hits you from behind or when you hit something while backing up. A dual dash cam records both directions at the same time on the microSD card, with the date, time and speed burned into the video.
That's the reason given in the video: if something happens, you want to be able to show the police what happened, how fast you were going and who hit whom. In a work van whose rear window is blocked by tools, the rear camera on the screen also works as a full-time backup camera.
Hardwiring vs. the cigarette lighter plug
| Cigarette lighter plug | Hardwired (12V to 5V) | |
|---|---|---|
| Install time | Minutes | Longer |
| Cables visible | Often | Hidden |
| Turns on with the key | Depends on the socket | Yes, if wired to an ignition circuit |
| Risk | Low | Needs correct, fused wiring |
In the video a 12V to 5V converter feeds the camera's USB-C input from the overhead console power, so there's no cable hanging from the lighter. If you aren't comfortable with car wiring, use the plug-in cable or have a shop install a hardwire kit.
Mirror dash cam buying checklist
- Front and rear cameras with a resolution you can read plates with (this one shows 4K + 2.5K).
- Fast start-up: a camera that takes 15 to 30 seconds can miss the start of your trip.
- GPS for speed and location on the video.
- USB-C power if you want a modern, easy-to-find cable.
- Long enough rear cable for your vehicle; vans and SUVs need more.
- microSD card made for continuous recording, and a format option in the menu.
For home and business security instead of the car, see this 4G LTE solar security camera installation.
Troubleshooting a mirror dash cam
| Problem | What to check |
|---|---|
| Camera doesn't turn on with the key | Power source isn't switched with ignition, or the converter isn't wired right. |
| No speed on screen | GPS not connected or no sky view; speed shows nothing when stopped. |
| No rear image | Rear cable loose at the top port or pinched at the liftgate. |
| Wrong date or time | Set time in the menu; GPS can also help. |
| Recordings missing | Format the card in the camera; replace a worn-out card. |
| Screen too bright at night | Lower brightness or use screen saver mode. |
Is a mirror dash cam legal?
Dash cams are widely used in the United States, but rules about mounting things on or near the windshield, and about recording audio of passengers, vary by state. Keep the camera from blocking your view, check your state's rules, and tell passengers if audio is recorded.
If you also want to keep a screen from wearing out when it's on all day, see how to prevent security monitor burn-in.
Frequently asked questions
How do I install a dash cam with a rear camera?
Strap the mirror unit over your rearview mirror, connect power, GPS and the rear camera cable on top, run the rear cable to the back of the vehicle behind the trim or through the cabin, and mount the rear camera at the back.
Can a dash cam help prove who caused an accident?
It records video with the date, time and speed, which you can show to the police or your insurance. A front and rear camera covers crashes from both directions.
How do you power a dash cam without the cigarette lighter?
Hardwire it: the video uses a 12V to 5V converter connected to a power source in the overhead console, with an adapter to the camera's USB-C input.
How fast does the Red Tiger dash cam turn on?
In the video it turned on by itself in about 2 to 3 seconds after turning the key. Other brands tried took 15 to 30 seconds.
Where does the rear dash cam cable go?
Through the inside of the vehicle to the back. In the video it runs through the middle of a work van; for a clean look, run it behind the plastic trim panels and liftgate trim.
How do I watch dash cam videos on my computer?
Remove the microSD card from the slot on top of the camera and put it in your computer's card reader, or use the playback menu on the screen.
Does a mirror dash cam still work as a mirror?
Yes. When the screen is off, it works like a normal rearview mirror.
What resolution do the cameras record?
The camera in the video shows 4K + 2.5K on screen, for the front and rear cameras.
Watch the video


Comments
Comments appear after Gabriel reviews them.
Loading comments…