
Step-by-step guide
How to install an AMD Ryzen CPU and stock cooler on an AM4 motherboard (step by step)
What you will do: install an AMD Ryzen 5 processor in an AM4 motherboard and mount the stock AMD cooler – handling everything static-safe, lining up the CPU with the socket mark, locking it with the lever, fixing the cooler with four screws and plugging the fan into the CPU fan header. At the end you will also see the older clip-style AMD cooler mount and why the screw mount is more reliable.
The build in the video is a budget PC for a customer (Ryzen 5, DDR4 RAM and an ASUS Prime board). If you are still choosing parts, see how to check a budget AM4 upgrade bundle.
Step 1: Get the parts ready and work static-safe
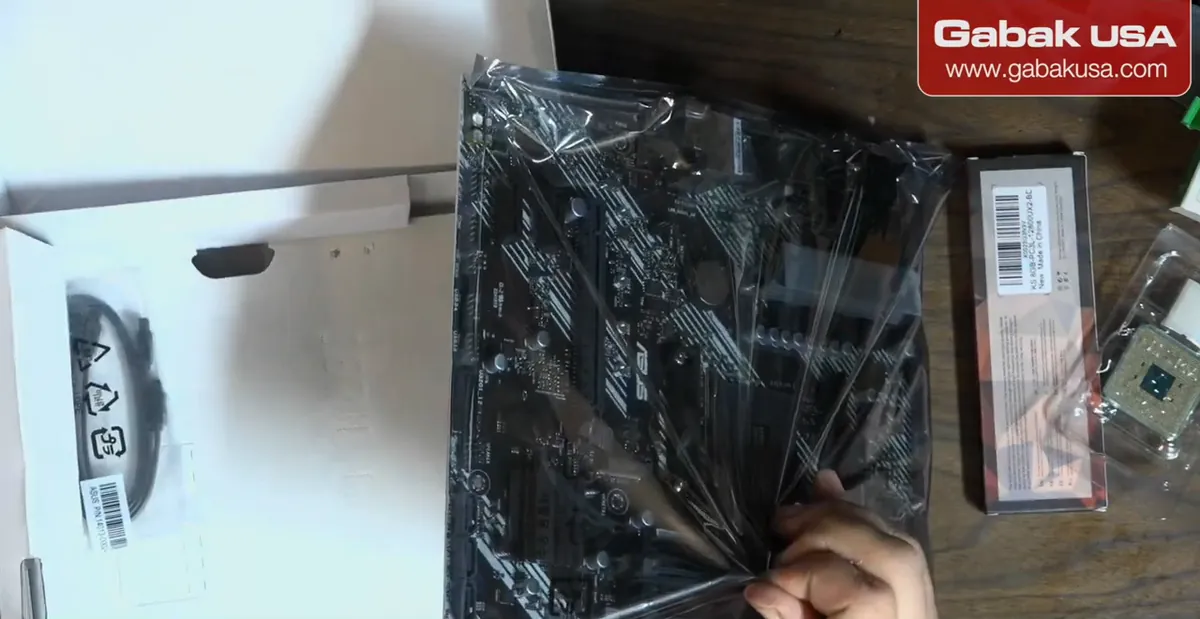
- Have the processor (with its heatsink in the box), the RAM and the motherboard on the bench.
- If you have an anti-static wrist strap or gloves, use them, especially on a high-end build.
- If you don't, treat every part as if you had static on your body: don't touch pins or circuits.
Caution: Don't touch the CPU pins or the bottom of the heatsink: fingerprints on the contact area stop heat from transferring properly.
Step 2: Unbox the motherboard and keep the accessories
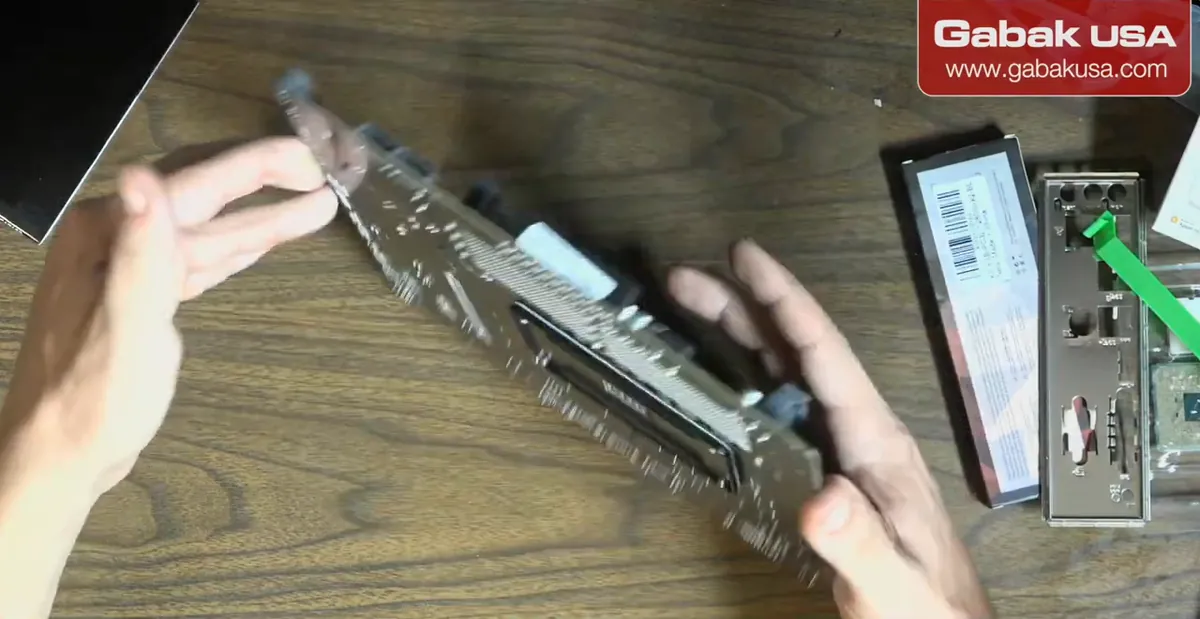
- Inside you will usually find the board, a SATA cable, the manual and paperwork, and a driver disc (many new PCs no longer have a DVD drive).
- Keep the small M.2 bracket/screw for NVMe drives that mount directly on the board – don't lose it.
- Set the I/O shield (the plate for the rear input/output ports) aside for when the board goes into the case.
Step 3: Take the board out of the anti-static bag by the edges
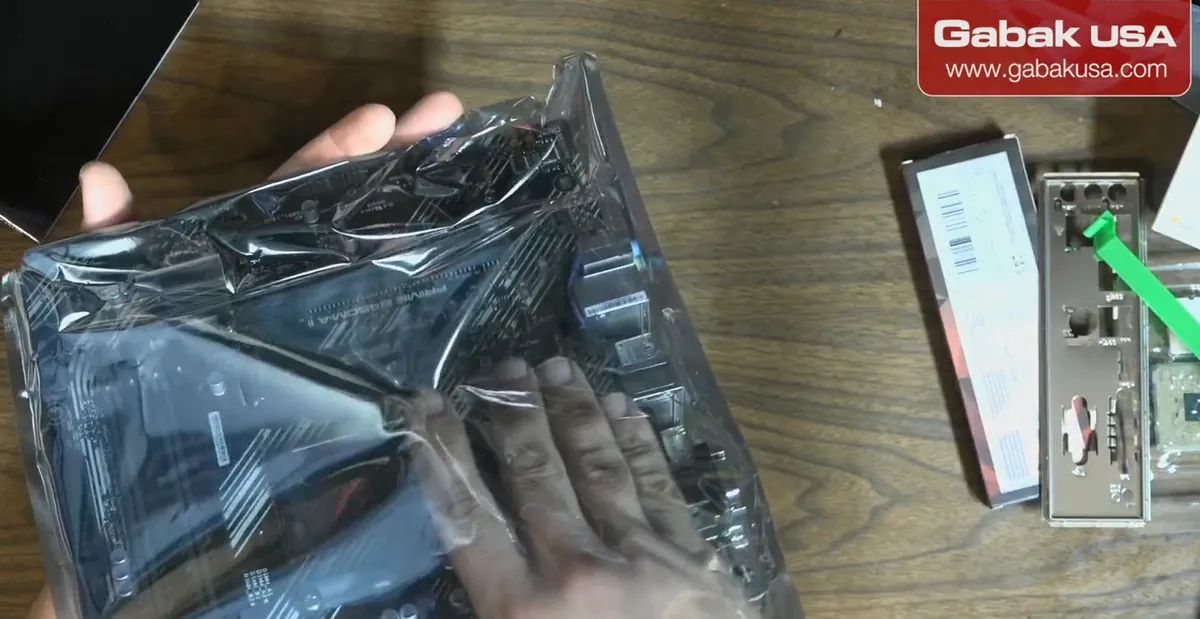
- The board ships in an anti-static bag; slide it out with a finger on the side.
- Grab it by the heatsink, the plastic parts or the edges – never by the circuits.
- Do the same when you turn it around: edges only.
Step 4: Open the AM4 socket lever
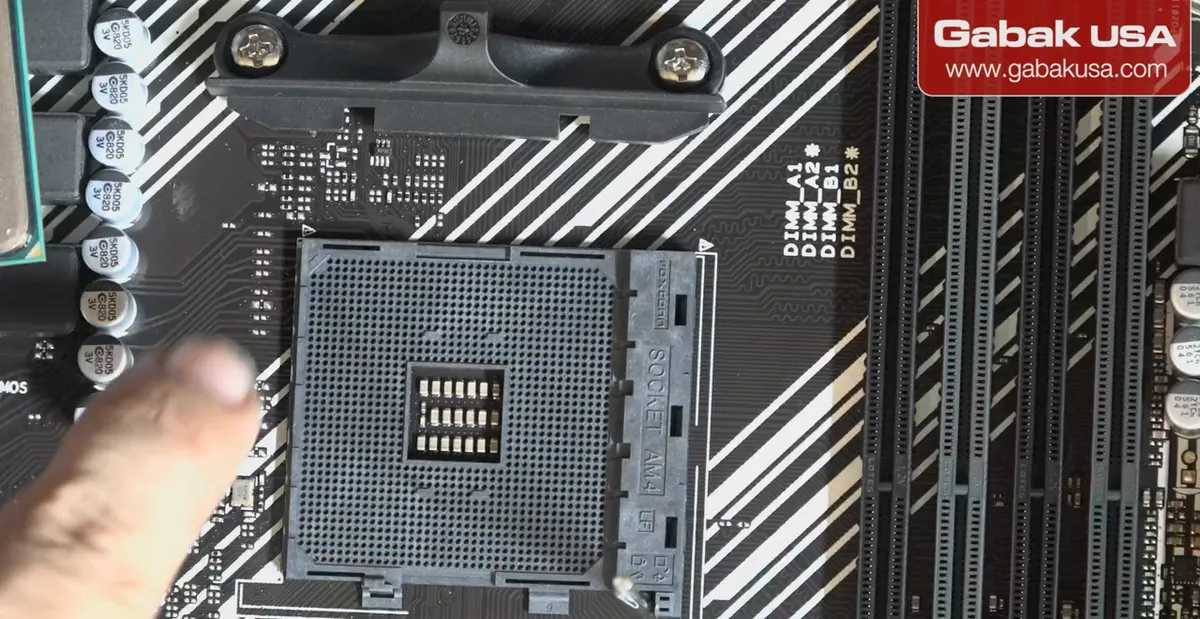
- Remove any cover and lift the socket lever all the way up.
- Make sure nothing hits or damages the processor while you work.
Caution: If you bend the CPU's pins (legs), you're in trouble – handle it gently.
Step 5: Line up the gold triangle and drop the CPU in
- Find the little triangle mark on the socket and the gold triangle on the CPU corner.
- Hold the CPU by its edges, line up the marks and let it fall into place – no pushing.
- It should settle in quickly; in the video you can hear it click.
Caution: If it doesn't drop in by itself, the orientation is wrong. Don't force it.
Step 6: Close the lever to lock the processor
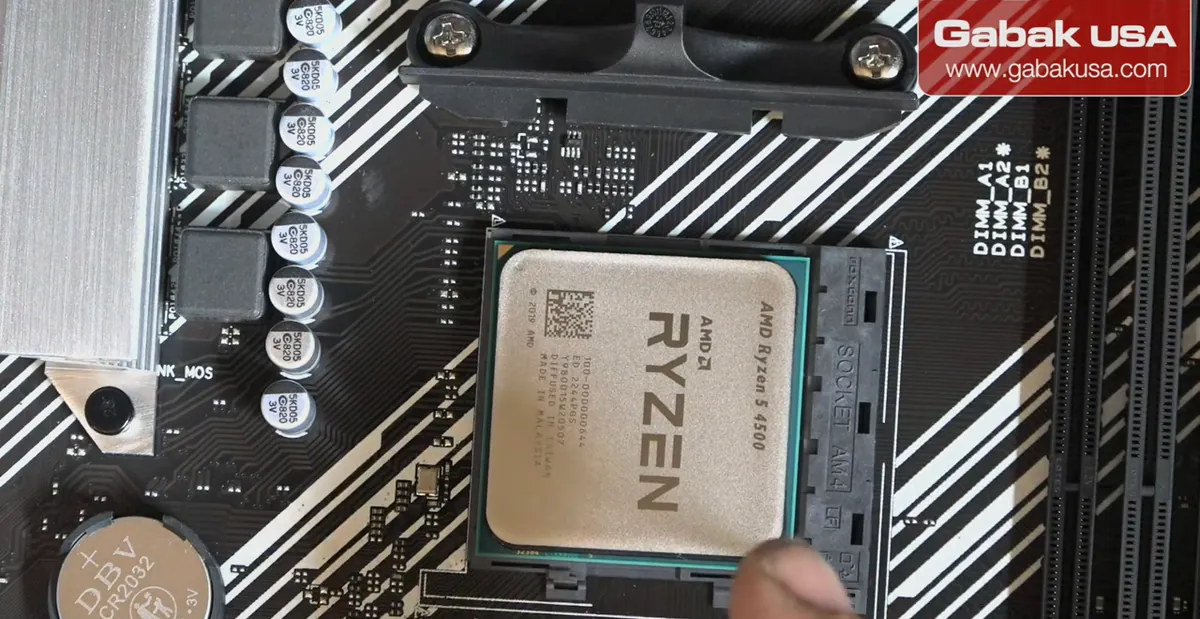
- Lower the lever back down until it latches.
- The CPU is now locked and ready for the heatsink.
Step 7: Check the stock cooler's pre-applied thermal paste
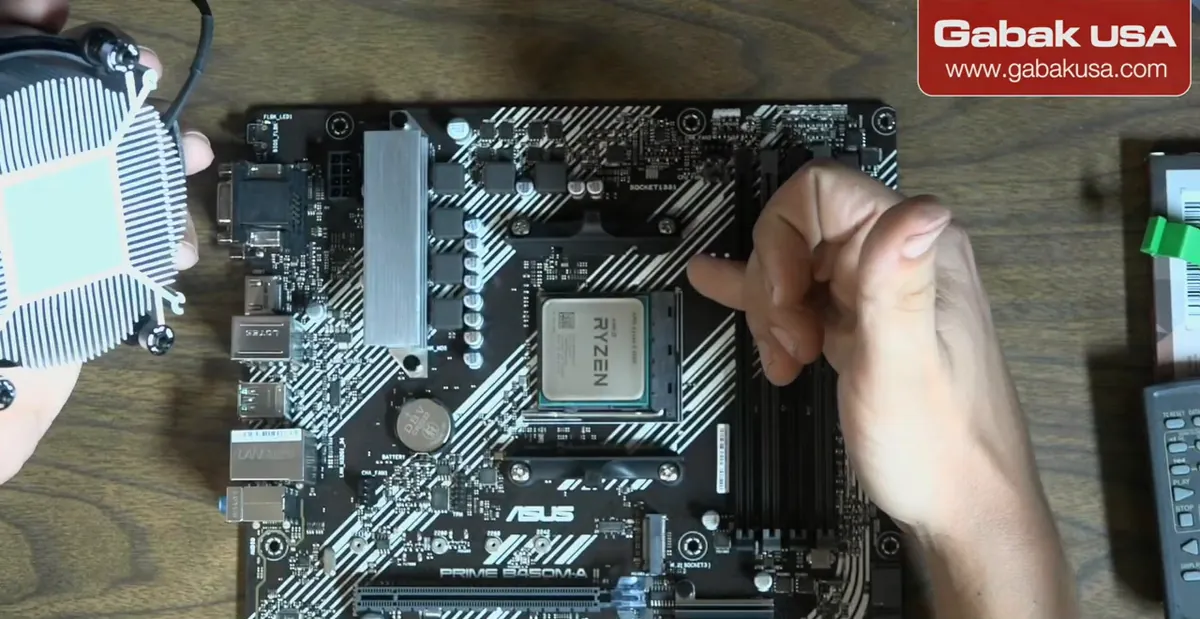
- The stock cooler comes with thermal paste already applied, so you don't have to add any.
- The cooler's screws go into the motherboard; the fan should spin freely.
Caution: Don't touch the paste or the contact base with your fingers.
Step 8: Remove the plastic retention brackets for a screw-mount cooler
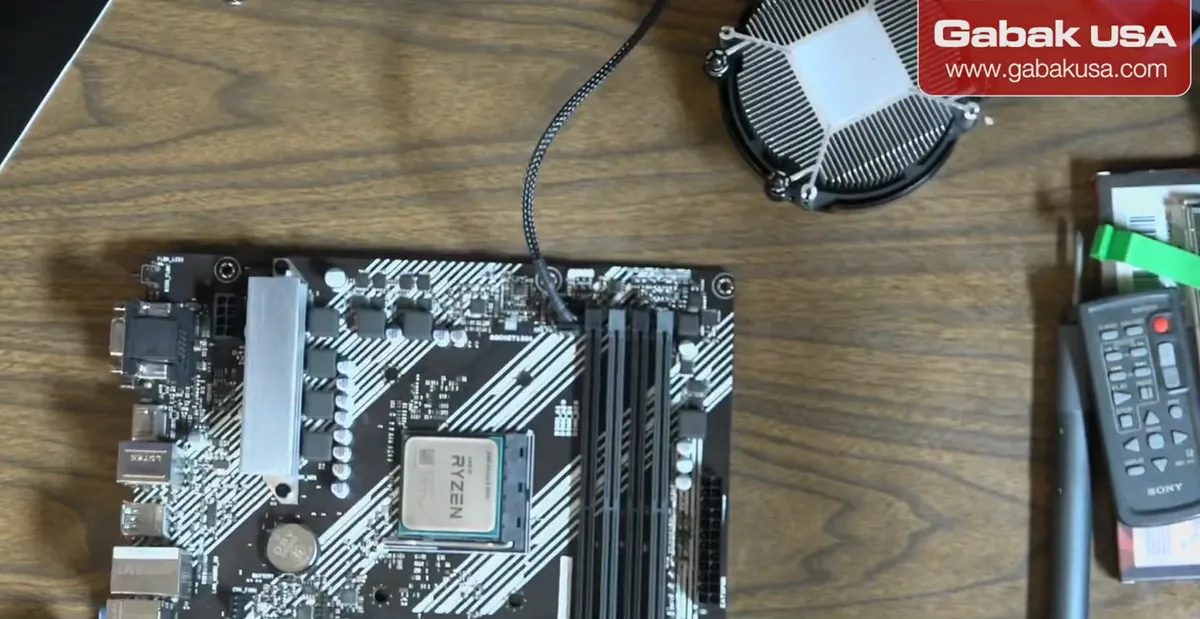
- AM4 boards come with a plastic locking mechanism (retention brackets) for clip coolers.
- For a cooler with four screws, unscrew and remove those brackets; an electric screwdriver makes it faster.
- The metal plate on the back of the board stays in place – the screws go into it.
Step 9: Screw the cooler down evenly
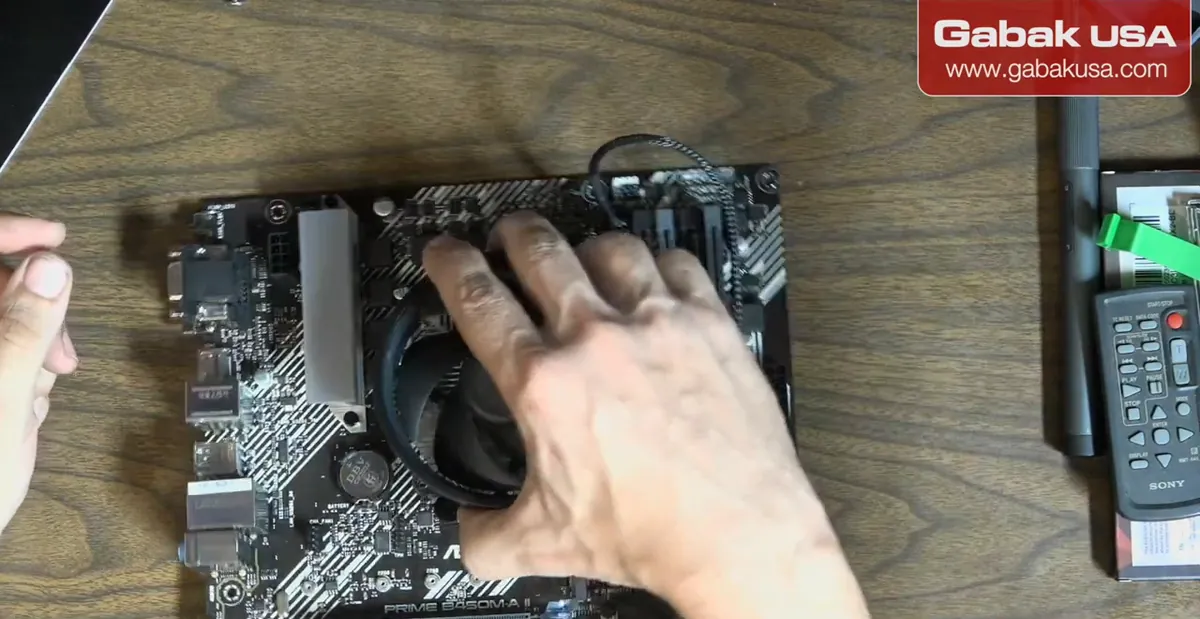
- The mounting pattern is a rectangle: turn the cooler so its screws match the closest holes on each side.
- Put the screws in and tighten them with the screwdriver until the cooler stays firmly in place.
Step 10: Plug the fan into the CPU fan header
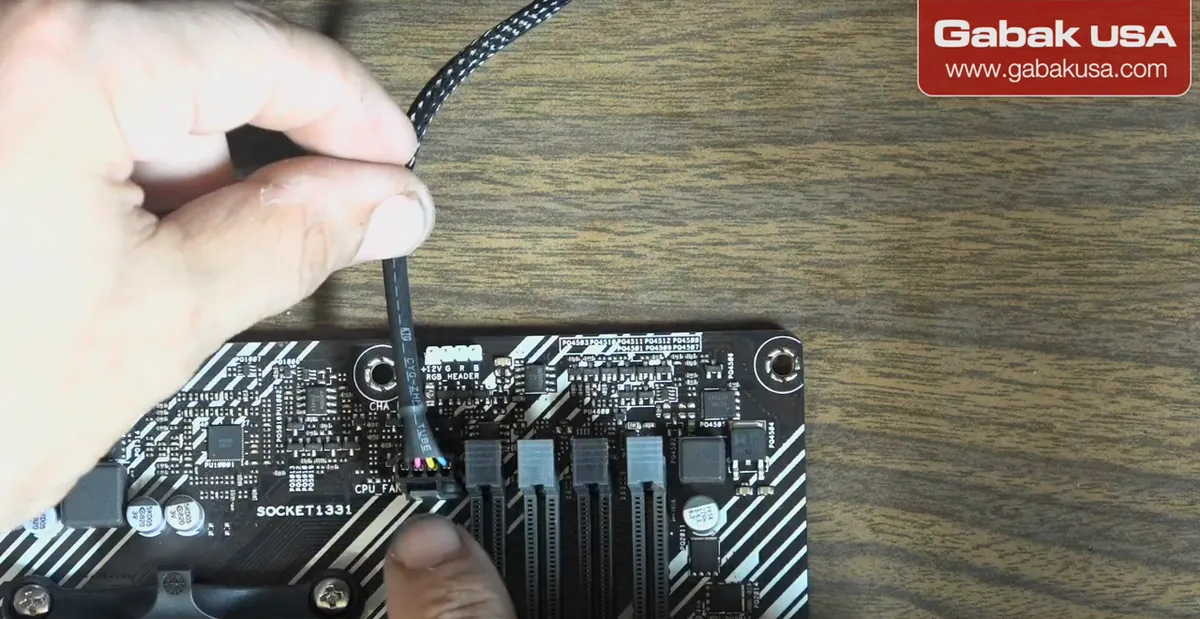
- Find the fan headers near the socket; the board labels them (CPU fan and chassis fan).
- The connector only fits one way: line up its gap with the guide on the header.
- Push it on until it seats.
Caution: If it won't go in, it is turned around – don't force it.
Step 11: Alternative: clip-style AMD cooler on an older board
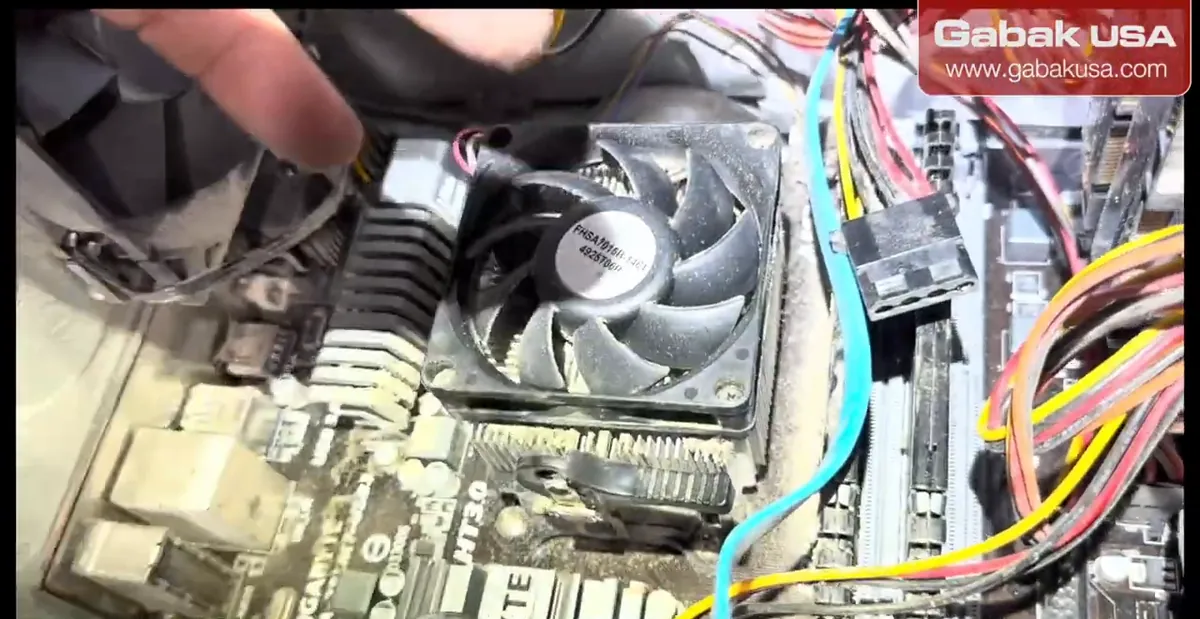
- Older AMD coolers use a metal clip that hooks on the plastic bracket instead of four screws.
- Hook one end, then the other, make sure the cooler sits completely flush, then move the lever to lock it firm and tight.
- It's faster, especially if you build a lot of PCs.
Caution: Those plastic brackets can break over time; the cooler comes loose and the CPU overheats. Four screws are very unlikely to fail at the same time.
Note: Dusty heatsinks like this are what you can expect when fixing an old computer.
Step 12: Tidy a long fan cable
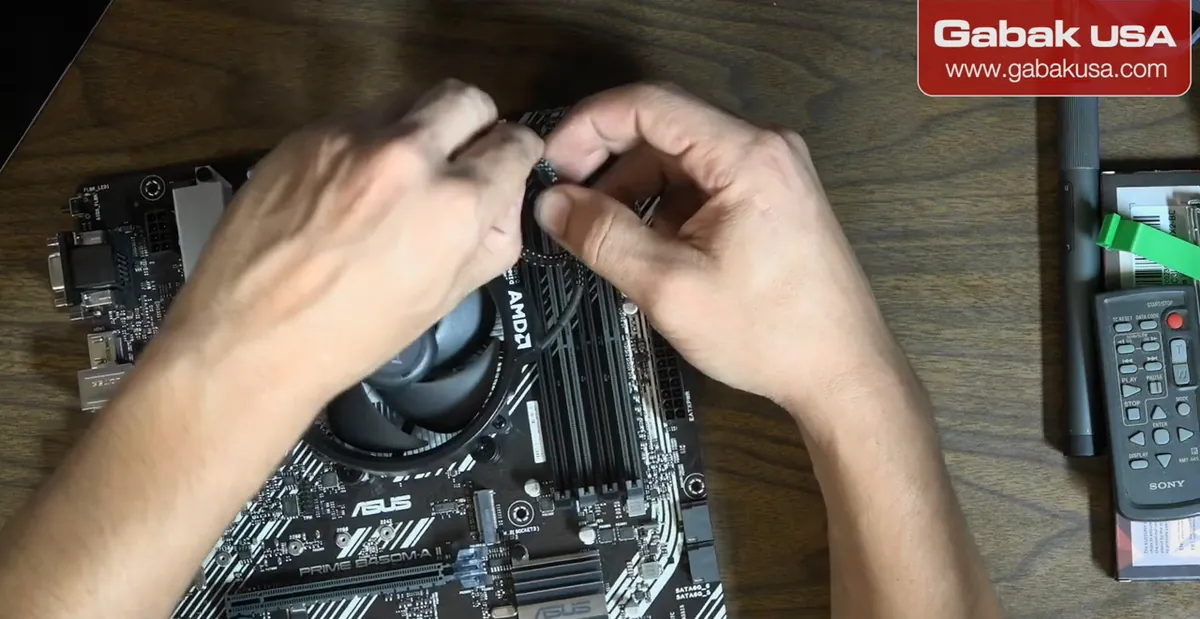
- If the fan cable is too long, you can make it shorter by tying a knot in it.
- Remember the connector has small gaps so it fits in only one position.
Frequently asked questions
How do I know which way the Ryzen CPU goes in the socket?
Line up the gold triangle on the corner of the CPU with the small triangle mark on the AM4 socket. With the lever up, the CPU should drop into place by itself.
Do I need to apply thermal paste to the AMD stock cooler?
Not if it comes pre-applied. The stock cooler in the video already had thermal paste, so nothing else was needed.
Do I have to remove the plastic brackets on an AM4 board?
Only for coolers that screw straight into the board, like the four-screw stock cooler in the video. Clip-style coolers hook onto those brackets instead.
Is an anti-static strap required to install a CPU?
It's recommended, especially for expensive builds. Without one, handle everything as if you had static: hold parts by the edges and don't touch pins or circuits.
Comments
Comments appear after Gabriel reviews them.
Loading comments…