
Step-by-step guide
How to use a 75-inch interactive whiteboard TV (ViewSonic ViewBoard) for teaching
What you will do: learn the basic tools of a 75-inch ViewSonic ViewBoard interactive whiteboard TV so you can start teaching on it right away.
This TV has hundreds of menus, but you only need a few to teach a class: the pens, undo and redo, text, eraser, marker colors, the background, pictures from a USB drive, extra pages and saving your work. Each step below shows the exact tool on screen.
Step 1: Start the board and decide on internet
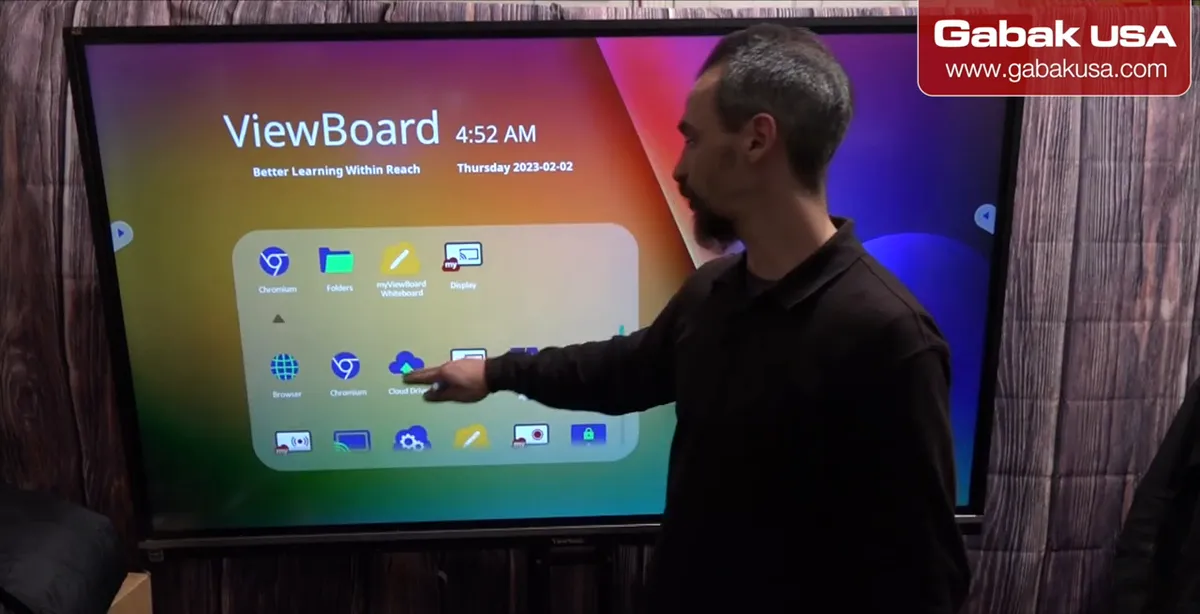
- If the TV works the way you want, try it without internet first, so no update breaks or changes something.
- Otherwise use the icons at the bottom: Ethernet, Wi-Fi or USB.
- Enable the option to start with the whiteboard, so it opens ready to use when the TV turns on.
Caution: Keep the remote control. A board received from the factory without its remote is almost impossible to set up.
Step 2: Adjust brightness and volume
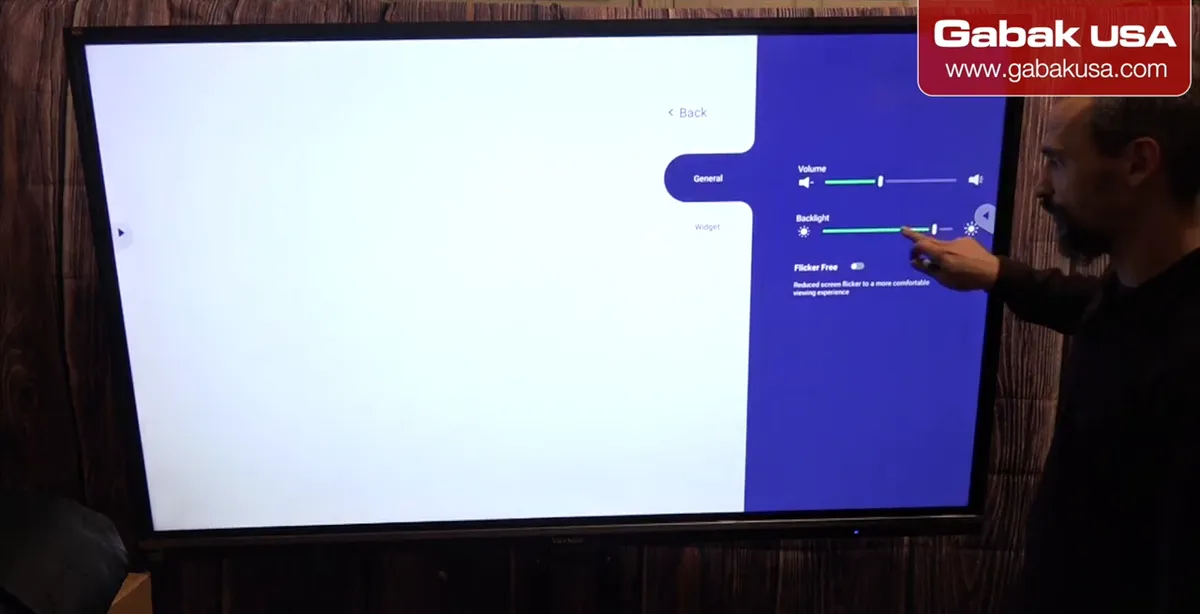
- Press your finger against the screen for a few seconds.
- A menu opens with the brightness and volume sliders. Set them how you like.
Step 3: Write with a pen or your finger
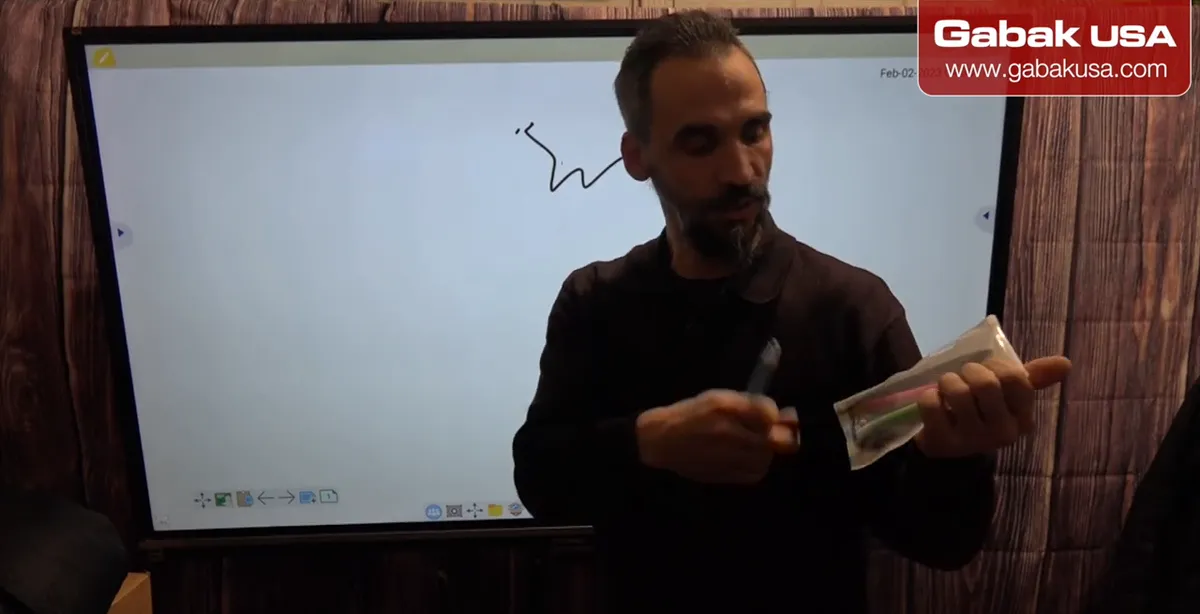
- You can write with your hand or with a touch screen pen.
- Cheap pens work. The ink is always the color you set on the board, not the color of the pen.
- ViewSonic pens are a bit better: the thin point writes one color and the other end writes another. A thick-point pen only gives one color.
Step 4: Undo and redo
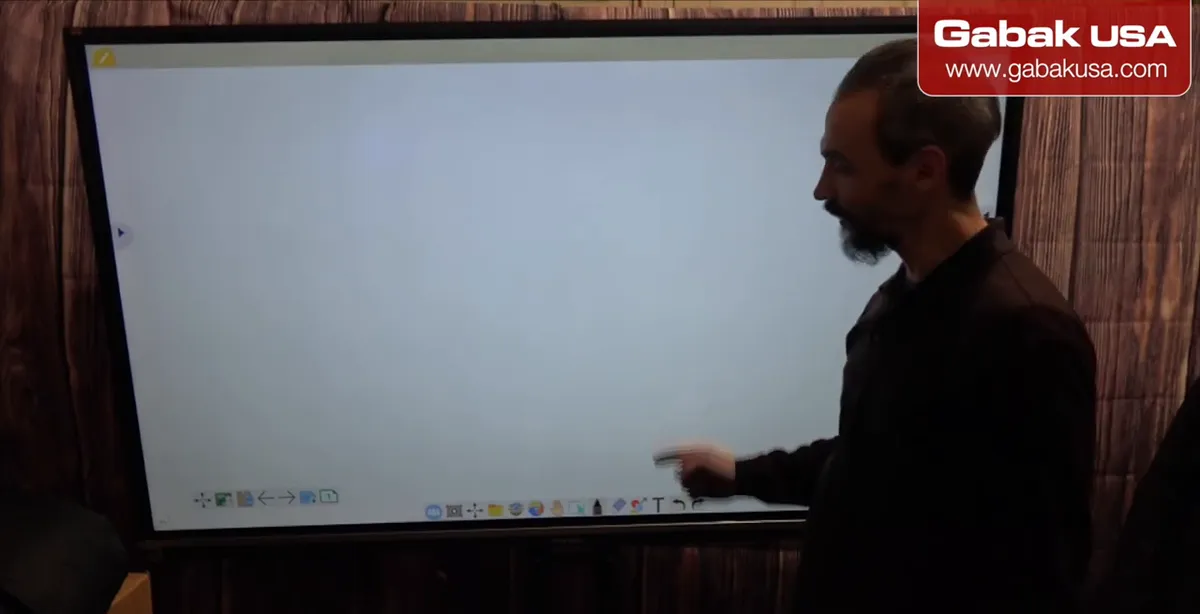
- On the bottom toolbar, one arrow is undo and the other is redo.
- Tap undo to remove the last thing you drew, and redo to bring it back.
- With a pen this works every time. Using your arm or hand only works sometimes.
Step 5: Add typed text with the T tool
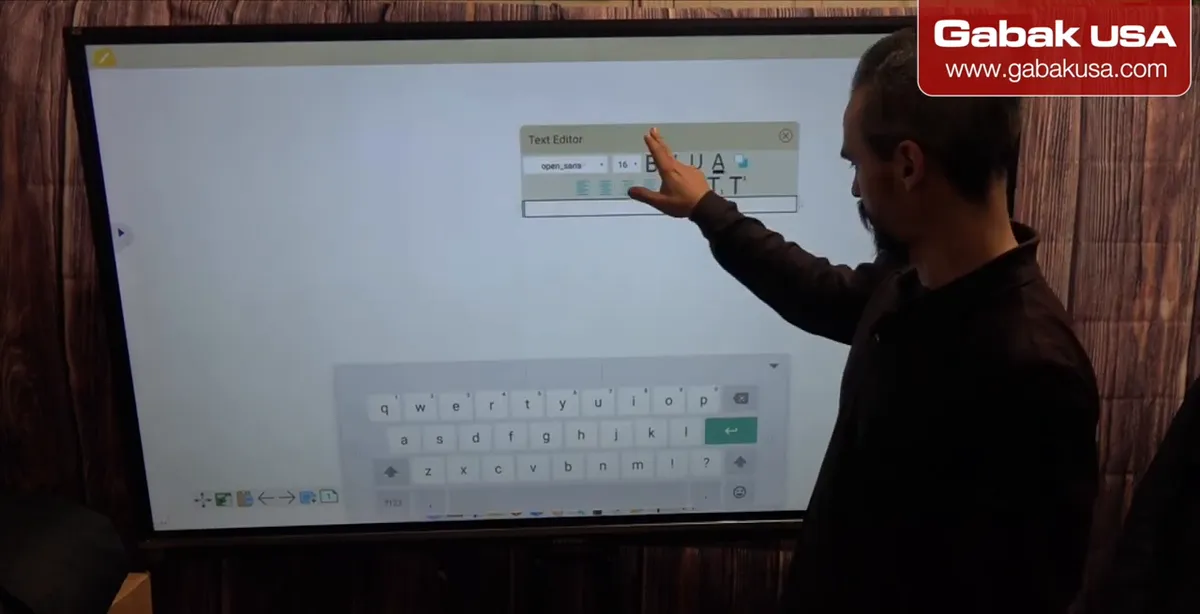
- Tap the T to type text with the on-screen keyboard, then close the keyboard.
- The keyboard is huge and not very comfortable, so handwriting is usually faster.
- Typed text is not removed by simply writing over it. Use the eraser tool.
Step 6: Erase with the eraser tool
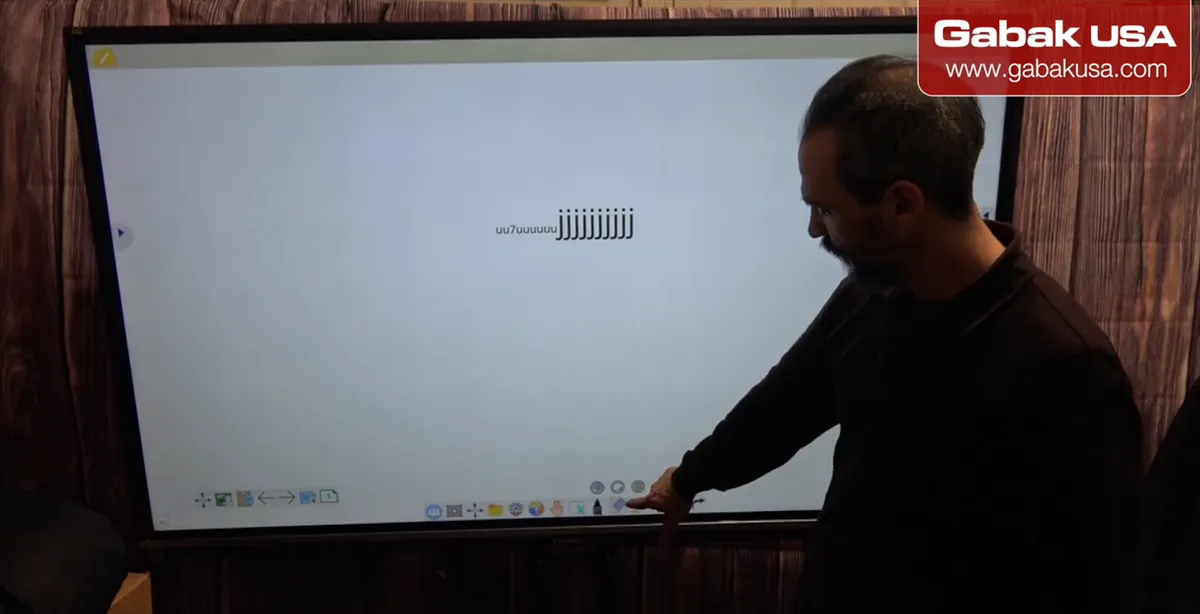
- Tap the eraser and wipe over what you want to delete.
- The eraser also has extra options, such as cutting or trimming part of a drawing.
- An old whiteboard eraser also works amazingly well on the screen.
Step 7: Choose marker color and thickness
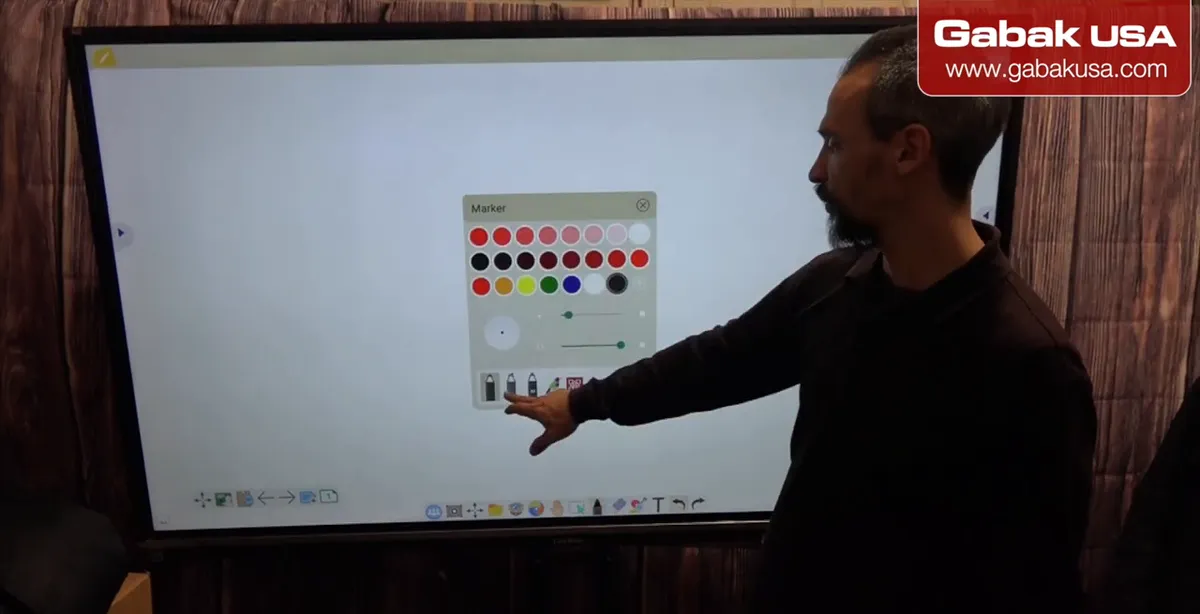
- Tap the marker to see the different markers and the color palette.
- Pick a color such as blue, then write. To use another color, open the menu again and change it.
- Thickness is set in the same menu. The menu closes each time; Step 11 shows a faster way.
- Skip the special effect markers. The basic marker is all you need.
Step 8: Change the background to use white ink
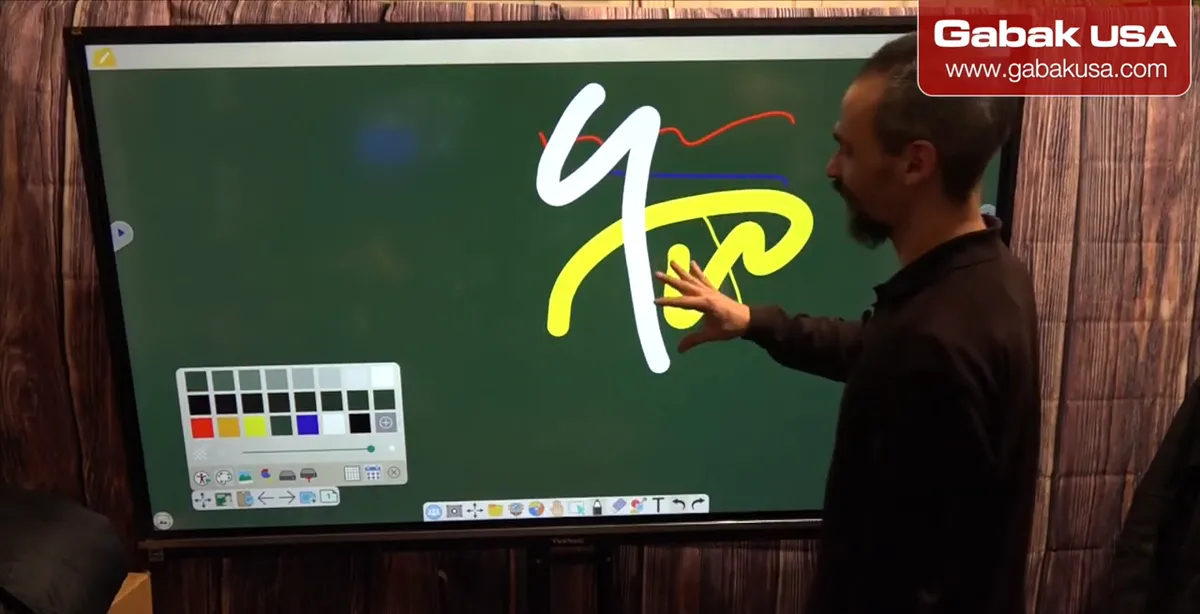
- White ink does not show on the white canvas.
- Use the very tiny background icon to change the background color. Now white ink is visible.
- You can set a solid color back later, or save one as your background.
Step 9: Select, move, lock or copy what you wrote
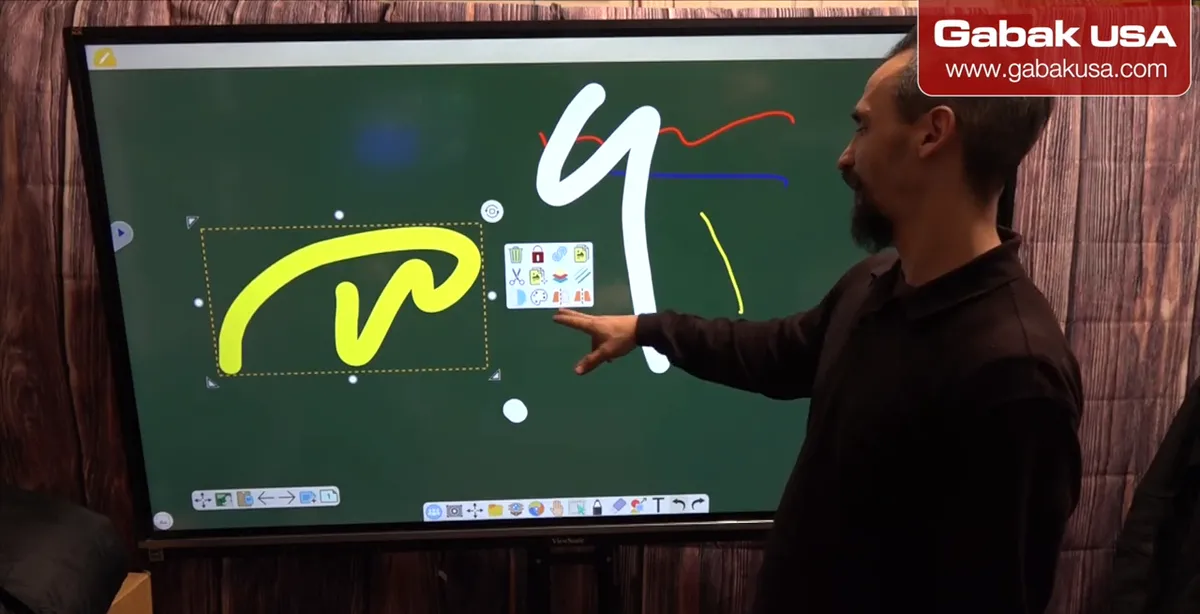
- Use the select tool to pick something you wrote and move it.
- From the same menu you can lock it, copy, paste, change colors or cut it.
- The hand tool moves the whole board around, and you can zoom in.
Step 10: Insert pictures from a USB thumb drive
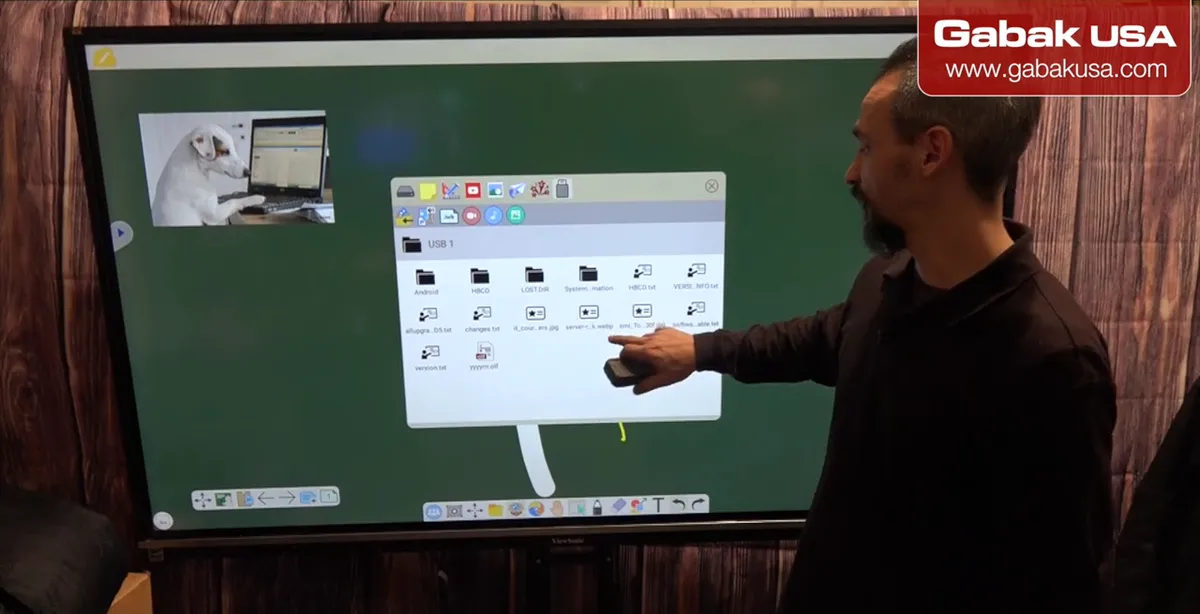
- Save the pictures for your presentation on your computer, copy them to a thumb drive and plug it into the TV.
- Open the drive from the board and press and drop the picture onto the board. It does not drag right away.
- Google Drive, OneDrive and Dropbox appear too, but they were not working in the video (ViewSonic escalated the issue).
Caution: The built-in Chrome browser and YouTube are very slow on this board, even on a 1 gigabit connection. Use the thumb drive.
Step 11: Resize, copy and paste pictures
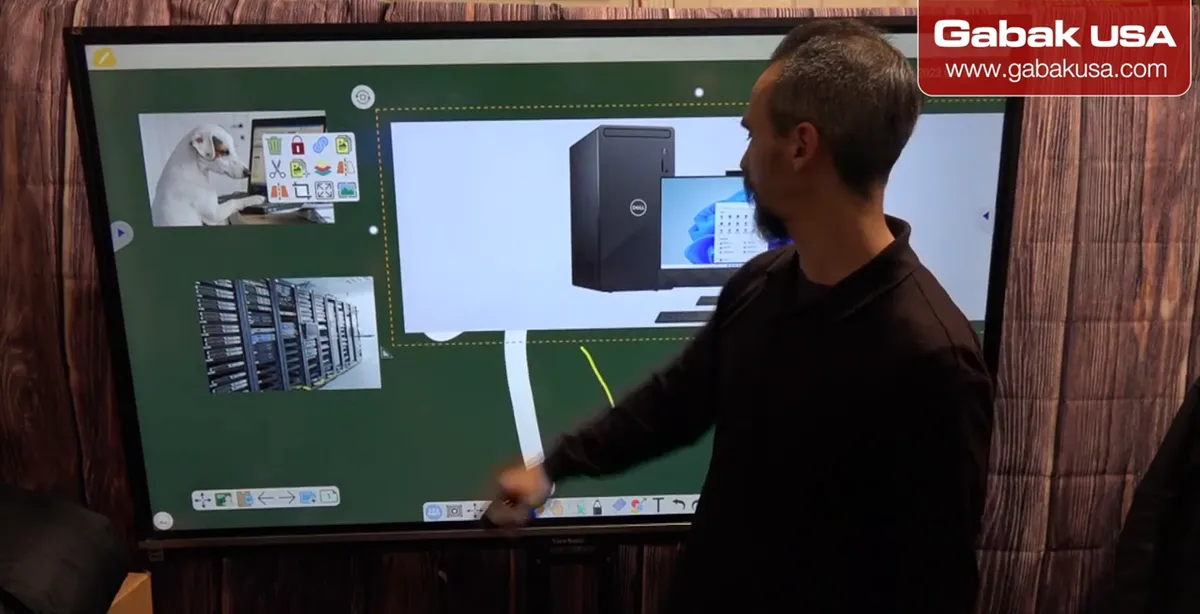
- Move the picture around with your finger or pen.
- Resize it from the corner.
- Copy and paste to make another one. You get almost the same options as in Paint.
Step 12: Switch colors fast with the side toolbar
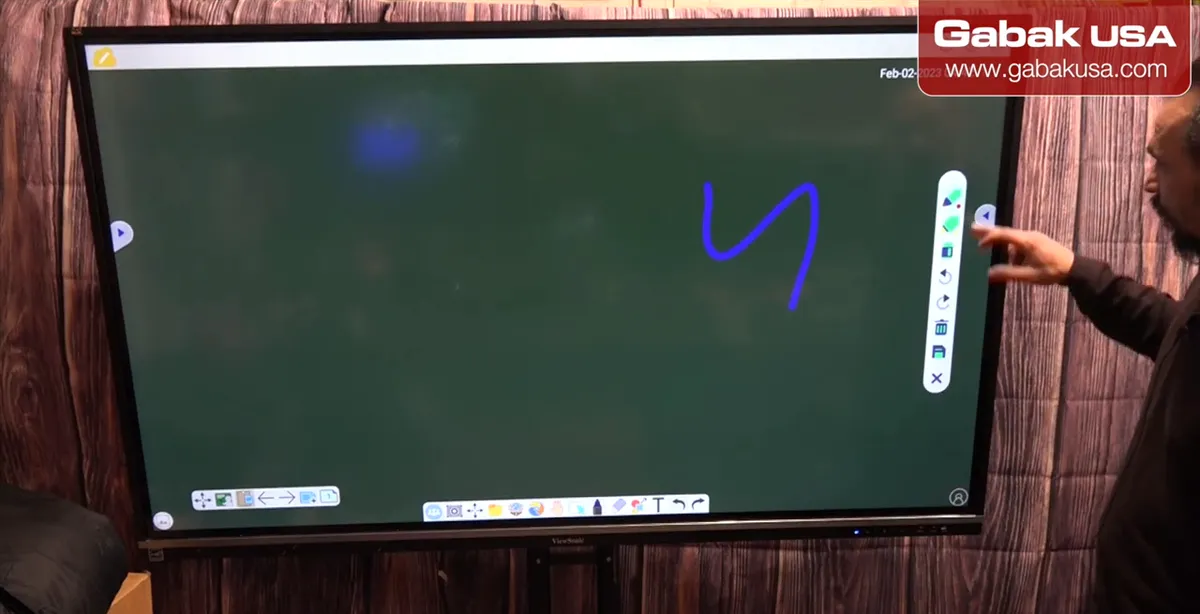
- On the side of the screen there is a quick marker bar.
- Change between colors like orange, pink or blue very quickly.
- Close it when you want to go back to working with the main tools.
Step 13: Add more pages with the plus button
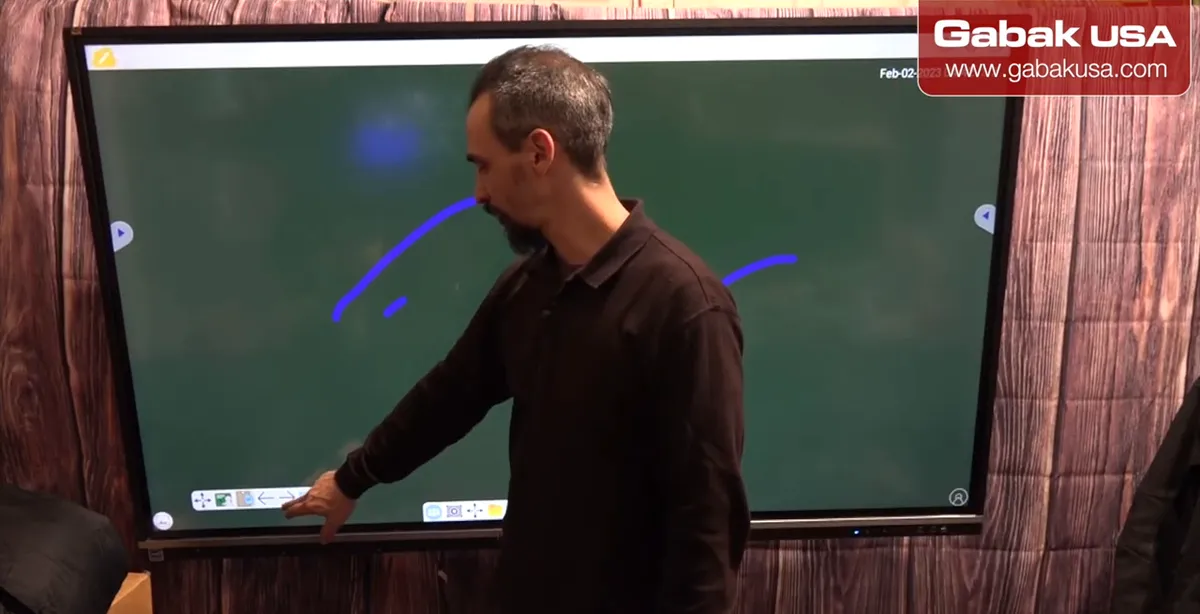
- Press the plus sign to add a new page. You don't have to erase the board.
- Add as many pages as you want and draw on each one, for example a diagram showing how computers connect to a data center.
Step 14: Save your board to the thumb drive
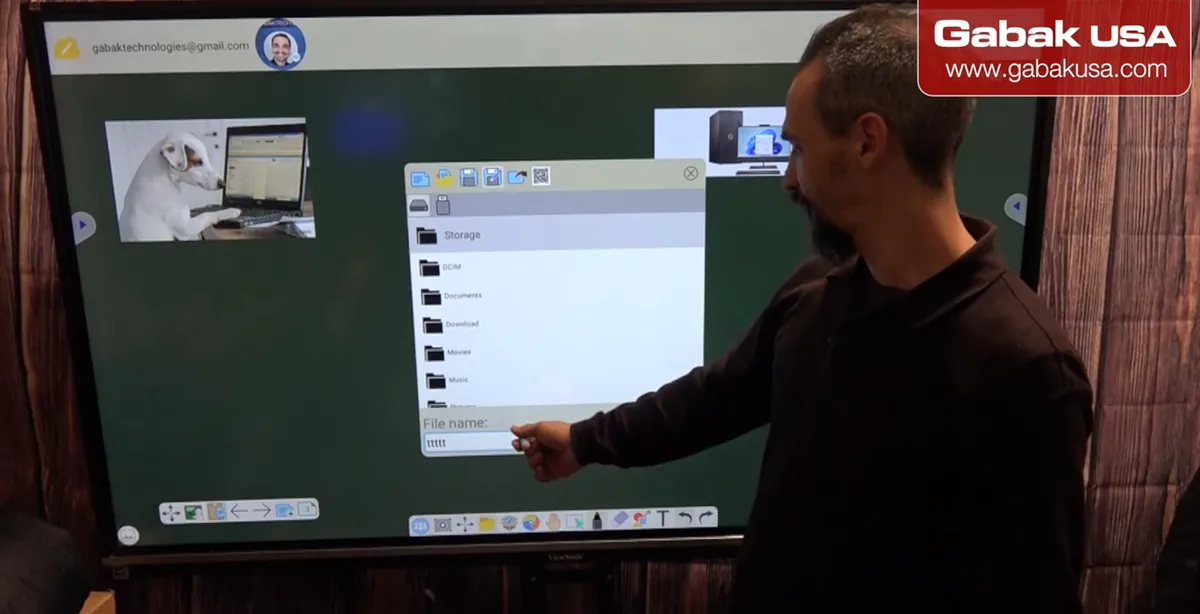
- Tap the folder icon. Option one creates a new document, two opens a saved one and three saves your work.
- Type a name and save. It works like saving an Excel or Word document.
- To reopen it, choose open, go to the thumb drive and open the file. It is slow, but it works.
Caution: If someone unplugs the TV or it turns off by itself, you lose everything you didn't save.
Is a 75-inch interactive whiteboard worth it?
In the video the board replaces a regular whiteboard used in earlier classes, and it is a nice improvement. Boards like this usually cost about $3,000 to $4,000, and the stand is about another $500. The recommendation is 75 inches or larger (there are 85-inch models); a 40-inch board is too small. There is also a phone app: you sign up, and it adds a few options like sending an image from your computer, plus tutorials and app downloads from the gear menu.
Frequently asked questions
Do I need internet to use the ViewBoard whiteboard?
No. If the TV works the way you want, the video suggests using it without internet so no update changes or breaks something.
How do I write in white on the ViewBoard?
White ink doesn't show on the white canvas. Use the tiny background icon to change the background color and then the white marker is visible.
Can I use cheap stylus pens on the interactive TV?
Yes. Pens bought on Amazon for about $10 for three or four work, and the ink is always the color set on the board.
How do I keep my work if the TV turns off?
Save it from the folder icon (option three) to the thumb drive. If the TV is unplugged or turns off, unsaved work is lost.
Watch the video

Comments
Comments appear after Gabriel reviews them.
Loading comments…