
Step-by-step guide
How to fix a MaxxAir Maxx Fan that won't turn on (easy $10 repair)
What you will do: get a MaxxAir Maxx Fan that won't turn on running again by replacing its dead logic board with a $10 speed controller.
If you live in a van, you depend on that roof fan. The manufacturer can send the part, but in the video it would take two or three months. This fix is done right away, and the new controller lets you change direction and speed from a knob and a switch.
Step 1: Open the fan housing
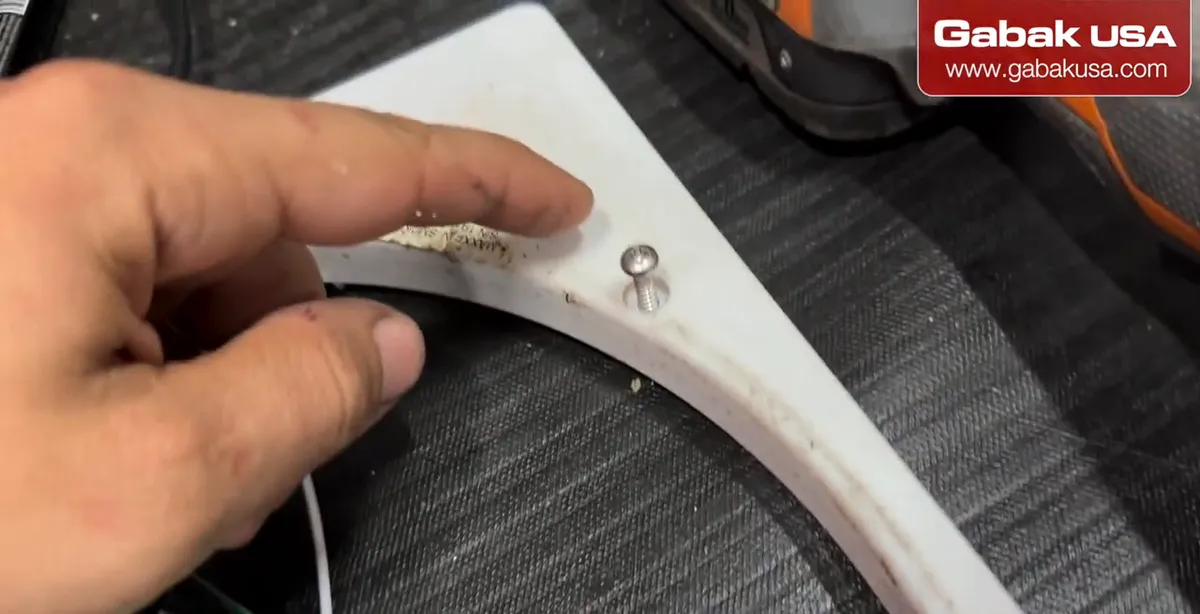
- Remove the three screws that hold the cover.
- Pull the fan handle out. That's all it takes to open it.
Step 2: Remove the dead logic board
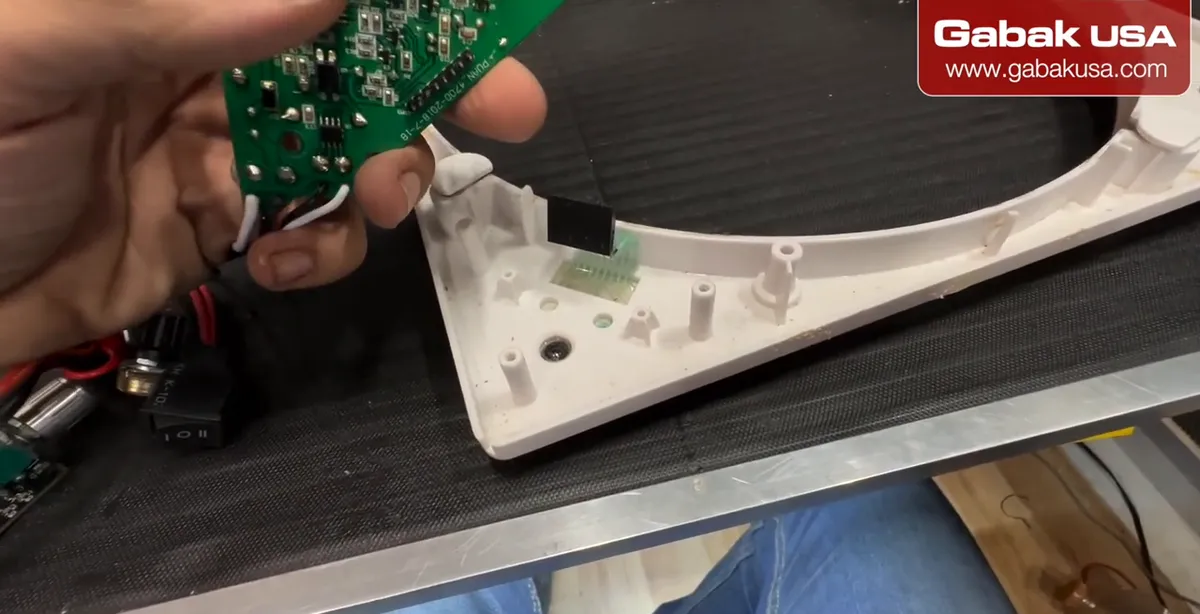
- Find the electronic logic board inside.
- Remove its screws, unplug it from its connector and take it out.
- These boards are a known failure. In the video it was likely a transistor, and the manufacturer said they knew about the flaw.
Step 3: Choose a replacement speed controller
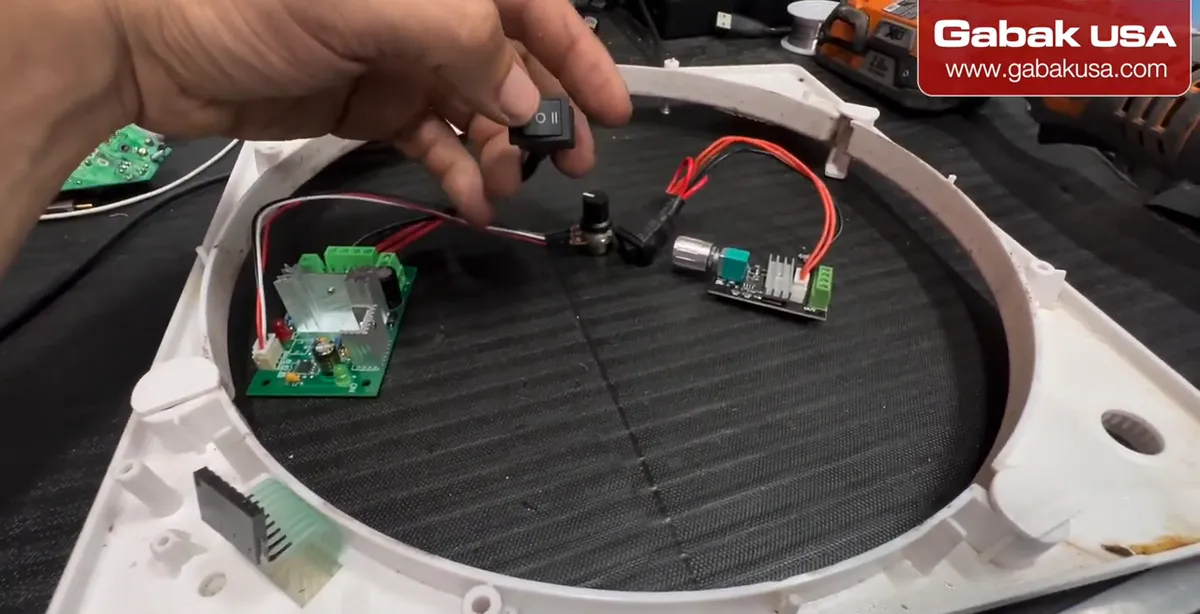
- Option one: a bigger board with a separate potentiometer (speed) and a switch for direction, air in or air out.
- Option two: a small board with the potentiometer and switch built in. Turn one way for air in, the other for air out, middle is off.
- The video uses the small one. With the bigger one you may need to cut the ends to fit or extend the cables.
Step 4: Mount the new controller through a hole
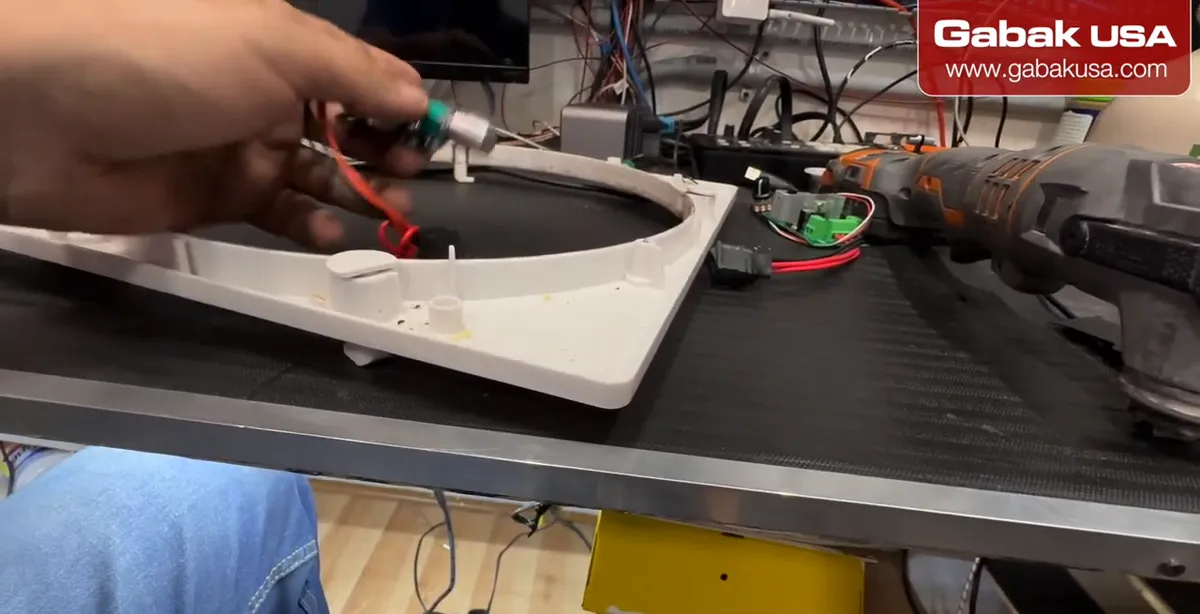
- Pick a spot where you can reach the knob. The video uses a place that keeps the factory setup possible later.
- Remove the nut, make a small hole, push the control through and put the nut back on.
- Check that the nut fits. If not, trim the plastic a little.
Step 5: Cut away the plastic in the way
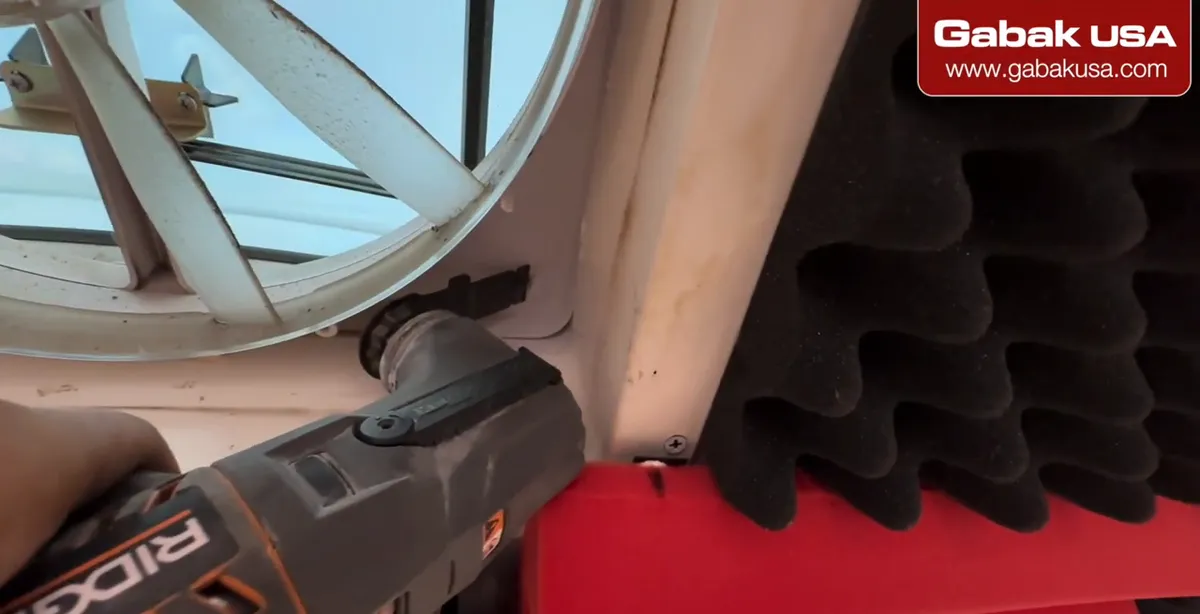
- Cut the plastic that is in the way so the board fits perfectly.
- Unplug the wires and run them through the hole, then reconnect on the other side.
Step 6: Measure for the knob and switch holes
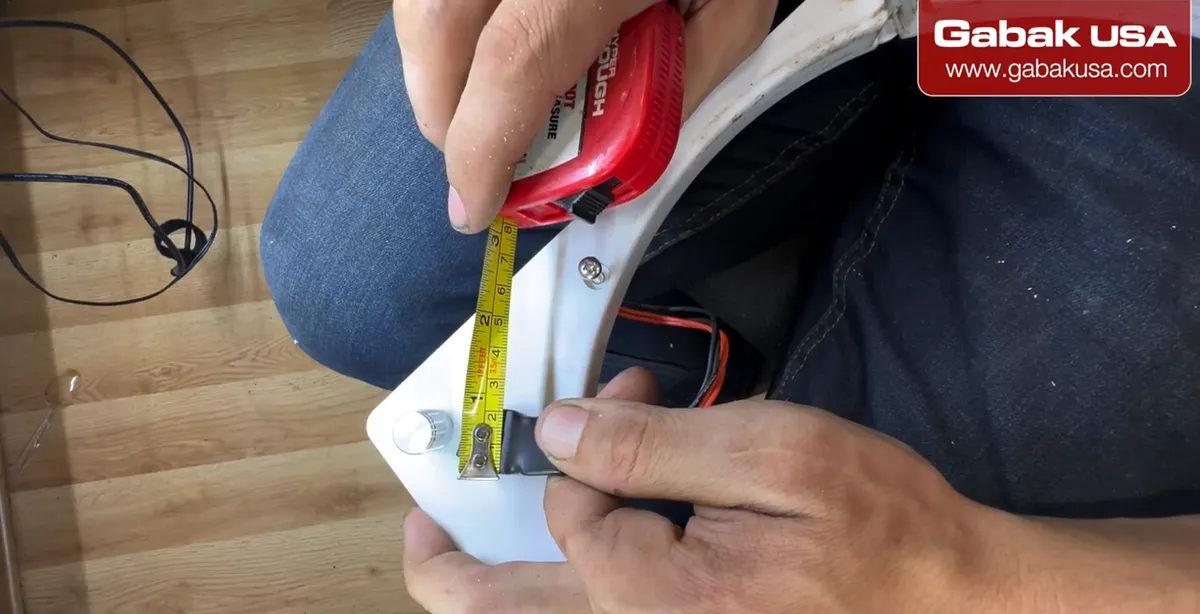
- Measure the space before drilling. In the video it is about 20 mm (around 3/4 inch) on one side and about 1.5 cm (around half an inch) on the other.
- Make the holes and fit the controls.
- A rocker switch is another option instead of the board's own switch.
Step 7: Connect power in and motor out
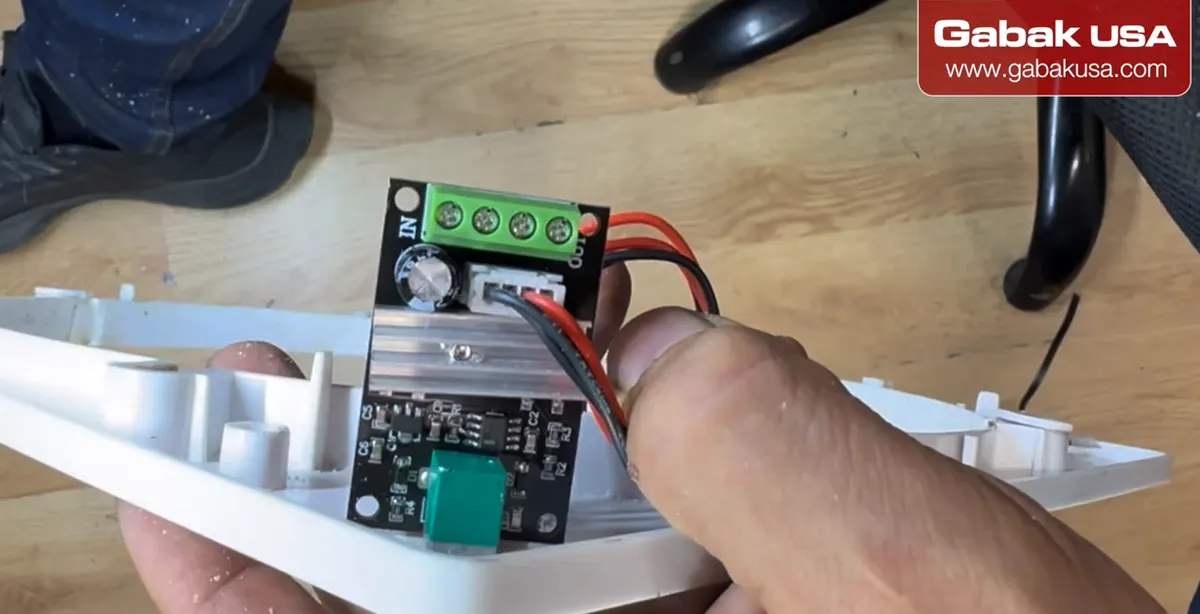
- IN is the power going to the board. OUT goes to the motor.
- Use the motor cable taken from the old board connection.
- On this board power is on the left and the motor is on the right. The switch handles the direction.
Caution: Make sure the motor is on the out side and power on the in side.
Step 8: Prepare extension wires and heat shrink
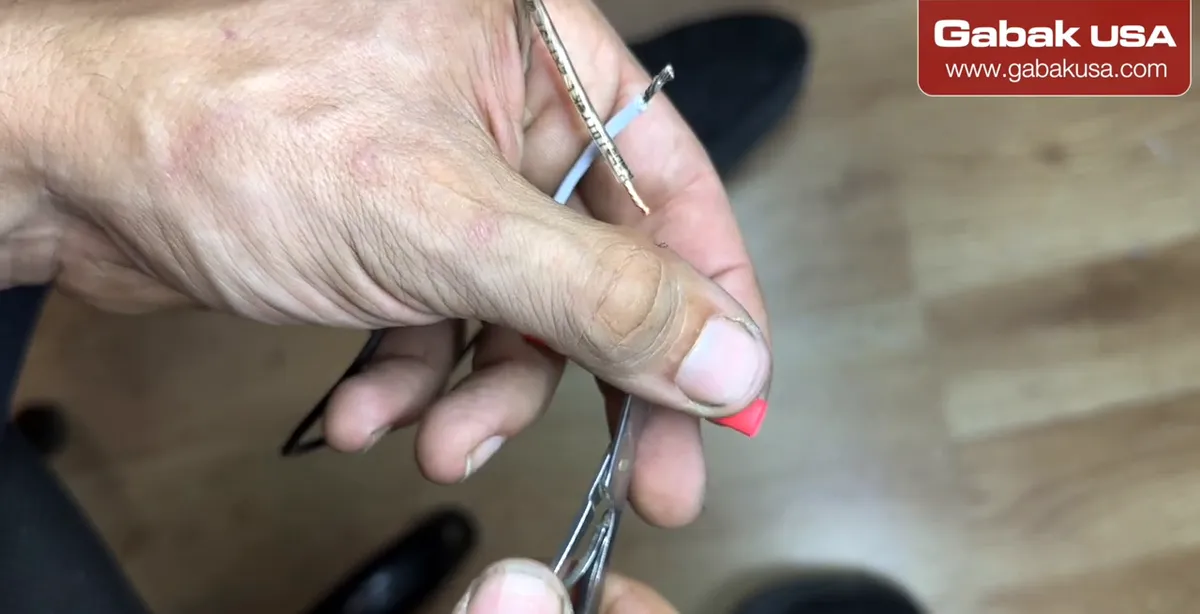
- Add extension wire so the cables reach where you mounted the controller.
- Cut a piece of heat shrink in half and slide it onto the wire first so you don't forget it.
- Use red and black so the wires are easy to tell apart.
Step 9: Crimp the butt connectors
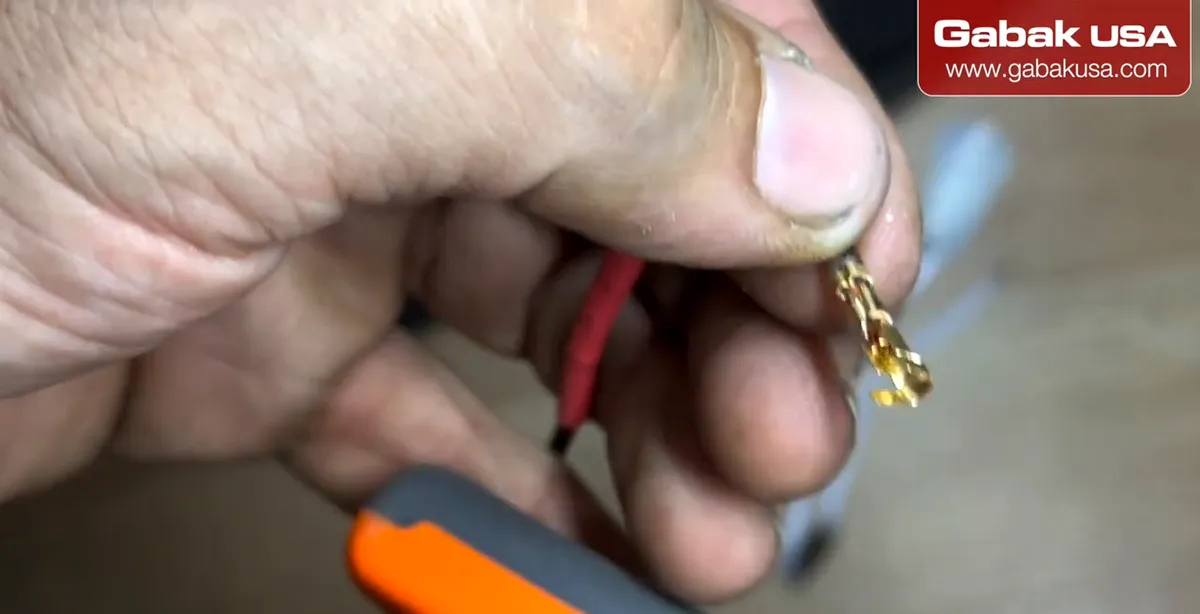
- Push the wire halfway into the butt connector and crimp it. The video uses 16-14 connectors.
- Put the U-shape of the crimper the right way, then do the other side.
- Repeat for every connection. It should be very firm and tight.
Caution: You could solder, but if you don't know how to solder it takes longer. A good crimp won't come apart.
Step 10: Seal the connections with heat shrink
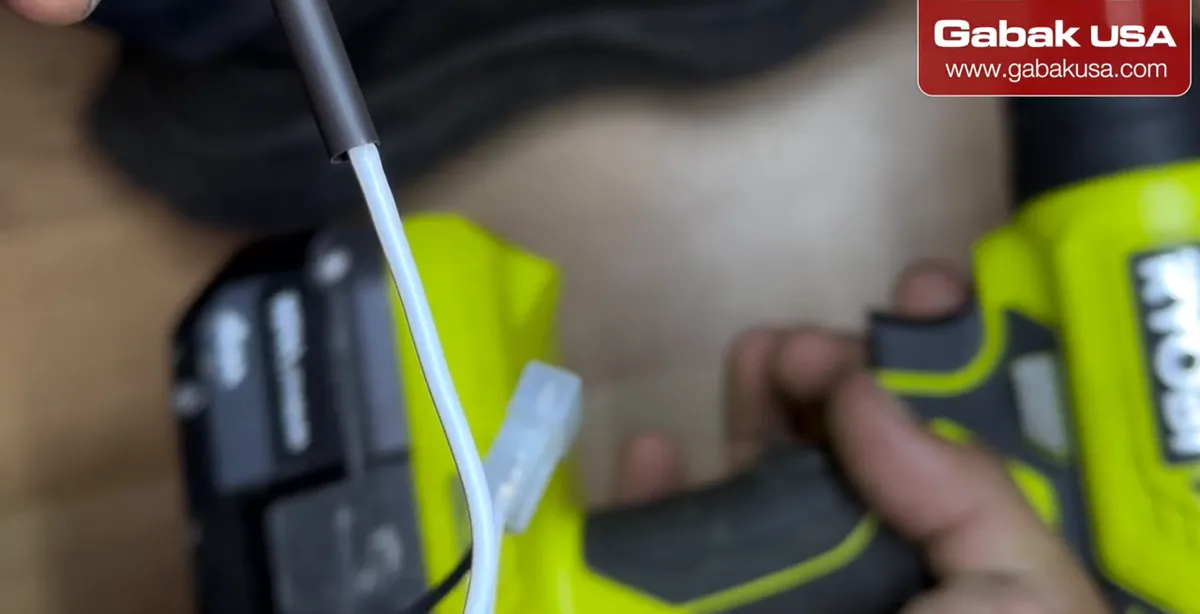
- Slide the heat shrink over each crimped connector.
- Heat it with a heat gun (a Ryobi in the video) until it is firm, tight and sealed.
Step 11: Route the cables with plugs
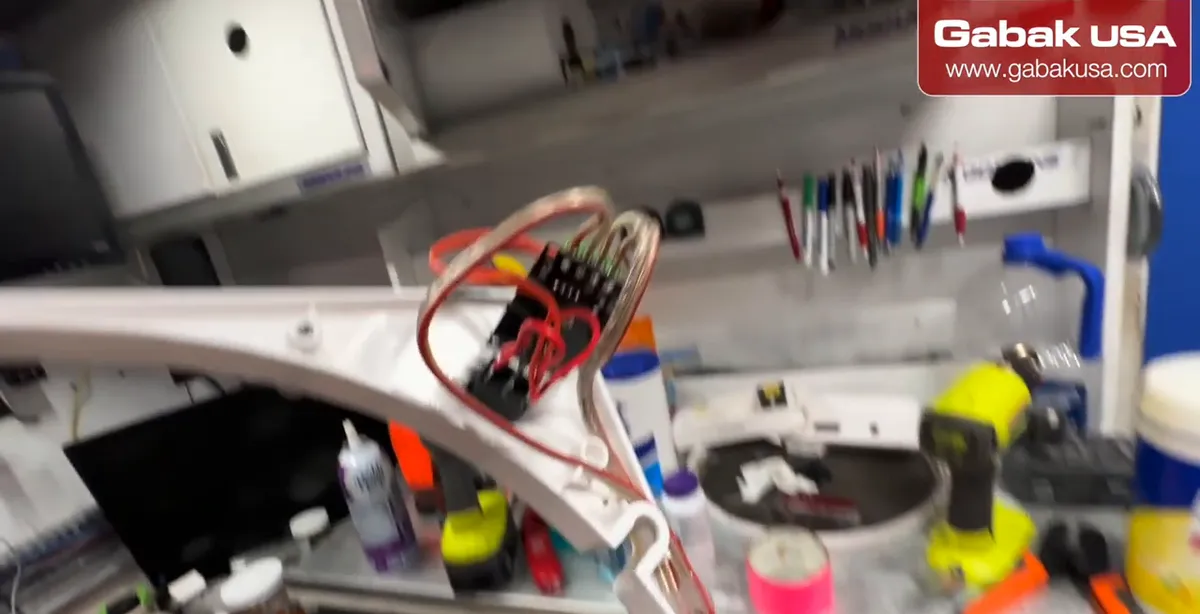
- Run the cables from the motor and the power to the new controller location.
- Keep two plugs in the line, so you can unplug them right away for service.
- Reinstall the parts in the fan.
Step 12: Test direction and speed
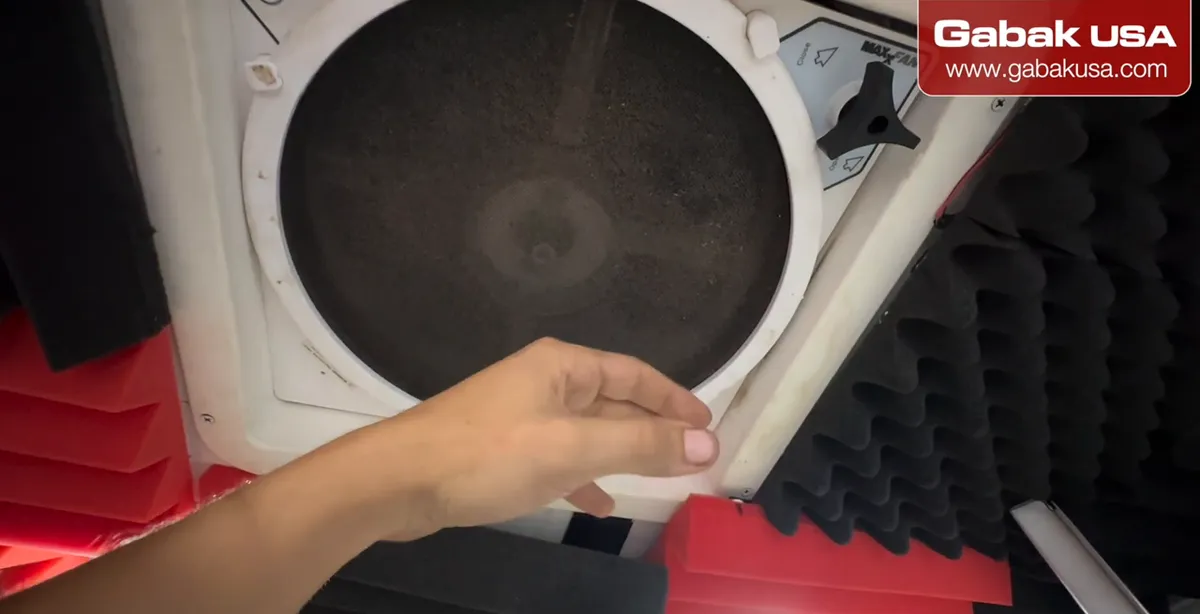
- Push the switch one way for air coming in, middle is off, the other way spins the fan the opposite way.
- Turn the knob to change the speed. The LED light changes too.
- You lose the original control panel, so open and close the lid manually.
Frequently asked questions
Why does a Maxx Fan stop turning on?
In the video the logic board died. Many people report the same thing, and the manufacturer said they knew about the flaw in the circuit.
How much does the Maxx Fan repair cost?
About $10 for a replacement DC motor speed controller, plus wire, butt connectors and heat shrink.
Can I reverse the fan with the new controller?
Yes. The switch sends air in one way, off in the middle and air out the other way, and the knob sets the speed.
Do I still have the original Maxx Fan controls?
No. With this fix the original control panel no longer works, so you open and close the lid manually and use the new knob and switch.
Watch the video

Comments
Comments appear after Gabriel reviews them.
Loading comments…