

Step-by-step guide
How to fix a Dell XPS 15 (P56F) that does not turn on: test and replace the battery
Short answer: if your Dell XPS 15 P56F does not turn on when it is plugged into the wall, open the bottom cover and unplug the battery, then try the power button with only the charger connected. If the laptop turns on that way, the battery is bad and replacing it fixes the problem; if it still stays dead, the fault is probably something else, like the motherboard.
In this video I show exactly that test on a customer's Dell XPS 15 (model P56F): with the battery disconnected the laptop powers on and shows an image, and with the battery connected nothing happens no matter how many times I press the button. Then I install the new battery, test it before closing, clean the dust out of the fans, and put the cover back, including the two hidden screws under the XPS badge. The steps below follow the repair with photos from the video, plus a troubleshooting table and an FAQ.
In this article
- Test the laptop on AC power with the battery unplugged
- Confirm the symptom with the battery connected
- Shut down properly before you work
- Remove the bottom cover screws
- Don't miss the two hidden screws under the XPS badge
- Remove the battery screws
- Lift out the old battery
- Install the new battery
- Test before closing: power light and boot
- Check Windows boots and runs on battery
- Remove the fans to clean the dust
- Blow the dust out of the fans and heatsink
- Reconnect the cables gently
- Count your screws, close it and do a final test
- Why a bad battery stops a laptop from turning on even on the charger
- Which laptops are the Dell P56F?
- Troubleshooting a Dell XPS 15 that won't turn on
- Tips for a clean battery replacement
- Frequently asked questions
- Watch the video
Step 1Test the laptop on AC power with the battery unplugged
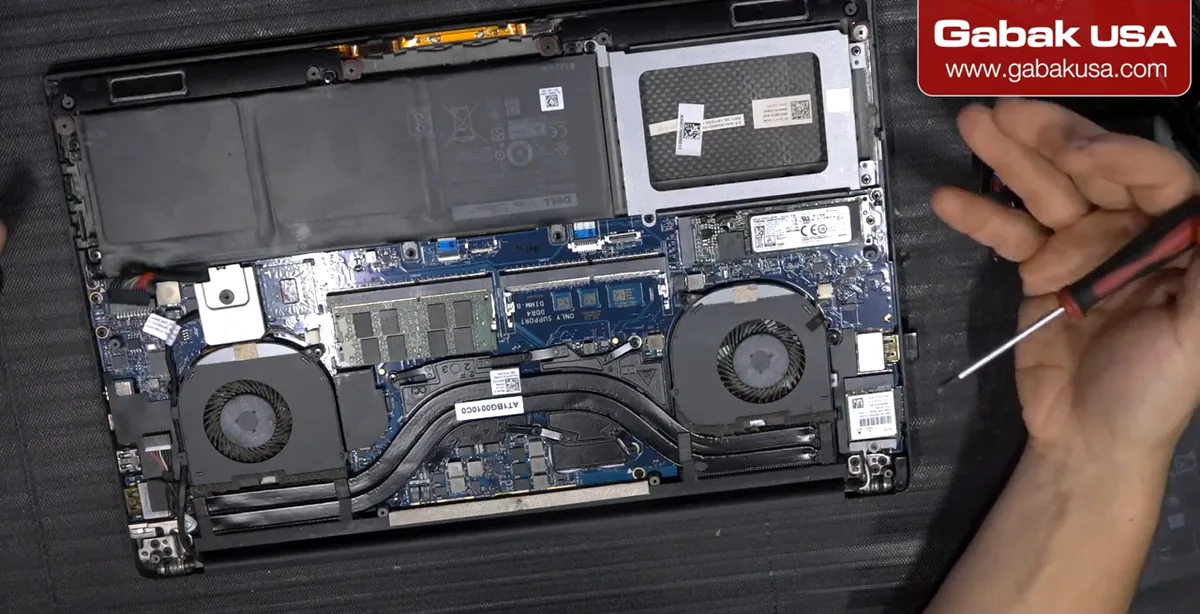
- With the cover off, disconnect the battery from the motherboard, then plug in the charger and press the power button.
- On this laptop, with the battery unplugged it turns on right away and shows an image.
- If it turns on like this, the problem is the battery. If it does not, it might be something else on the motherboard.
Caution: Unplug the charger before you connect or disconnect the battery. Connecting things with power present can damage something.
Step 2Confirm the symptom with the battery connected
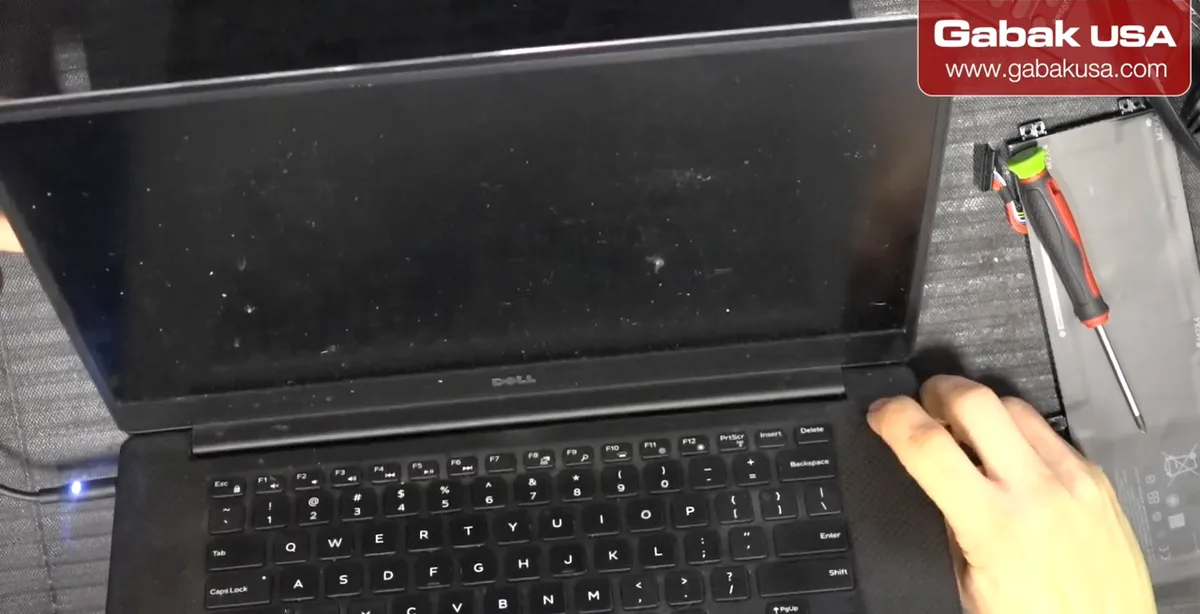
- Connect the old battery again and plug the charger back in.
- Push the power button. In the video I keep pushing and nothing happens: no light, no image.
- That before/after comparison is the whole diagnosis: a bad battery is keeping the laptop from turning on even on AC power.
Step 3Shut down properly before you work
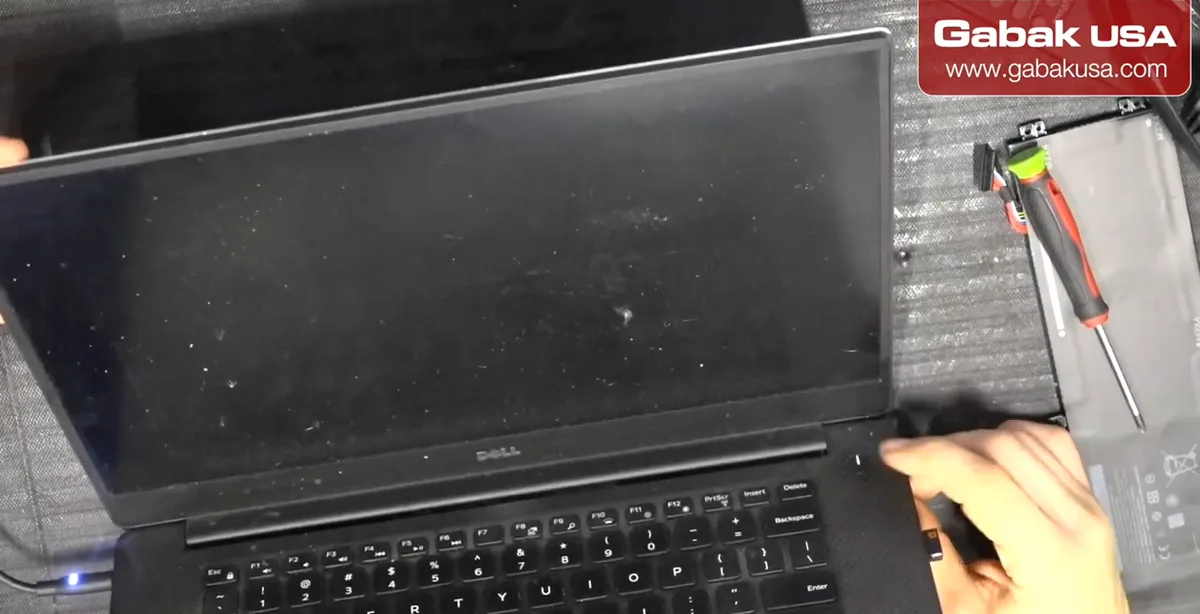
- If the laptop is running on AC with the battery unplugged, shut it down from Windows first so the operating system does not get damaged.
- Then unplug the charger. Only work inside with no power connected.
- Dell's own service manual also tells you to press and hold the power button for a few seconds after removing the battery to drain residual power.
Step 4Remove the bottom cover screws
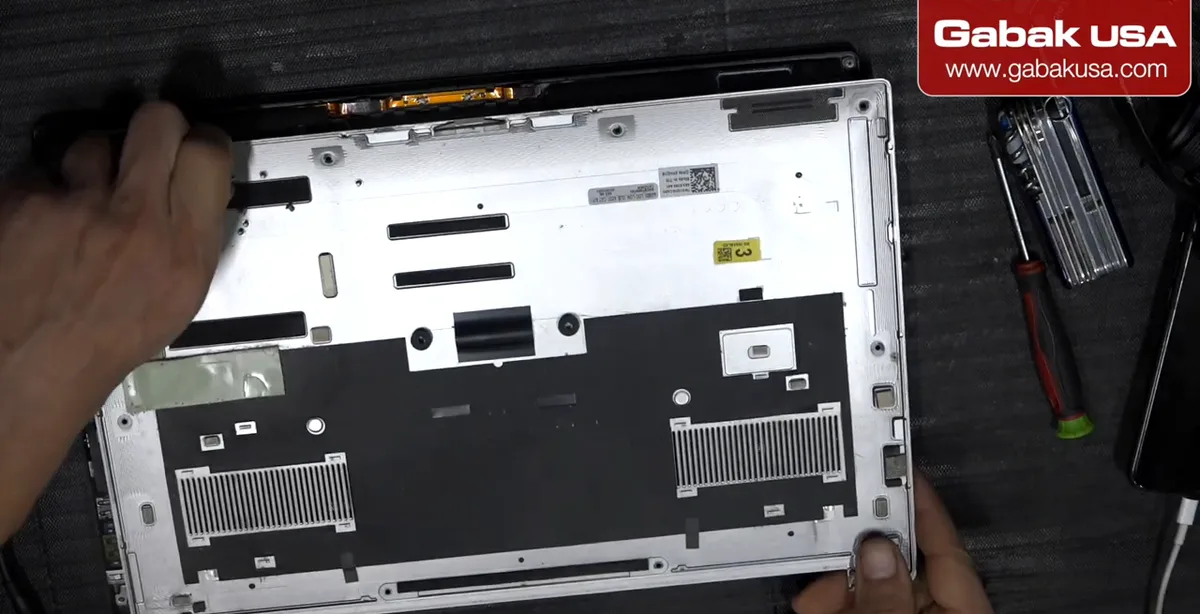
- The cover comes off with a few screws around the edge. On the XPS 15 9550 these are ten T5 Torx screws (per iFixit).
- Once the screws are out, lift the cover and you have almost instant access to the battery, fans and SSD.
- Do not force the panel. Start near the hinge corners and work around.
Step 5Don't miss the two hidden screws under the XPS badge
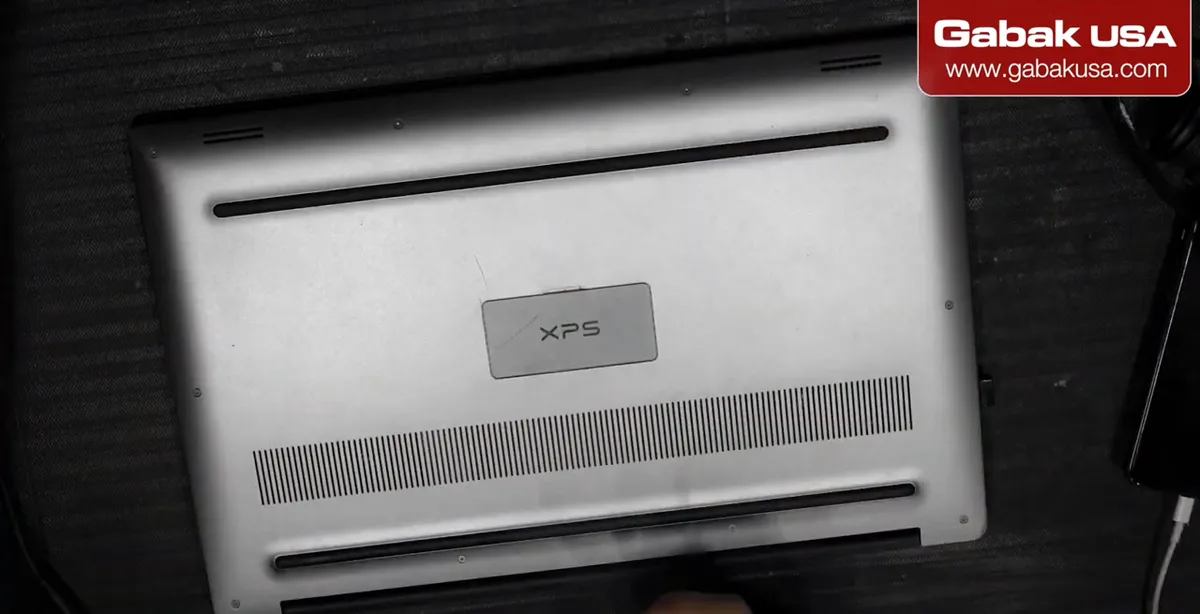
- There are two screws in secret places: flip open the XPS badge flap in the middle of the bottom cover.
- Remove those two Phillips screws too, or the cover will not come off and you can crack it trying.
- This is the step most people miss on a Dell XPS 15.
Caution: If the cover is fighting you, stop and check the badge screws before prying harder.
Step 6Remove the battery screws
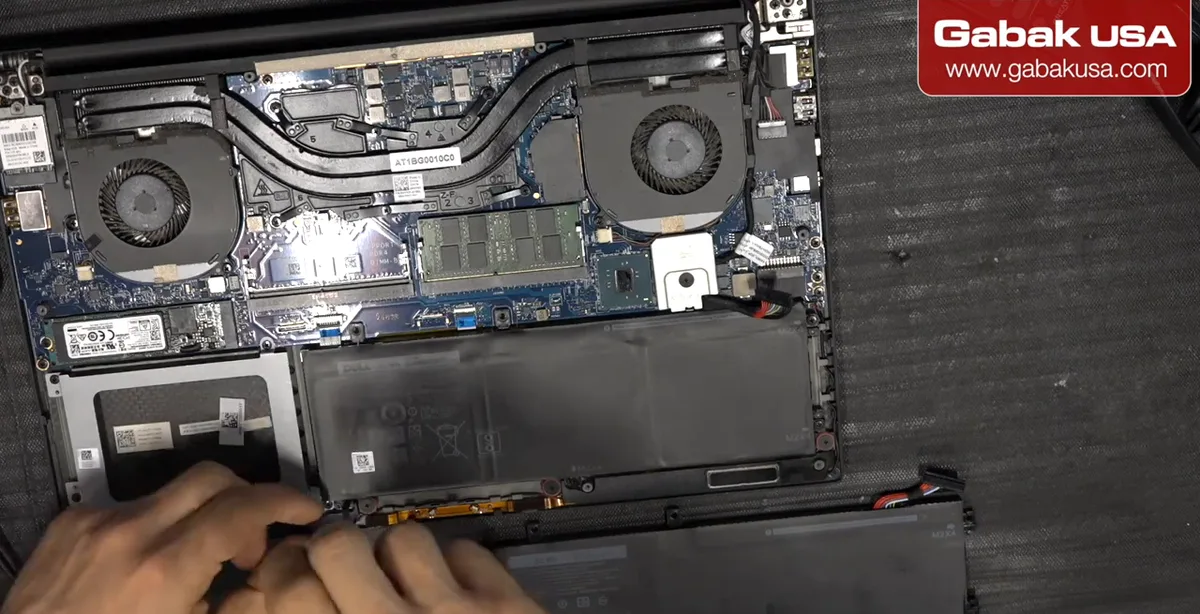
- Remove the screws holding the battery in place, one after the other.
- Use the new battery as a guide: you can see where its screw holes are.
- The number of screws depends on the battery version. iFixit's 9550 guide lists seven M2x4 screws for its battery, and some screws are labeled with an arrow.
Step 7Lift out the old battery
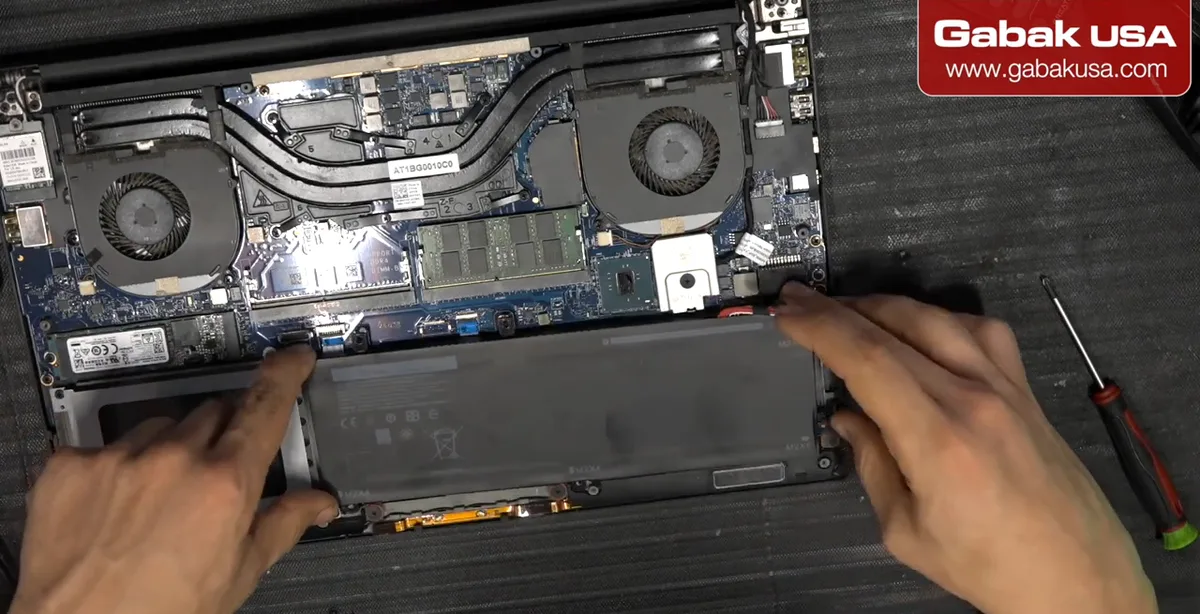
- Disconnect the battery cable from the motherboard and lift the battery out.
- Thankfully there is no glue here, unlike an iPhone battery, so it comes right out.
- Make sure the battery cable is free of the connector before you lift so you do not pull on the board.
Step 8Install the new battery
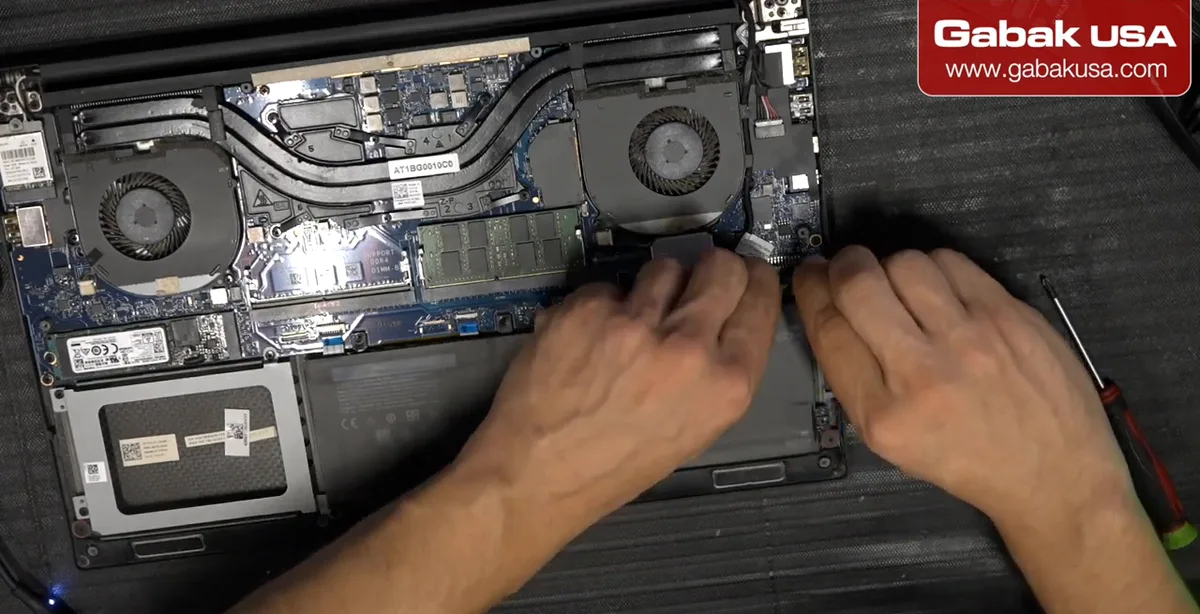
- Put the new battery in, line up the holes and put the screws back.
- Make sure you do not have any static on your body; otherwise use anti-static gloves.
- Plug the battery cable into the motherboard firmly and evenly.
Caution: Check that the replacement battery matches your laptop. The XPS 15 9550 came with 56 Wh and 84 Wh batteries, and they are different sizes.
Step 9Test before closing: power light and boot
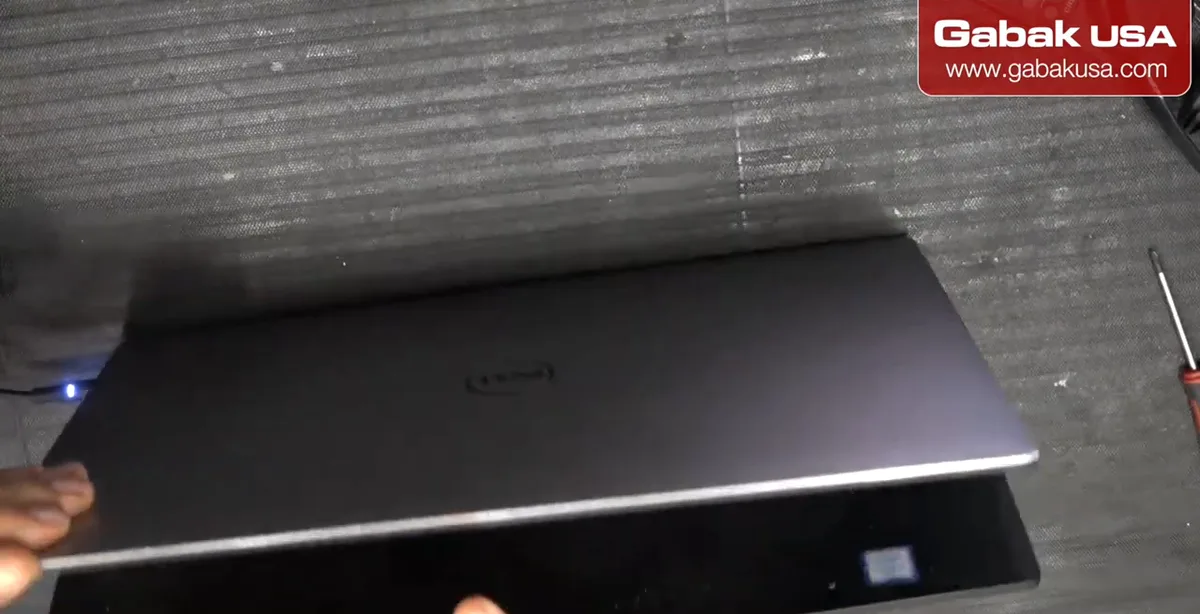
- Plug the charger in. With the new battery you get the light right away.
- Press the power button and you get an image. Now the laptop keeps working even when you unplug the charger.
- Testing with the cover still off saves you from closing it all up and having to reopen it.
Step 10Check Windows boots and runs on battery
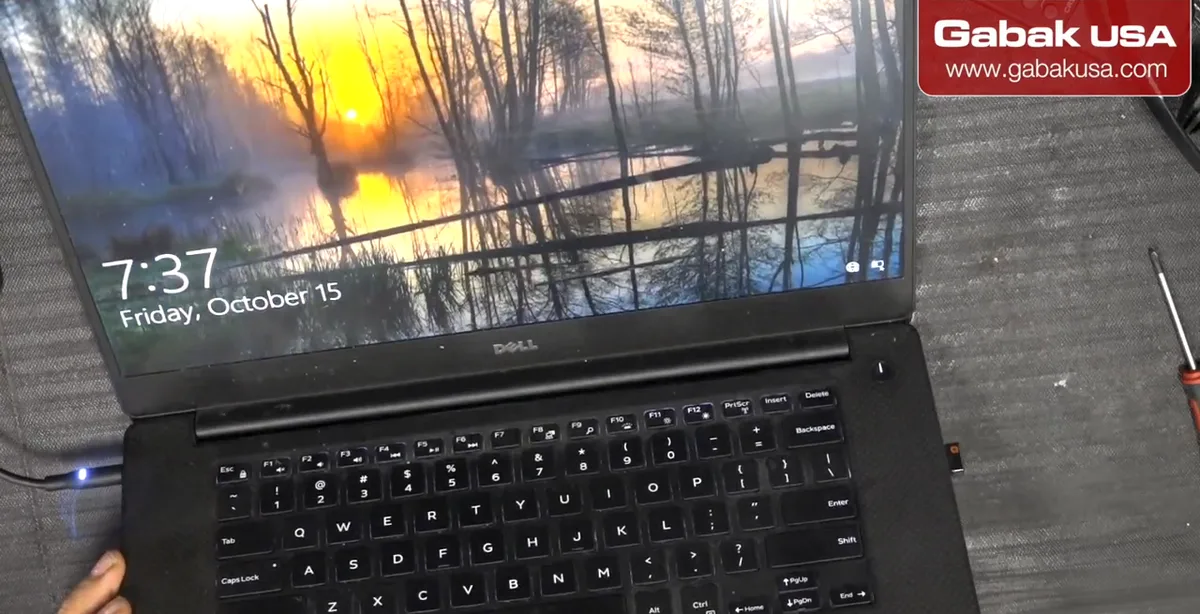
- Wait until Windows boots, then unplug and plug the charger. The plug icon appears and disappears, so the battery is working.
- Then shut the computer down again before you continue.
- Before you unplug anything inside, it's better to unplug the battery again.
Step 11Remove the fans to clean the dust
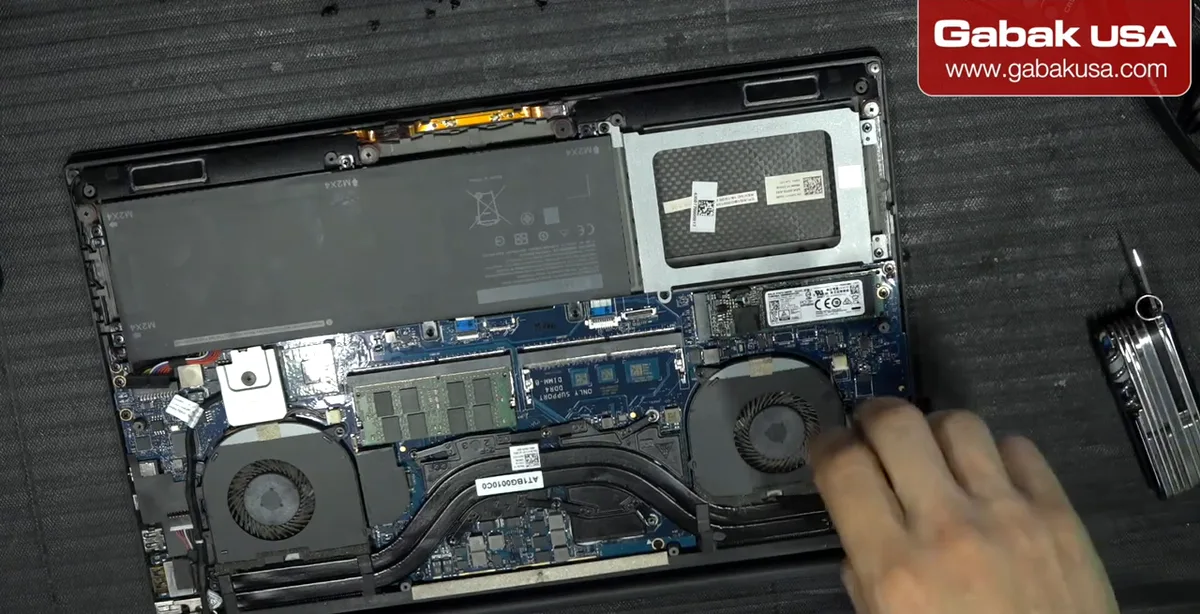
- While it is open, clean it before it goes back to the customer. Look for the screws holding the fans; these are smaller than the cover screws.
- Disconnect the cables from the fans. You can pull the fan connectors out with your nails.
- I prefer to remove the fans if I can, otherwise you would remove the whole heatsink assembly.
Step 12Blow the dust out of the fans and heatsink
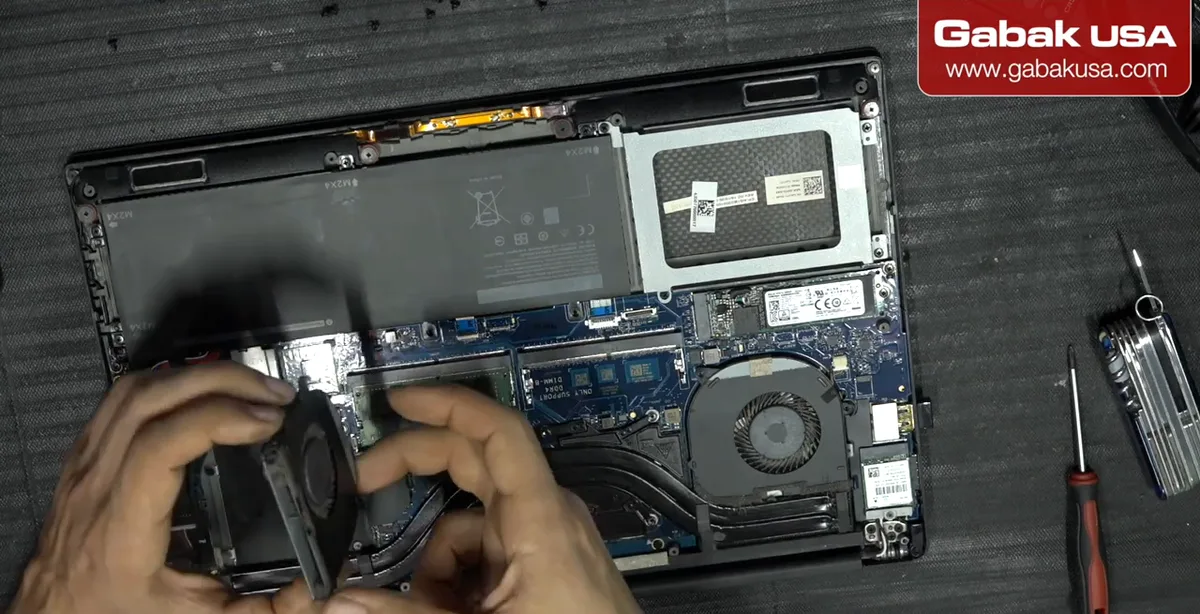
- Take the fans outside and blow air on them. This one had some dust, not too much.
- Sometimes you can open the hinge and blow air from there too.
- This laptop is only about two or three years old, so I did not replace the thermal paste. On a laptop ten years old I might remove everything and redo the paste.
Caution: Hold the fan blades still when you blow compressed air so they do not overspin.
Step 13Reconnect the cables gently
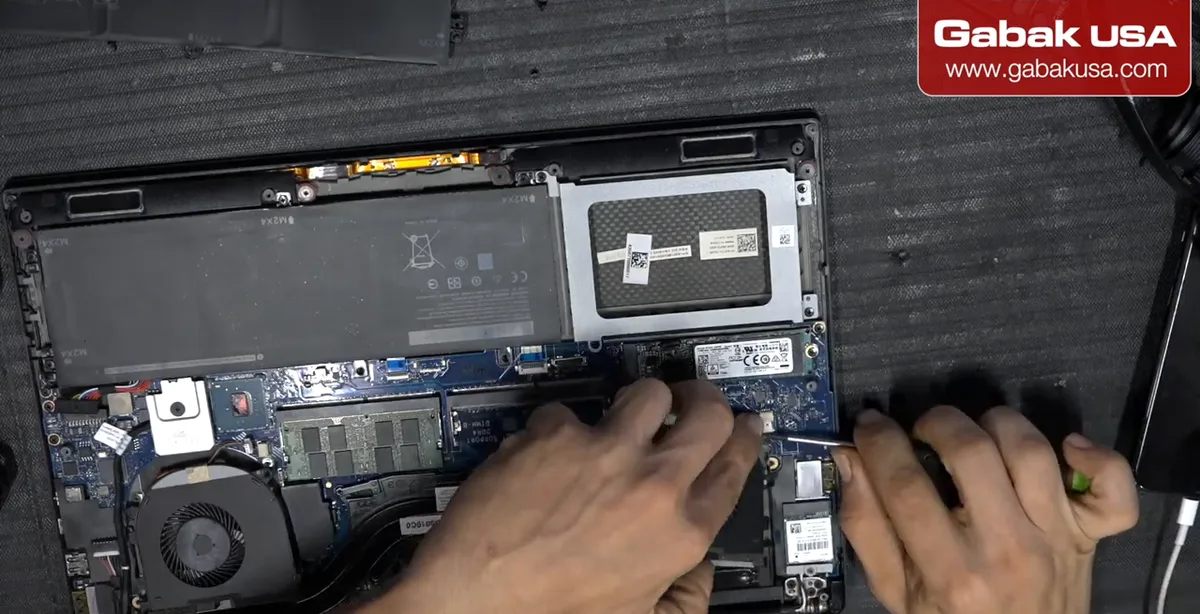
- Put the fans back in the right place, put the screws back and connect everything.
- Use your nails or a screwdriver to seat connectors, but make sure the screwdriver is not sharp. A rounded tip will not cut you or damage the cables.
- Connect the battery back last.
Step 14Count your screws, close it and do a final test
- Make sure you have all the screws and none are left on the bench before you put the cover on.
- Put the cover back, put each perimeter screw in, then the two in the secret places under the badge.
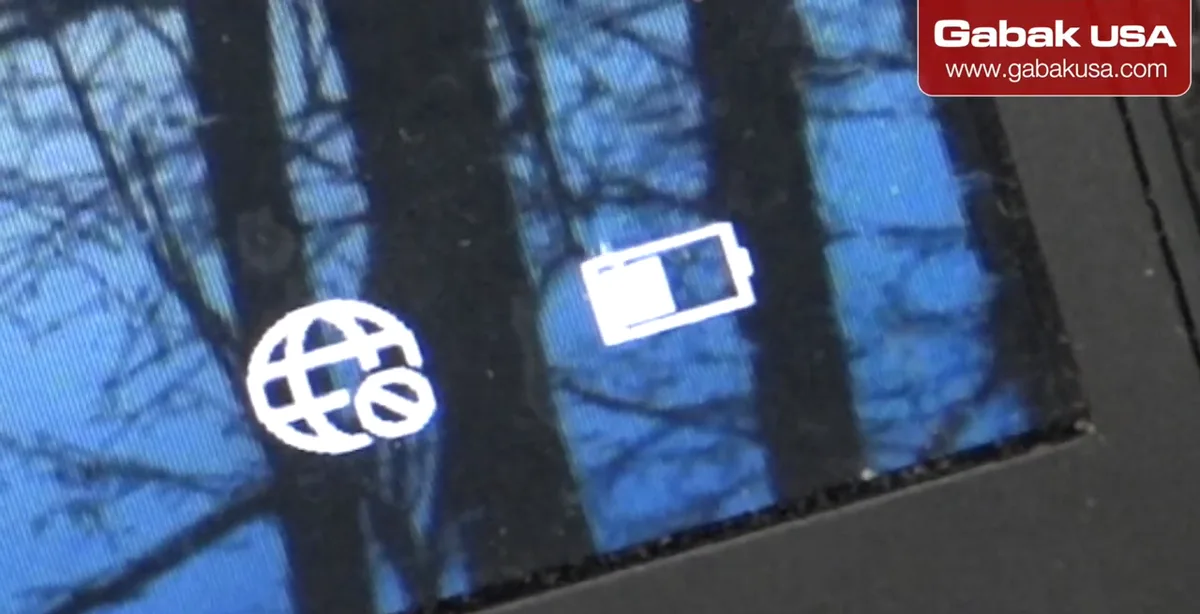
- Final test: open it, plug and unplug the charger. Before it was completely dead; now it powers on and shows the battery charging.
Why a bad battery stops a laptop from turning on even on the charger
It surprises a lot of people: the laptop is plugged into the wall, so why does a battery matter? On many modern laptops the system checks the battery and charging circuit when you press the power button. A failed battery can keep the laptop from powering on even with the charger connected. iFixit's battery guide for the XPS 15 9550 describes the same symptom: the laptop will not power on without being plugged in, or will not hold a charge.
That is why the quick test in this video works: take the battery out of the circuit. If the laptop turns on with only the charger, you know the battery is the problem and you do not waste money on a motherboard or a charger. If you are not sure the charger itself is good, see how to test any laptop charger.
Which laptops are the Dell P56F?
P56F is Dell's regulatory model number, printed on the bottom label. It is shared by several 15-inch models:
| Model | Regulatory model |
|---|---|
| Dell XPS 15 9550 | P56F |
| Dell XPS 15 9560 | P56F |
| Dell Precision 5510 | P56F |
The battery and cover procedure is very similar on these, but battery versions differ (for example 56 Wh and 84 Wh on the 9550 and Precision 5510). Order the battery by the part number on your old battery.
Troubleshooting a Dell XPS 15 that won't turn on
| Symptom | Likely cause | What to try |
|---|---|---|
| Turns on with battery unplugged, dead with it connected | Bad battery | Replace the battery (this video) |
| Dead with battery unplugged too | Motherboard, power button or charger | Test the charger, check the charging port, then the board |
| Power light only, no image | Display or memory | Reseat RAM, try an external monitor |
| Works on battery but not charging | Charger or charging port | Test with another genuine charger |
| Runs hot or loud after cleaning | Fan cable not connected | Reopen and reconnect the fan cables |
Tips for a clean battery replacement
- Always unplug the charger and disconnect the battery before unplugging anything else inside.
- Protect against static with anti-static gloves or a strap.
- Keep screws organized by location; the fan screws are smaller than the cover screws.
- Test the new battery before closing the cover.
- While the laptop is open, clean the fans. It only takes a few minutes and helps the laptop run cooler.
For another laptop battery job step by step, see replacing the battery on a Lenovo Yoga 920. If you want to go further and upgrade parts in a workstation laptop, see how to replace a laptop video card and CPU.
Frequently asked questions
Why won't my Dell XPS 15 turn on when plugged in?
A bad battery is a common cause. Open the bottom cover, disconnect the battery and try again with only the charger. If it turns on, replace the battery. If not, check the charger and then the motherboard.
Can a Dell XPS 15 run without the battery?
In the video the XPS 15 P56F turns on and shows an image on AC power with the battery disconnected. That is useful for testing, but reconnect a good battery for normal use.
Where are the hidden screws on the Dell XPS 15?
Under the XPS system badge flap in the middle of the bottom cover. Flip it open to find two Phillips screws, in addition to the Torx screws around the edge.
What screwdriver do I need for a Dell XPS 15 9550?
A T5 Torx for the bottom cover perimeter screws and a small Phillips (#00) for the badge screws and the battery screws.
What laptop is Dell model P56F?
P56F is the regulatory model for the Dell XPS 15 9550, XPS 15 9560 and Precision 5510.
Is the Dell XPS 15 battery glued in?
No. In the video it is held by screws only, with no glue, so it lifts right out after the screws and cable are removed.
Should I replace the thermal paste when I replace the battery?
Not necessarily. In the video the laptop was only about two or three years old, so I only cleaned the fans. On a much older laptop it can be worth redoing the paste.
How do I reset a Dell laptop that won't turn on?
Unplug the charger, disconnect the battery, then press and hold the power button for a few seconds to drain residual power before reconnecting and testing.
Watch the video


Comments
Comments appear after Gabriel reviews them.
Loading comments…