
Step-by-step guide
How to locate and replace a bad hard drive in a QNAP NAS or server
What you will do: identify exactly which bad hard drive in a QNAP NAS or server is failing, make its LED blink with the Locate action, and swap it for a new drive without pulling the wrong one.
In a NAS or a data center with many drives it is easy to replace the wrong disk. This guide uses a QNAP 1635 with a disk that reported a SMART error. Other brands work in a similar way, though the menus may look a little different.
Step 1: Read the bad disk error in Event Notifications
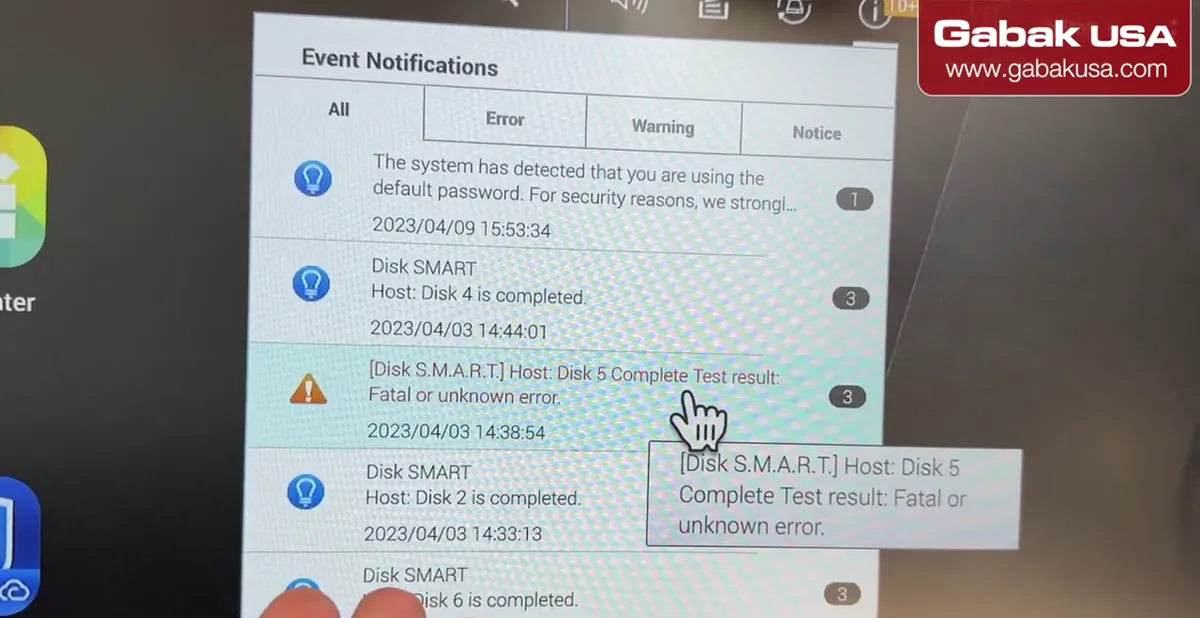
- Open the notification to see the full error. Here it says the Disk 5 SMART test result is a fatal or unknown error.
- That disk is going bad. Replace it before it dies completely so you don't lose data.
Caution: On a home desktop you might mark bad sectors and keep using a drive. When the data matters, don't risk it. Replace the drive.
Step 2: Open Storage & Snapshots
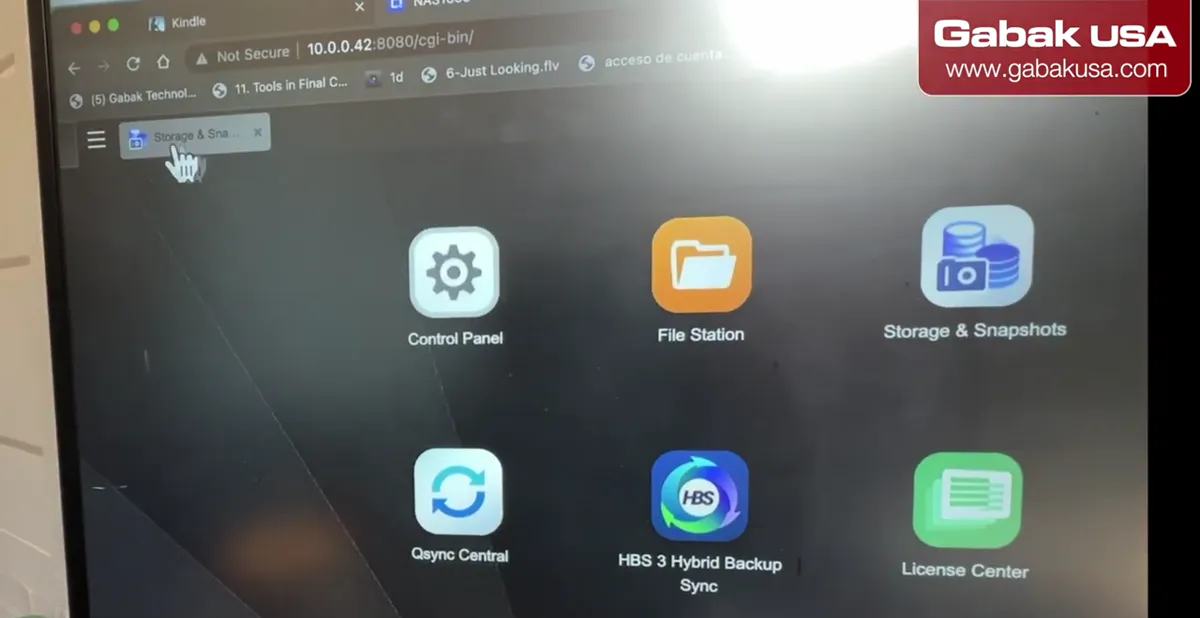
- In the QNAP interface, use the menu on the left (or the desktop icon).
- Click Storage & Snapshots.
Step 3: Find the bad drive in the disk list
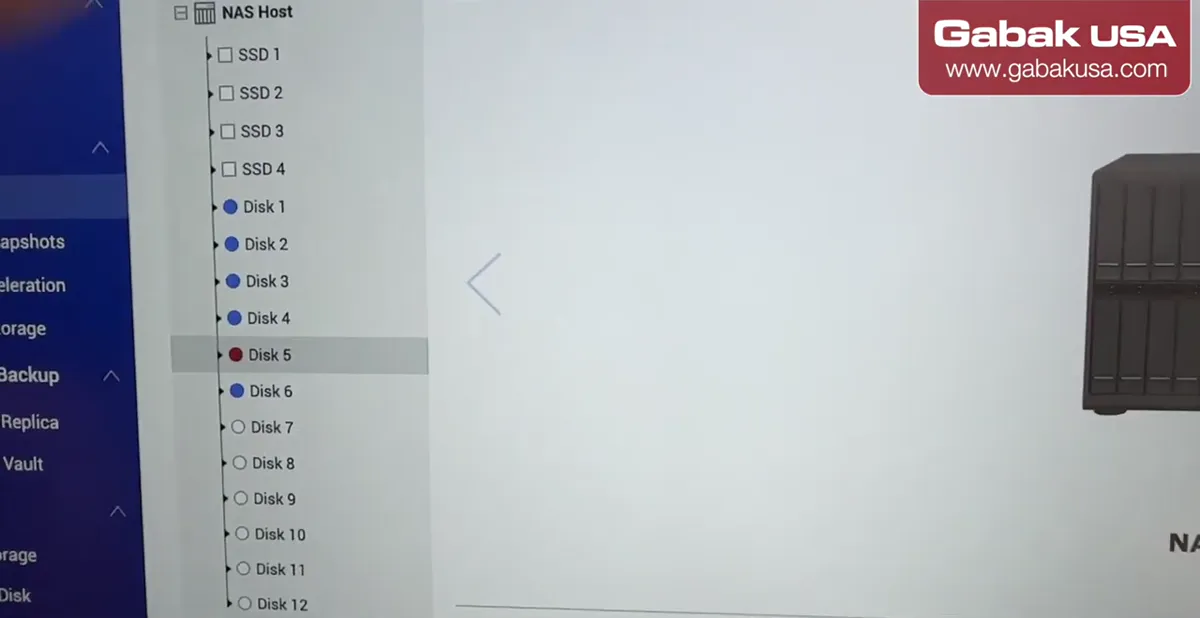
- The side panel lists every drive. The bad one stands out, here Disk 5.
- You could count the bays on the device (1, 2, 3, 4, 5) and pull that one. But with many units, or with a technician doing the swap, counting is how mistakes happen.
Step 4: Check the disk information
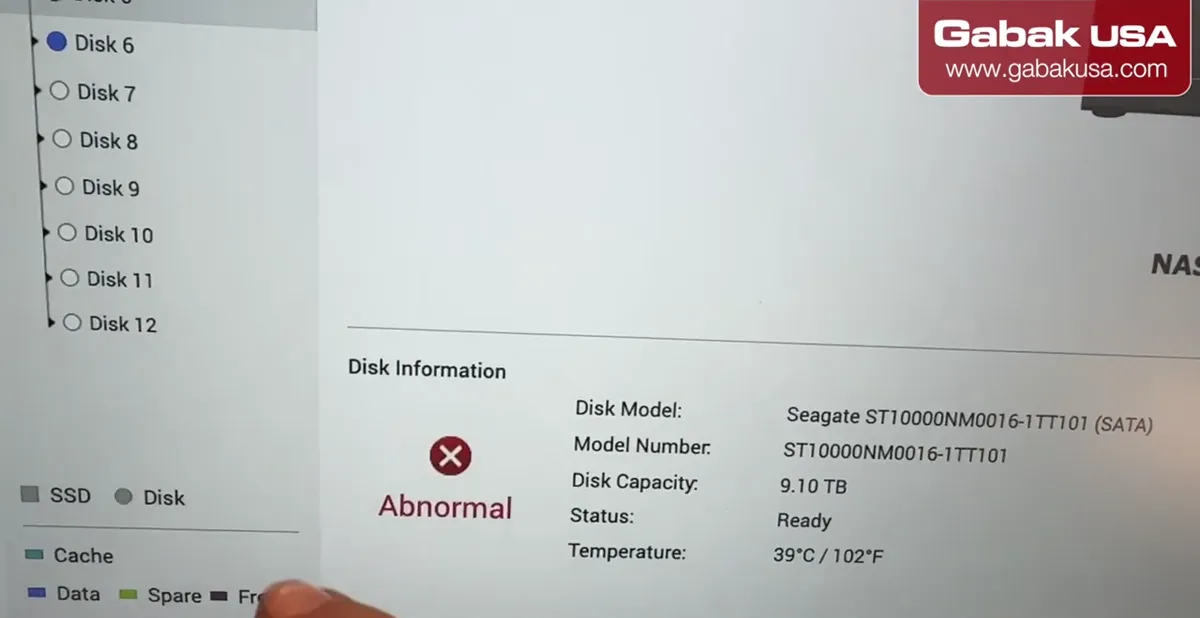
- Select the disk to see its details: model, model number, capacity, status and temperature.
- The status shows Abnormal. Note the model so you can buy the same one.
Step 5: Use Action > Locate to make the drive blink
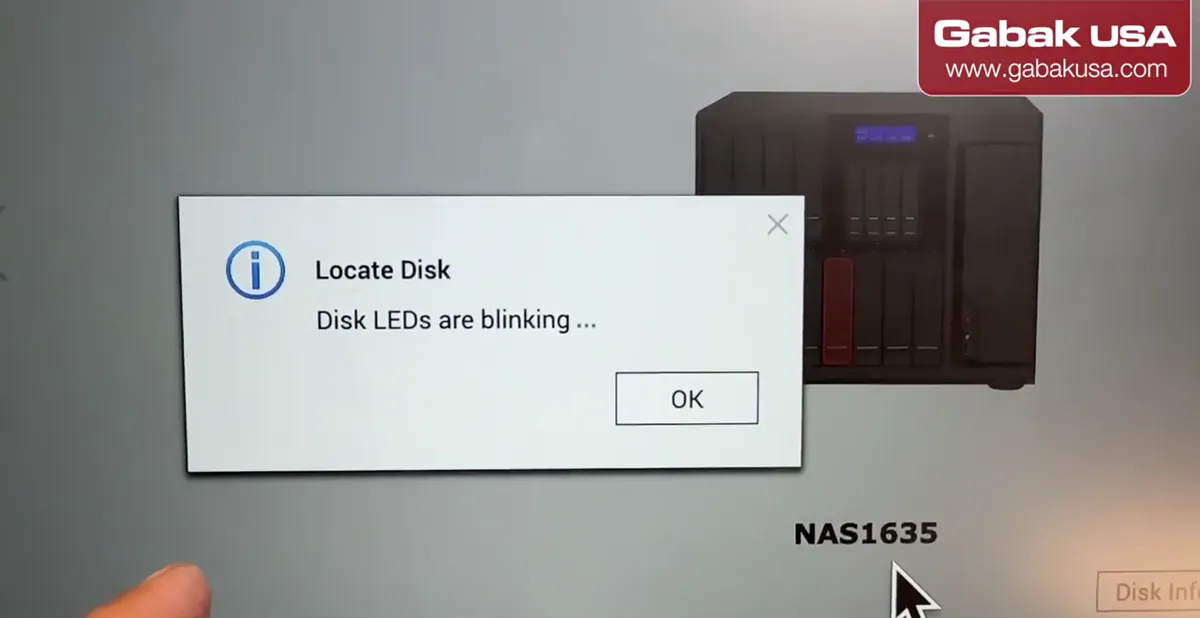
- Click Action, then Locate.
- A pop-up says the disk LEDs are blinking. The light on that drive's tray blinks on the NAS.
- This works remotely too, so someone on site can see exactly which drive to pull.
Step 6: Pull out the blinking drive tray
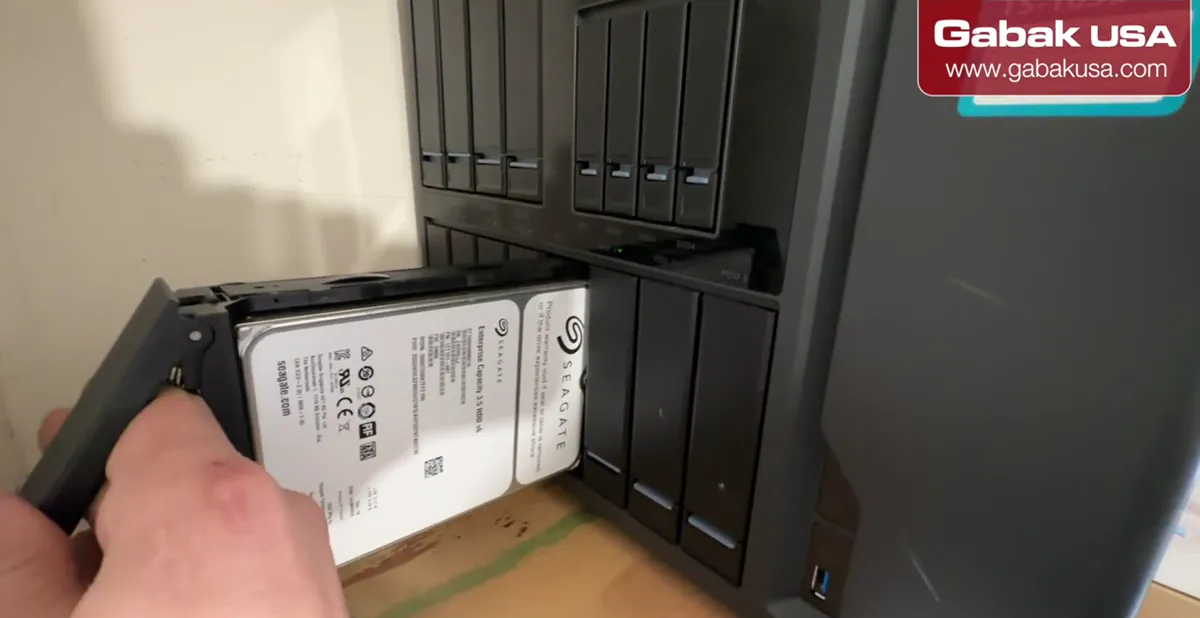
- Push the tray release on the blinking bay.
- Slide the tray with the old drive out of the NAS.
Step 7: Handle the drive by its edges
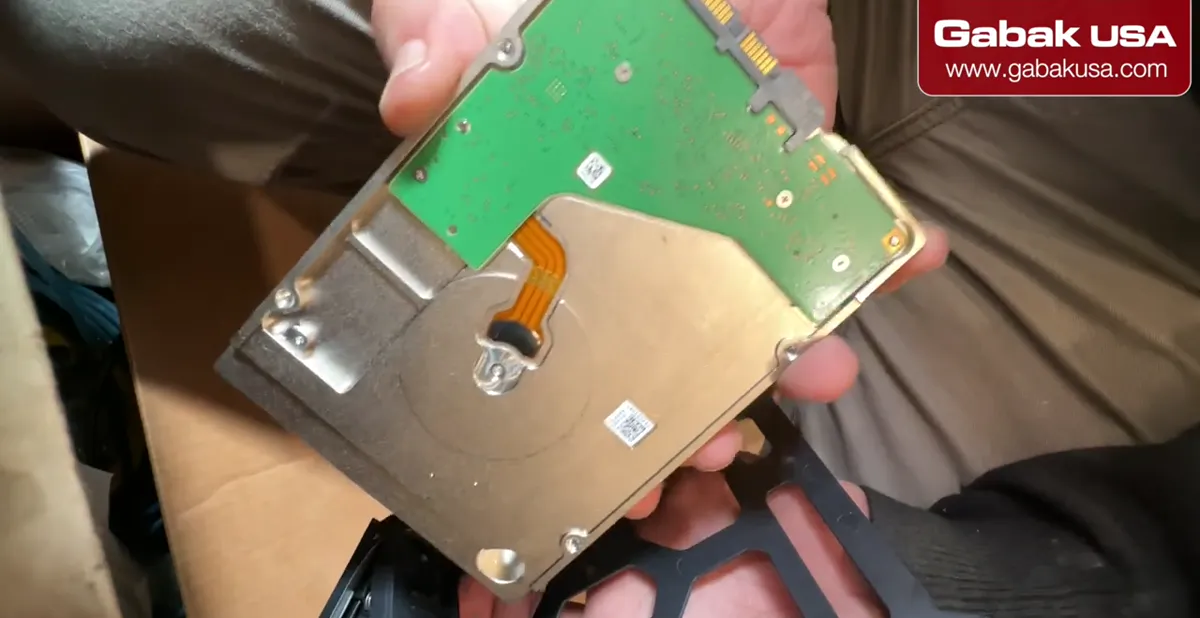
- Hold drives by the sides, not by the circuit board.
Caution: Avoid touching the electronics. Static can damage the drive.
Step 8: Release the drive from the plastic tray
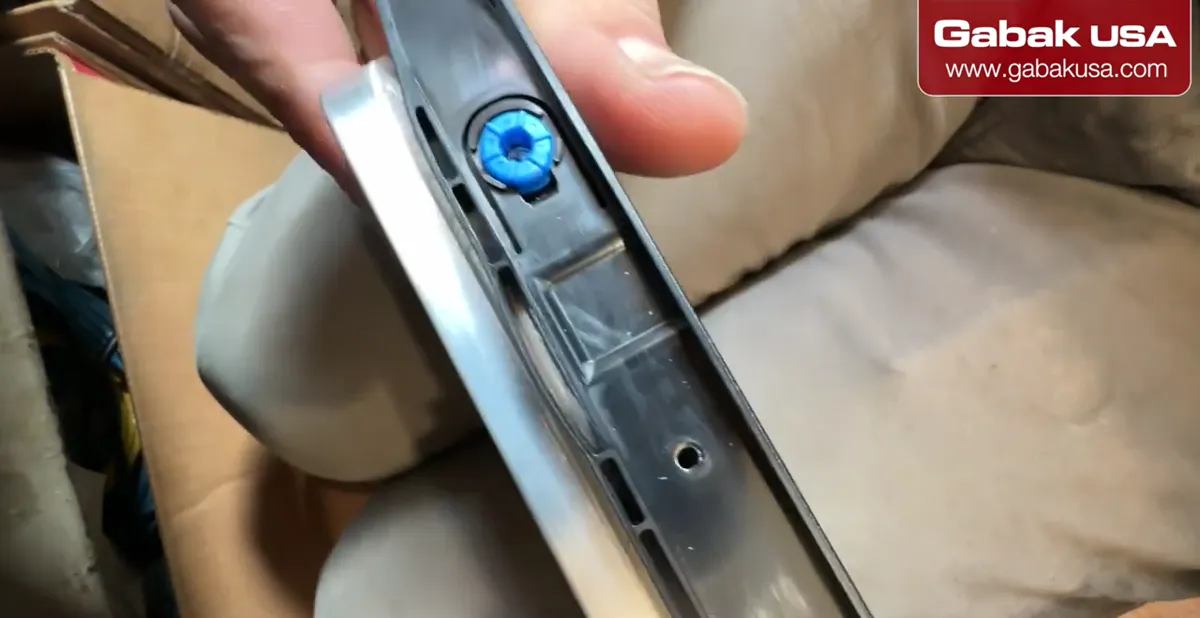
- On QNAP trays, pull the plastic rail on the side of the tray outward.
- That releases the drive. Take the old drive out.
Step 9: Put the new drive in the tray
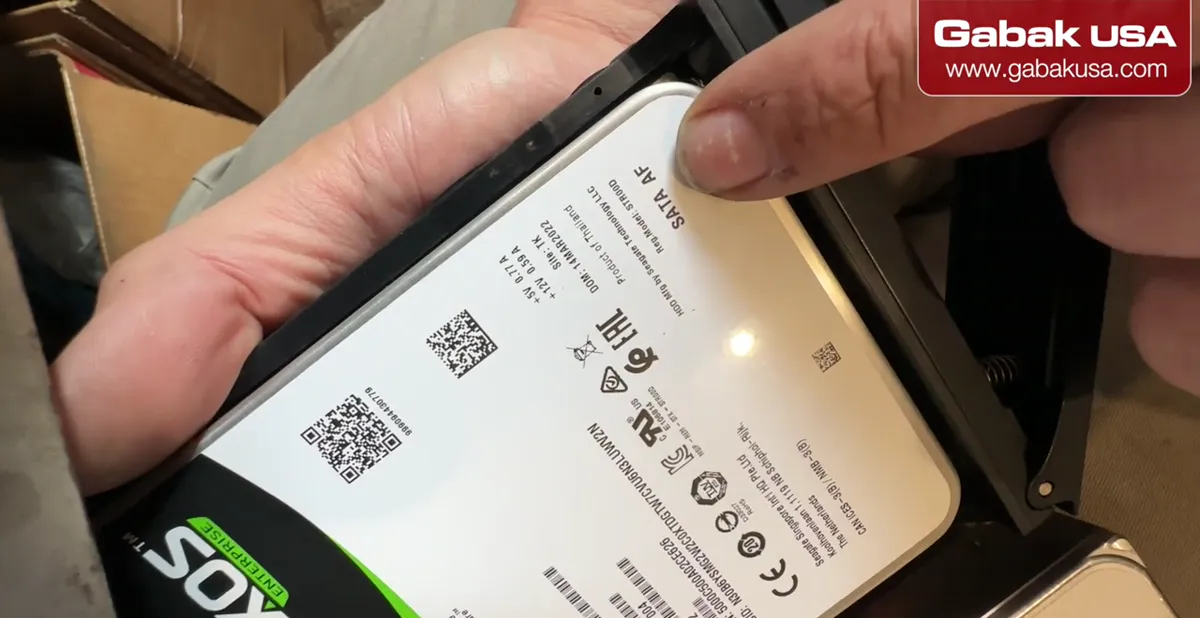
- Place the new drive the same way the old one was.
- Line up the holes on one side, then snap the rail back on the other side.
Caution: Use the same model as the old drive. Check the model on the label against the old one.
Step 10: Write where and when you bought it
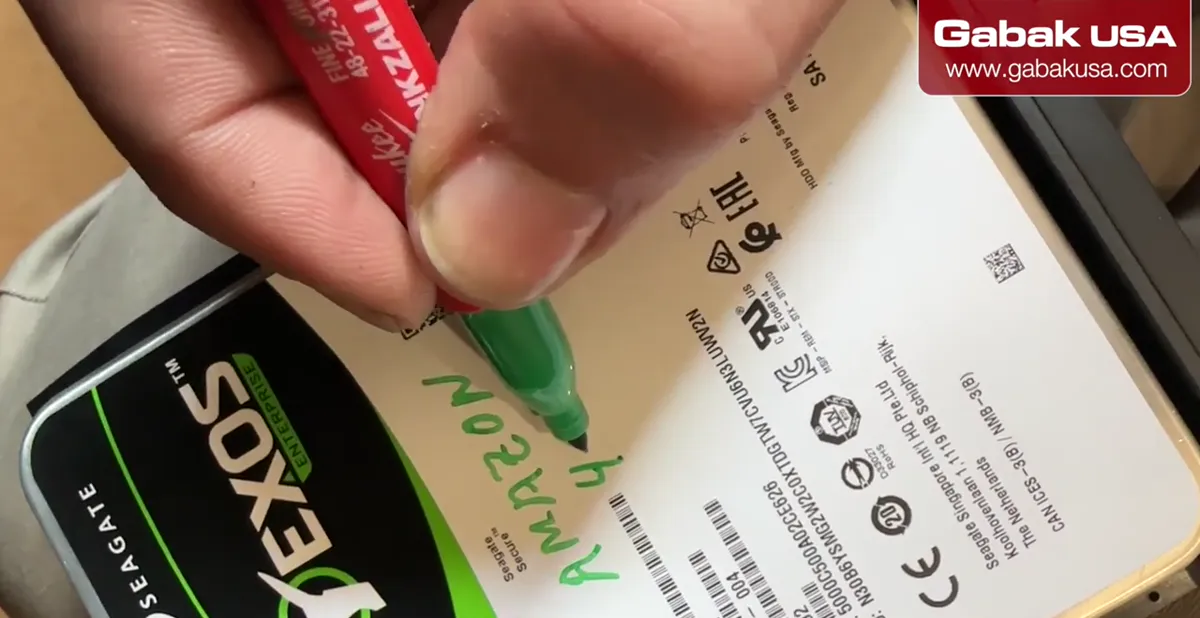
- Optional tip: write the store (for example Amazon or eBay) and the purchase date on the drive.
- Then you'll know when you bought it if you ever need warranty.
Step 11: Push the tray back into the NAS
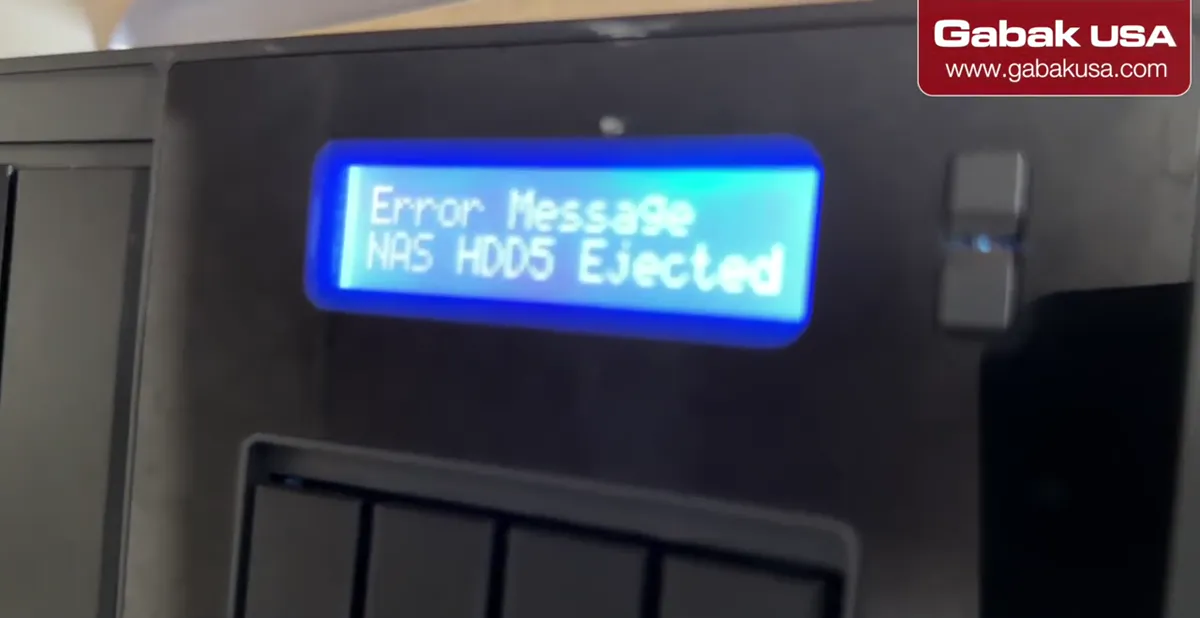
- Slide the tray with the new drive back into the same bay.
- The LCD message about HDD5 being ejected came from pulling the old drive. Once the new one is in, the system goes back to normal.
Step 12: Let the RAID rebuild
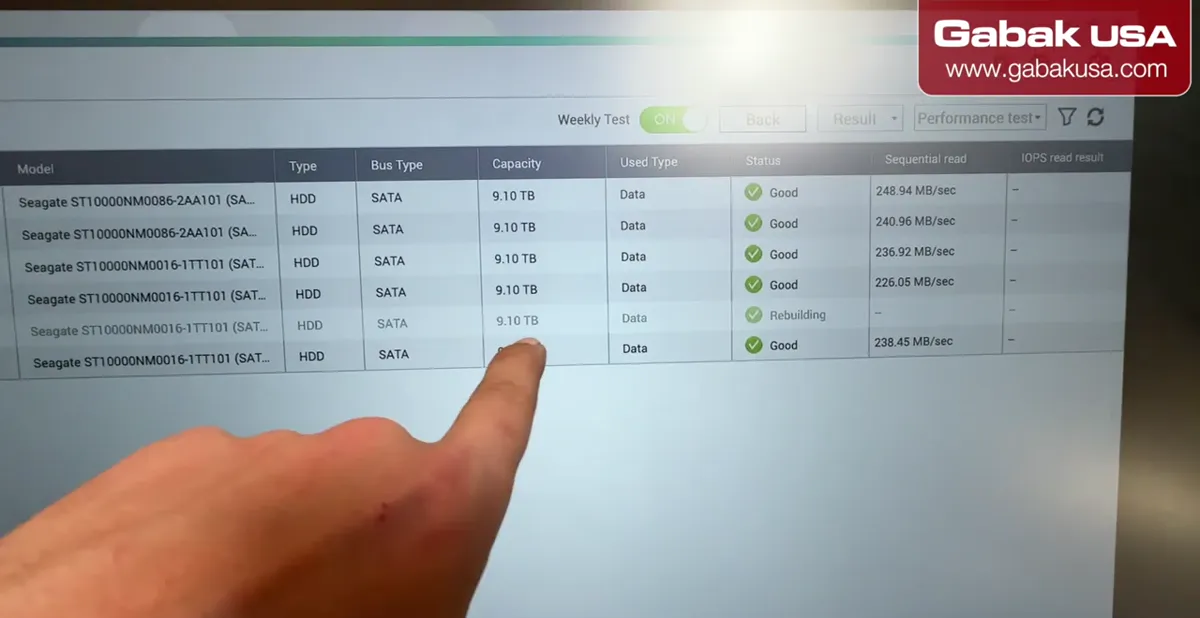
- Open the disk view again. The new drive shows Rebuilding while data is copied to it.
- The rebuild can take several hours, around 24 hours here. You can keep using the NAS meanwhile.
Frequently asked questions
How do I find which hard drive is bad in a QNAP NAS?
Open Storage & Snapshots. The failing disk is marked in the disk list and shows an Abnormal status. Then use Action > Locate so the LED on that drive blinks.
Can I locate a bad NAS drive remotely?
Yes. The Locate action is clicked from the web interface, so you can make the drive blink remotely and have a technician on site pull the right one.
Should I keep using a hard drive with SMART errors in a NAS?
Not when the data is important. Replace it before it fails completely so you don't lose data.
How long does a QNAP RAID rebuild take after replacing a drive?
It can take several hours. In this example it was expected to take about 24 hours, and the NAS can still be used while it rebuilds.
Does this work on other NAS or server brands?
Most systems work in a similar way. The menu may be a little different, but you look for the failing disk and use a locate or identify option to blink its LED.
Watch the video

Comments
Comments appear after Gabriel reviews them.
Loading comments…